How to Add Social Media Icons to WordPress?
WordPress offers a lot of features for its users, and one of them is the ability to integrate other social media platforms.
Adding them to your WordPress website isn’t very difficult. I’m going to explain the process step by step, and in the end, you will understand why it’s so easy.😊
In this guide, you’ll learn:
- What are social media icons?
- Why should you add social media icons to WordPress?
- How to add them?
Let’s start from the top.
Table of Contents
Social media icons (as the name suggests) represent your different social media profiles. You can use them on anything, from business cards to websites.
These are not to be confused with some sorts of buttons that will take you to that particular account. They are more or less the symbol of those platforms which link back to your business accounts.
These are unique to each company because these icons are the logo of a particular company. That is why it’s recommended to keep all the icons unique for a better brand image.
Linking social media accounts can help boost the SEO of a website which will, in turn, increase the traffic.
By linking the social media accounts, you will also be increasing the traffic on those pages. They also become a free source of promotion for online sellers. Sellers can post different advertisements on their social media accounts for the products present on their websites.
Around 57.6% of the world’s population uses social media. Therefore, not converting your website’s traffic to your other social media platforms will be a missed opportunity.

The more social media posts you add to your social profiles, the more it will be beneficial for your website. The benefits a business owner can reap by using this are huge.
User engagement is another reason why social media accounts are necessary. Many people gloss over this fact, and some avoid user engagement altogether. If someone wants to increase the traffic on their website, then engagement with visitors is very important.
Modern themes have the default option of adding social media profiles because they have a dedicated plugin for this purpose, but some themes don’t have this feature. This is why many people add it manually.
In order to add social media icons to your website, then first check the current theme of your website because a default theme normally has this feature.
If not, then no worries because the process of adding social media icons is relatively easy. Coding expertise is not necessary to apply icons. To start, you will need to add a plugin to WordPress.
Step 1: Adding the Plugin
Suppose you have no particular coding skills, then there is no need to worry. This is the main reason that plugins were created. We are going to use a plugin to achieve our goal.
Start by going to the plugins section and clicking the “Add New” button.
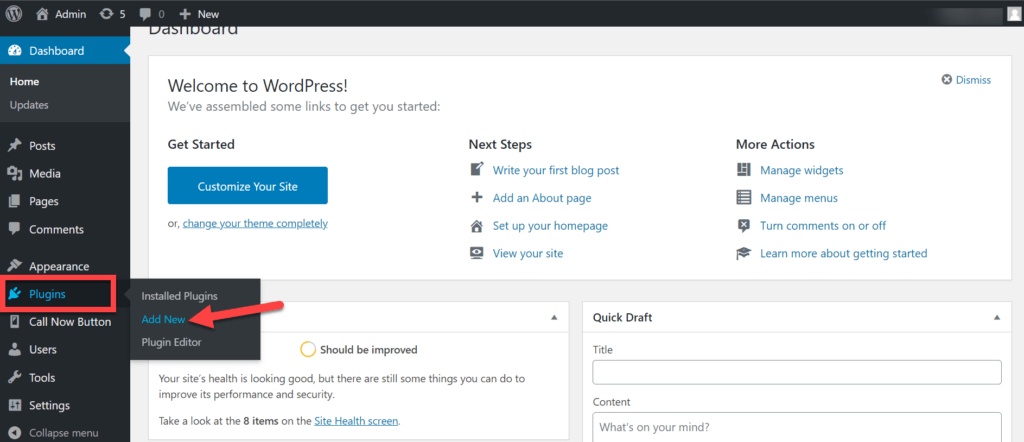
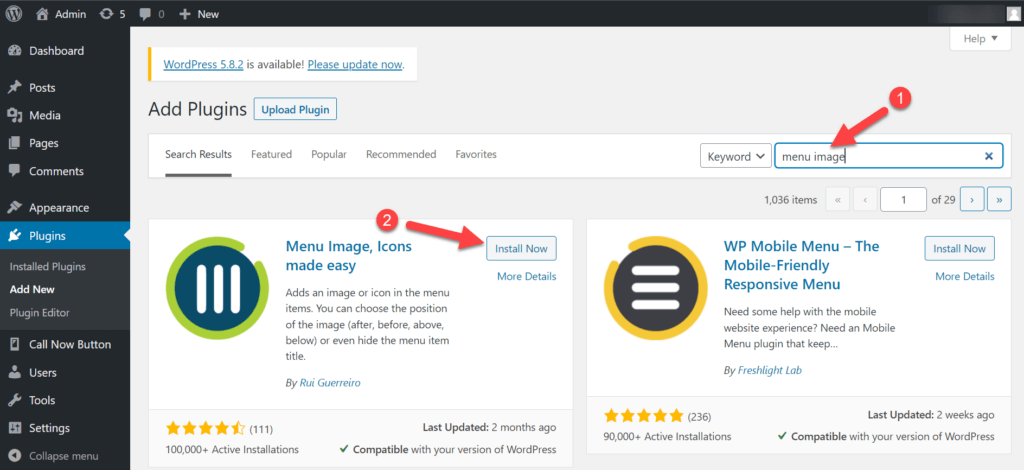
Now search for the plugin called “Menu Image“ in the search bar and select the plugin called “Menu Image, Icons made easy.” Click on “Install” to begin.
Note: There are other plugins as well, but we recommend using the “Menu Image, Icons made easy” plugin because it is very easy to use.
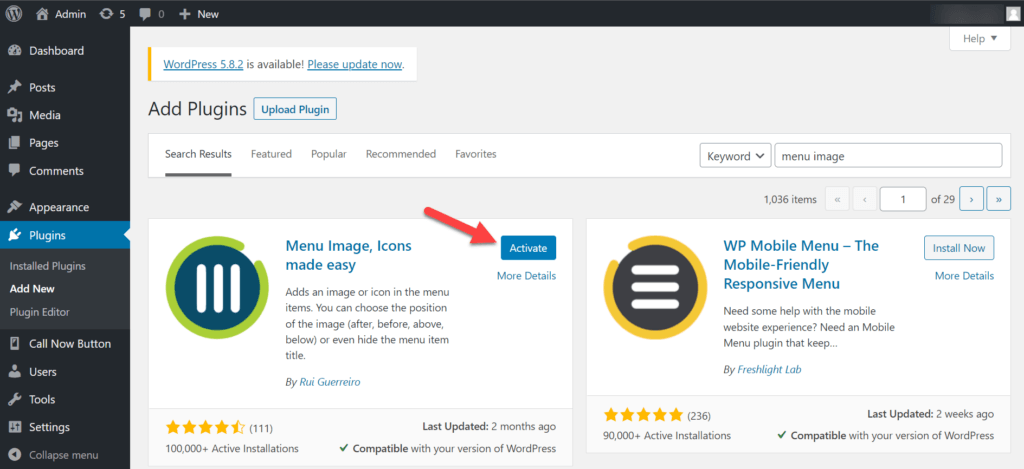
Once the installation has been installed, stay on the same page and click the “Activate” button to start the app.
Now that the plugin has been activated, go to Appearance >> Menu. Here you will create a menu where all the social media icons will be present.
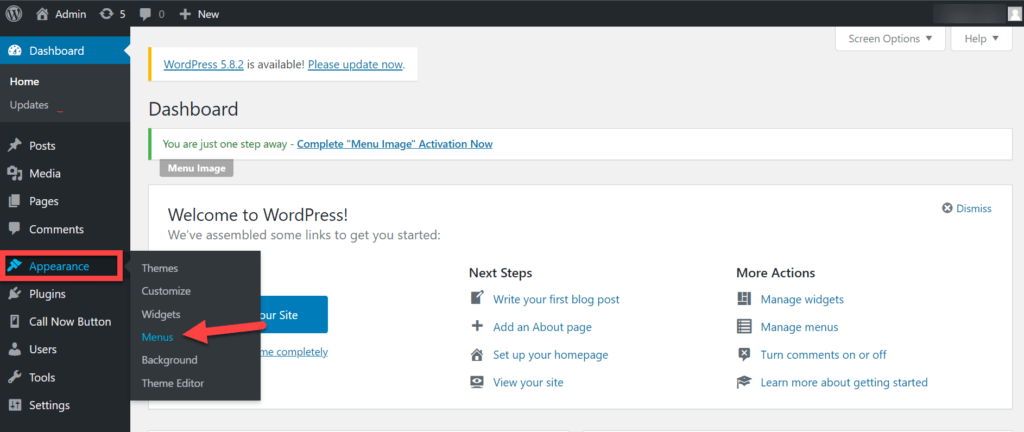
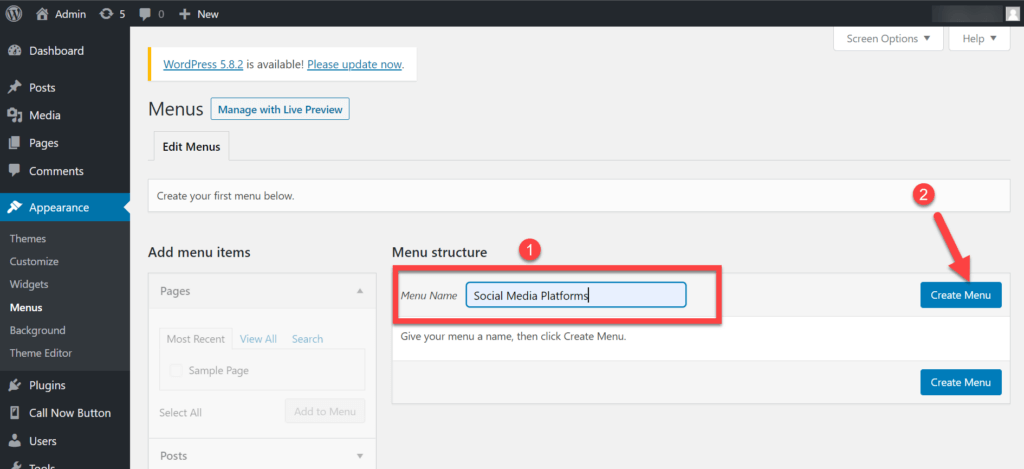
Once you click on the “Menu” option, a page will appear to create a new WordPress menu for the social media icons.
Here, enter the menu name and click the “Create Menu” button.
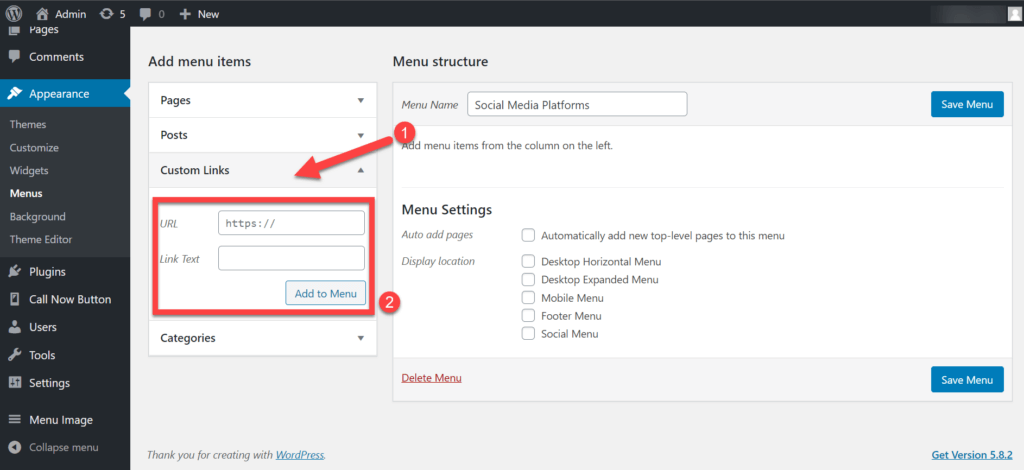
Now that the WordPress menu is created, you will see an option named “Custom links” dropdown menu on the left-hand side. Here you will add menu items one at a time. By clicking on it, you will see two fields for entering the label and link for your social media profiles.
After filling the fields, click on the “Add to Menu” button.
Step 3: Adding Icons
By doing so, you can add multiple links. Now click on the link to the social media which you have added. A dropdown menu will appear to click on the “Add image/icon” button.
You will see a box where you will choose the “icon” option. After clicking on the option, many icons will be visible on the screen.
Click on the icon of the social media platform you want to use. The preview of the icon will be visible on the right side. You can customize the position of the icon. once you’ve selected the icon, click on the “Save Changes” button.
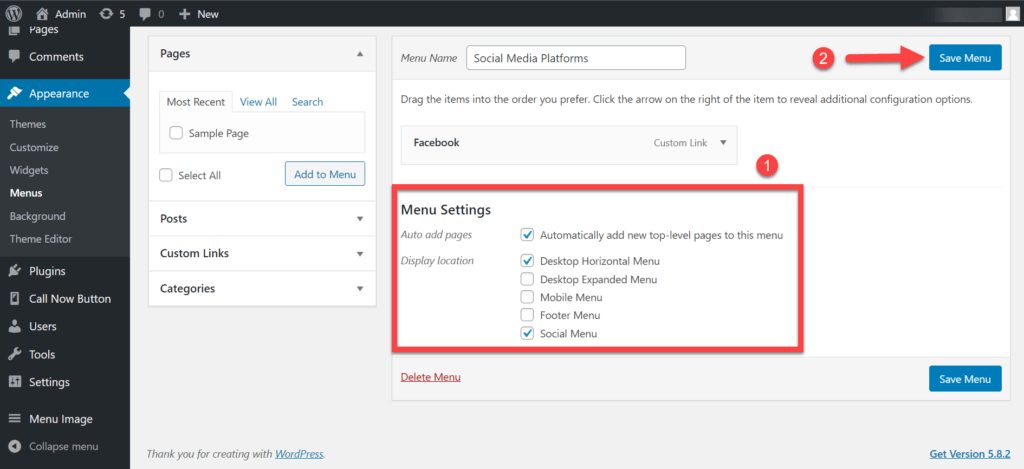
Close the icon selection window and click the checkbox to add pages and display the menu location. While setting the icons, menu location plays a vital role in the user experience. You can also place these icons in the footer menu, but it is recommended to place them in the header.
Note: Don’t forget to click on the “Desktop Horizontal Menu” check box.
Here you will also see the option of “Social menu” so that you can create a social menu for these icons. Now click on the “Save Menu” button.
Note: You can set it so that it’s only visible on certain posts or only visible on mobile devices.
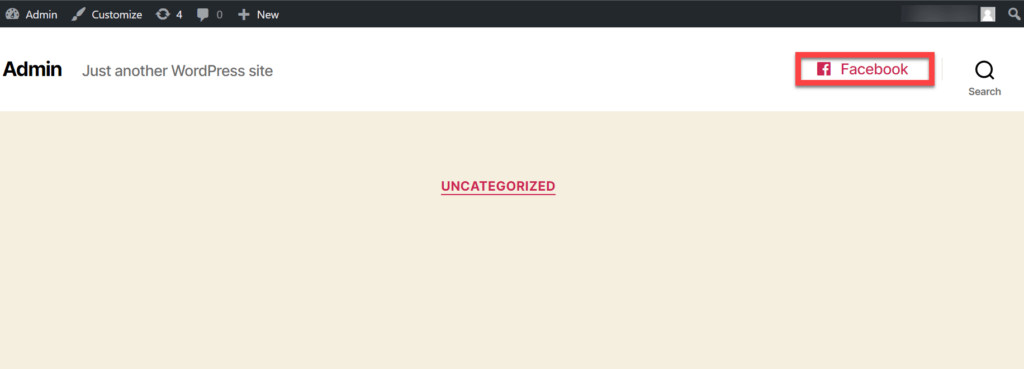
Once everything is done, go to the main page of your website and refresh it. The social media icons will be visible in the menu bar.
If you are unsatisfied with the result, then you can always change the color of the social media icons using custom CSS. You can change the following settings:
- Icon size
- Icon color
- Icon alignment, and more.
If you have some other way to add social media icons to WordPress, mention it in the comment section below.