How to Add ManyChat to WordPress

A chatbot can add a lot of value to a website, and the best tool for it is ManyChat. Unfortunately, many don’t know how to add it to their WordPress website.
It can be a little tricky, but I’ll provide you with a complete overview of how to add ManyChat to WordPress. Follow the steps, and you’ll be able to integrate it with no problem.😊
The topics which I’ll cover in this article are:
- What is ManyChat?
- Why use it on a website?
- What do you need for ManyChat?
- How to add ManyChat to a WordPress website?
Here is a basic introduction to ManyChat for those unfamiliar with it.
Table of Contents
What is ManyChat?
ManyChat is an easy & effective tool to interact with your customers and drive sales through Messenger and SMS. It allows you to create interactive chatbots quickly without writing any code.
It also allows you to automate and scale customer communication on Messenger and grow with you as your business grows. It covers platforms like Facebook, Instagram, Shopify, SMS, etc.
Why Should You Use It on a Website?
When a customer visits your website and wishes to contact you, the ManyChat chatbot is an excellent tool to communicate with your customers. It gives the visitor incentive to communicate with the seller and know more about the product or services.
Live chat usage is expected to reach 87% in 12-18 months, according to the latest predictions. Over 41% of online customers expect live chat to be available on your website.
What Do You Need for Manychat?
Before you start integrating ManyChat into your website, you first need to go to the ManyChat website and link your Facebook account and page with it. If you don’t have a Facebook page, don’t worry because I’ll show you how to create one for yourself step by step.
Creating a Facebook Page
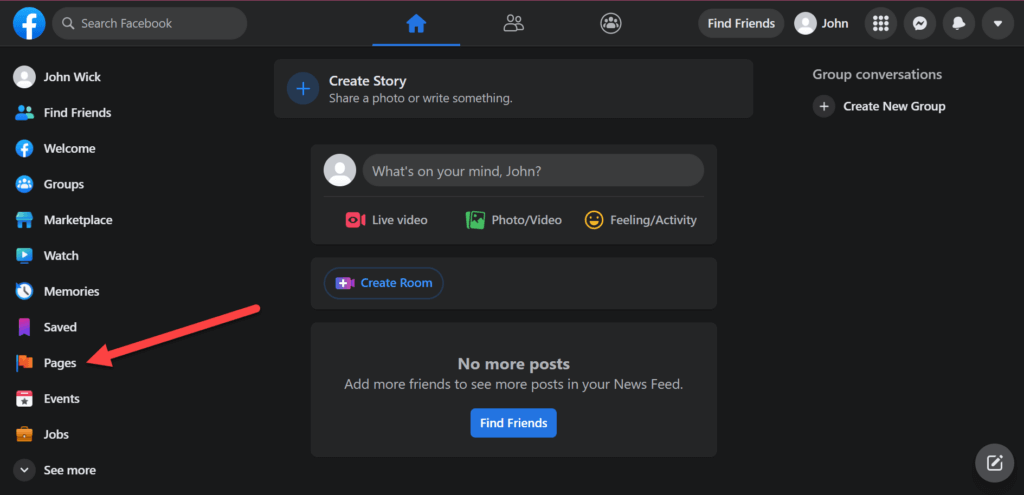
Creating a Facebook page isn’t a difficult task. Open your Facebook account and look at the left-hand side of the screen. You will see an option called “Pages.”

To create a Facebook business page, click on the “Create New Page” button.

A page will open where you will be required to enter the details of your Facebook page.
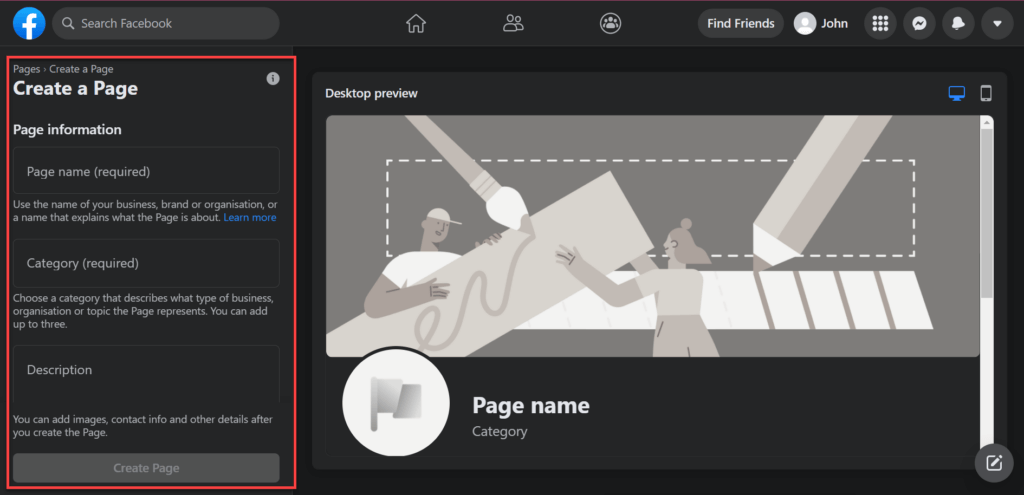
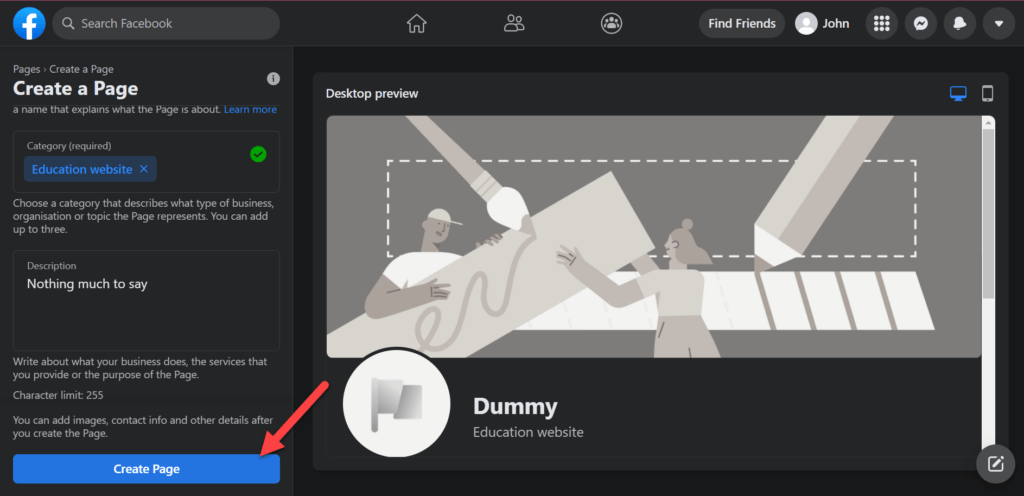
Next, click on the “Create Page” button to make the page.
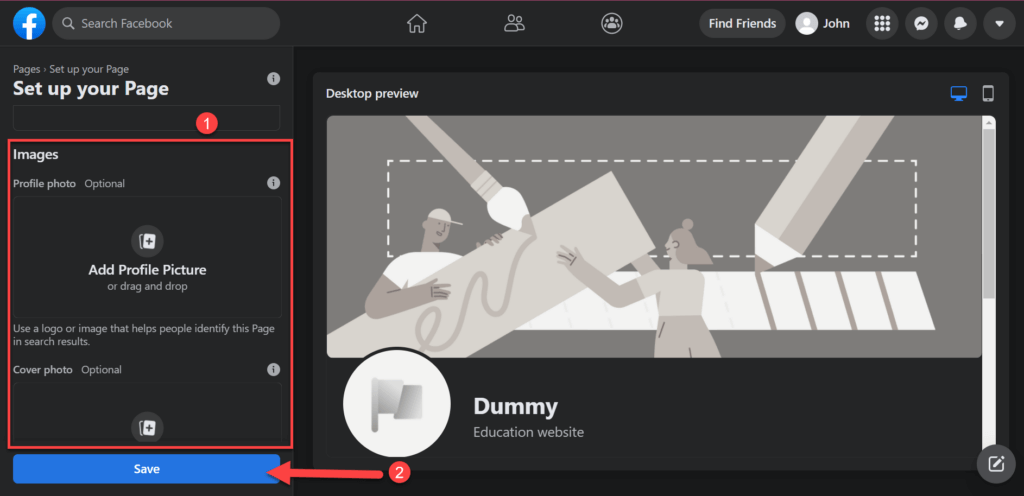
After doing that, it will allow you to upload an image, but that is optional. You can click on the “Save” button to continue.
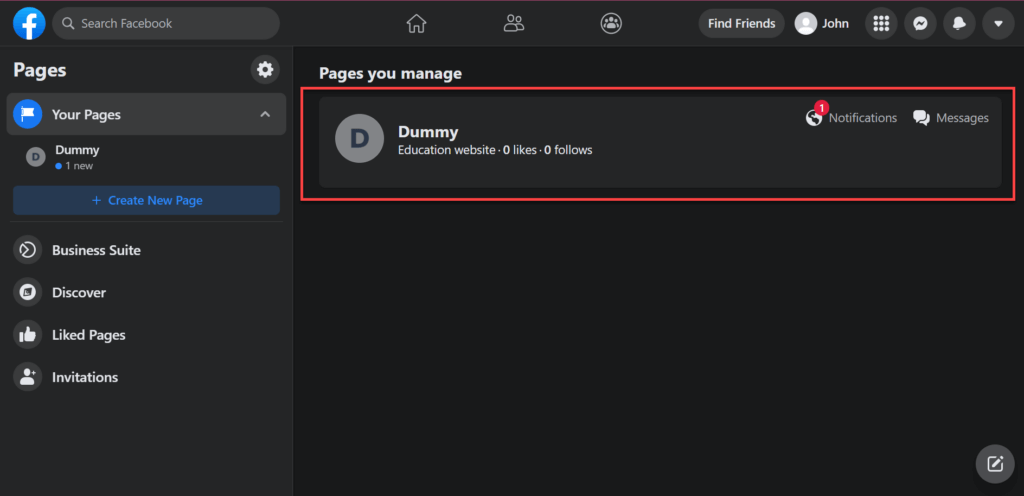
Now go back to the pages section.
You will see that your business page is now ready.
Following the creation of your Facebook page, you will be able to create a profile on the ManyChat website.
3 Steps to Add ManyChat to WordPress Website?
Integrating ManyChat into your website isn’t very difficult, but it does involve a lot of steps, so be careful.
Step 1: Creating a ManyChat Account
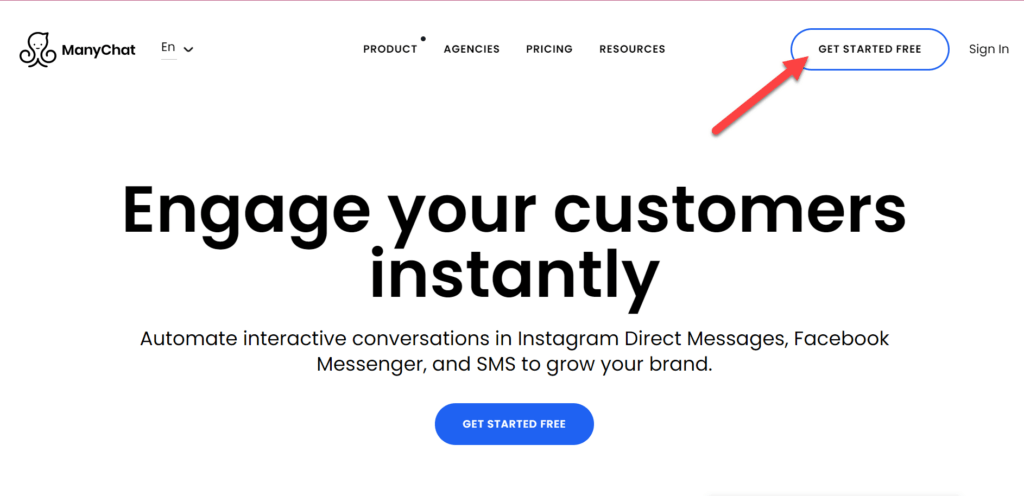
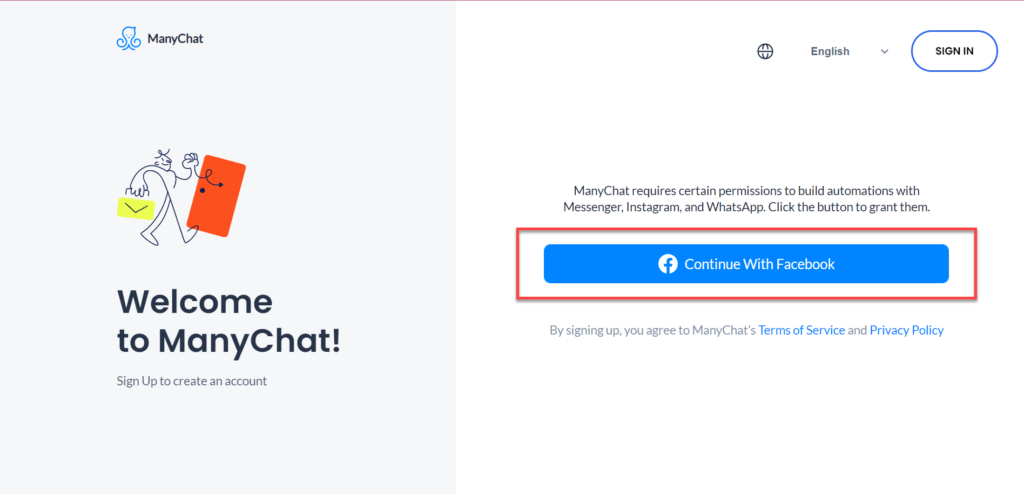
First, go to the official website of ManyChat and click on the “Get Started Free” button.
On the next page, click on the “Connect With Facebook” button.
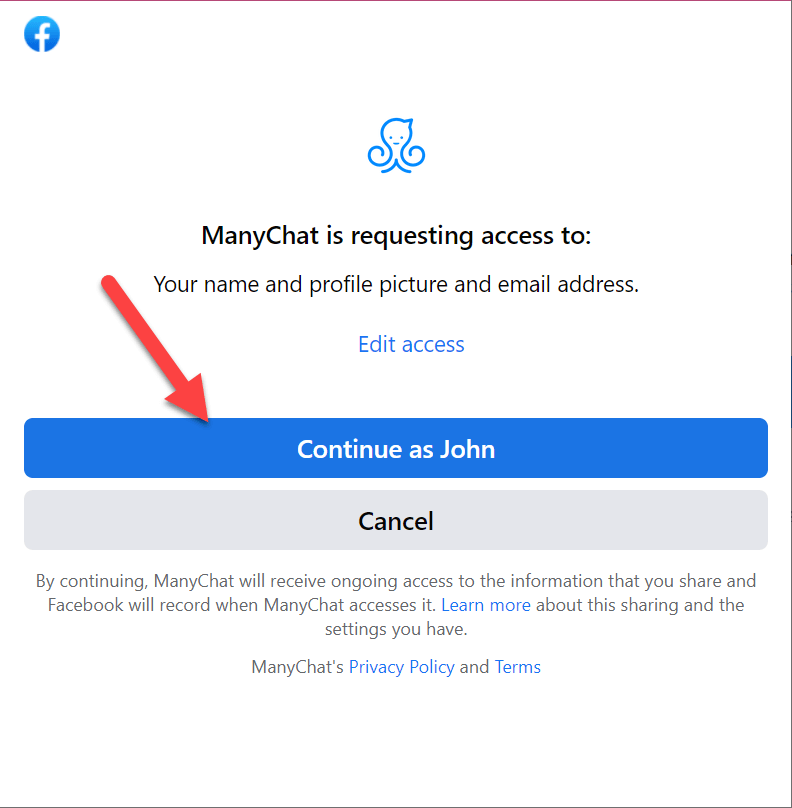
A pop-up will appear, which will help you log in to your Facebook account. If you previously logged in to Facebook using the same device but didn’t sign out. Click on the “Continue as _____” button to continue.
Click on the “Continue” button to connect your Facebook account.
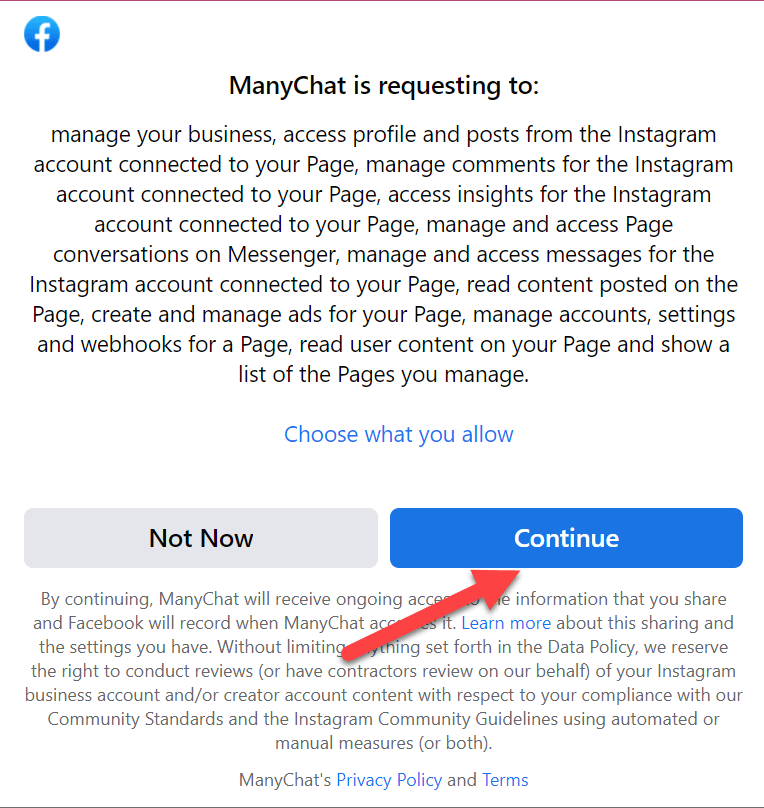
It will connect your Facebook account to ManyChat, and the pop-up will disappear, but there are still some steps to activate your profile.
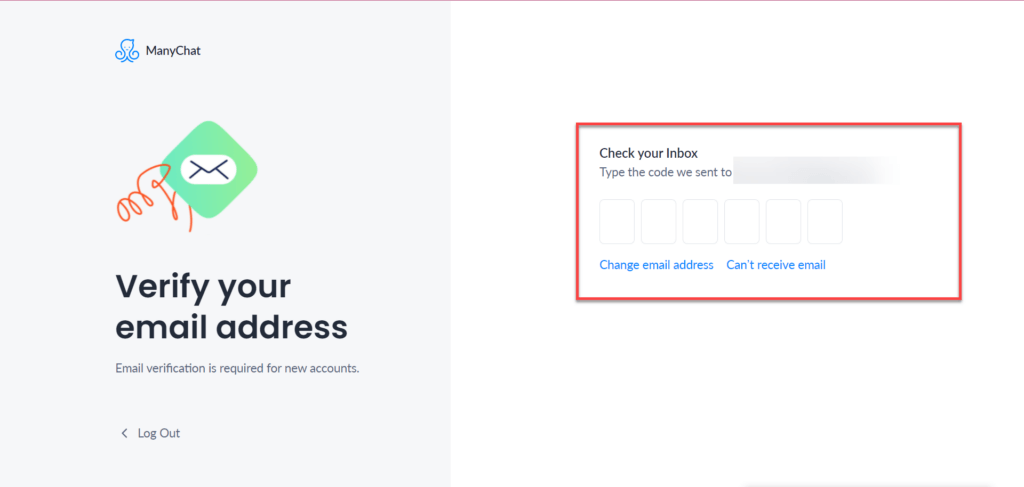
Here, you will be required to enter your email address to receive a code. After entering the email address, click on the “Next” button to continue.
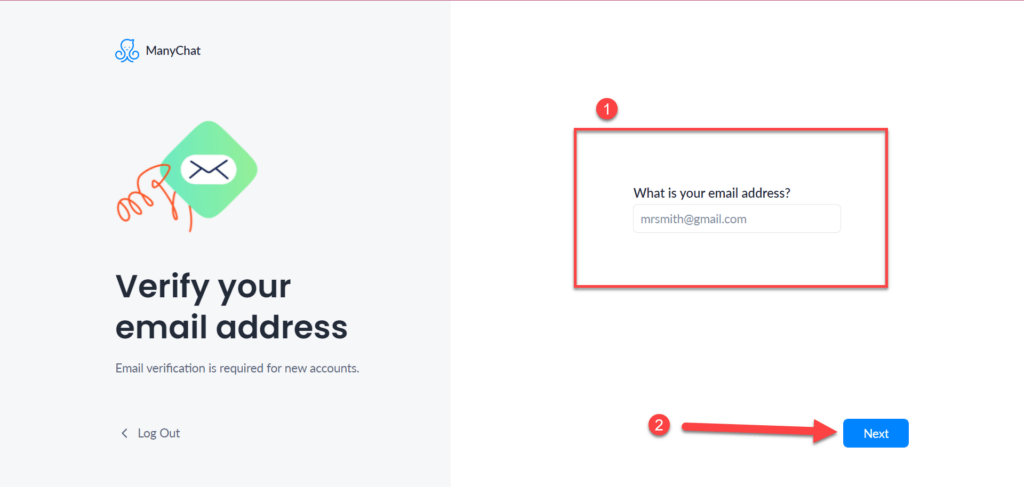
You will receive a code on your email address which you will insert on the next page of ManyChat.
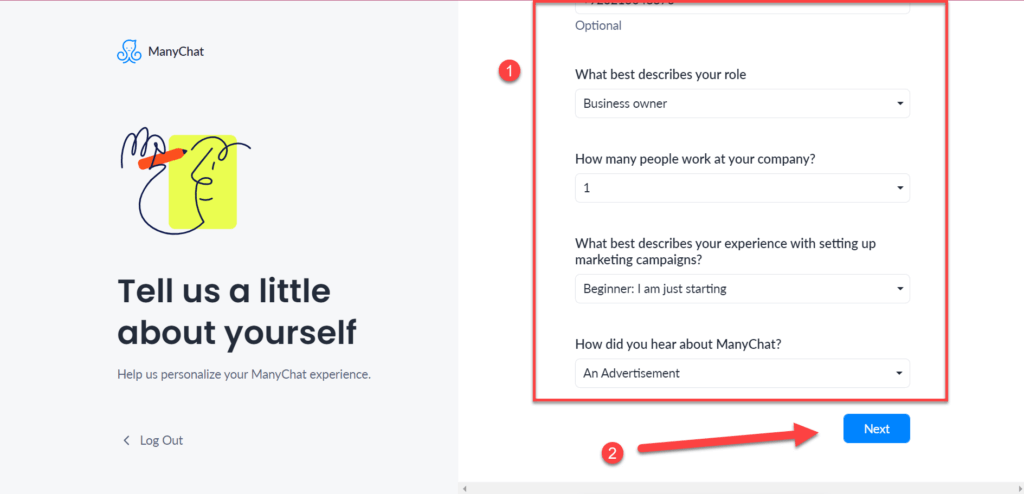
Next, you will need to enter your business information.
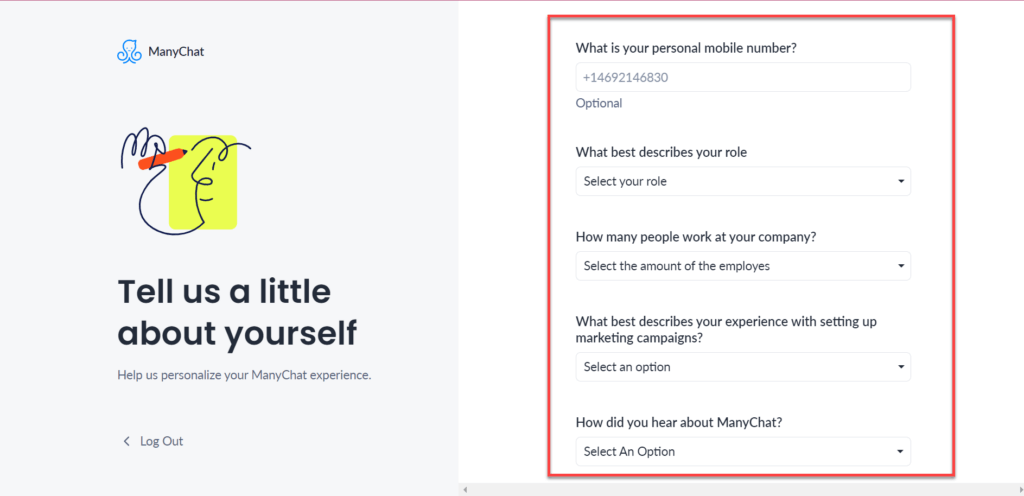
After entering the details, click on the “Next” button to continue.
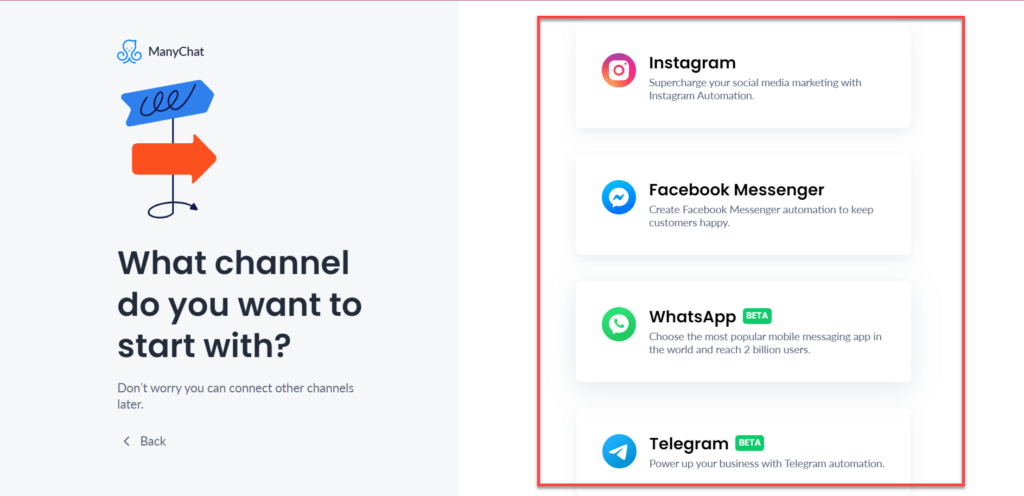
Next, click on the type of platform which you want to use. Click on the “Facebook Messenger” option to receive messages.
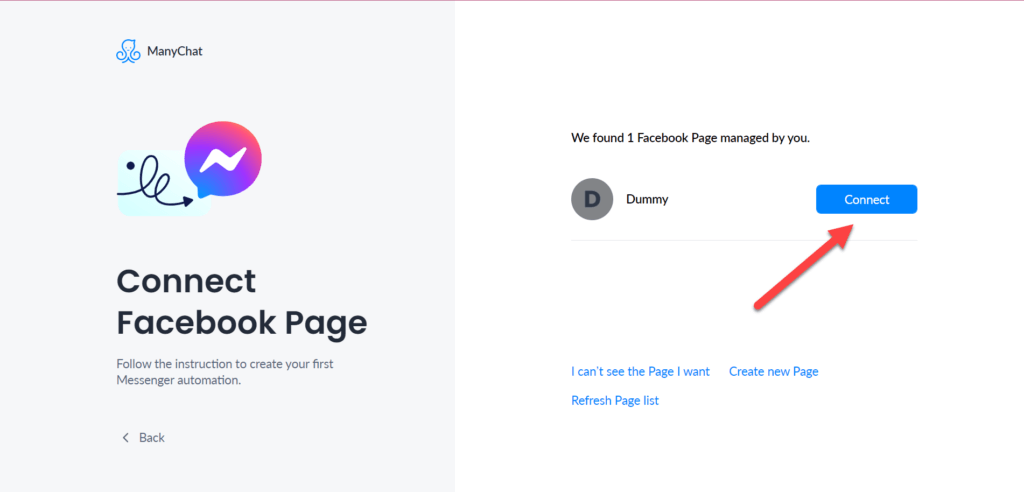
You will see your business page on ManyChat. Right next to it, you will see a “Connect” button. By clicking on it, you will connect your Facebook page and ManyChat.
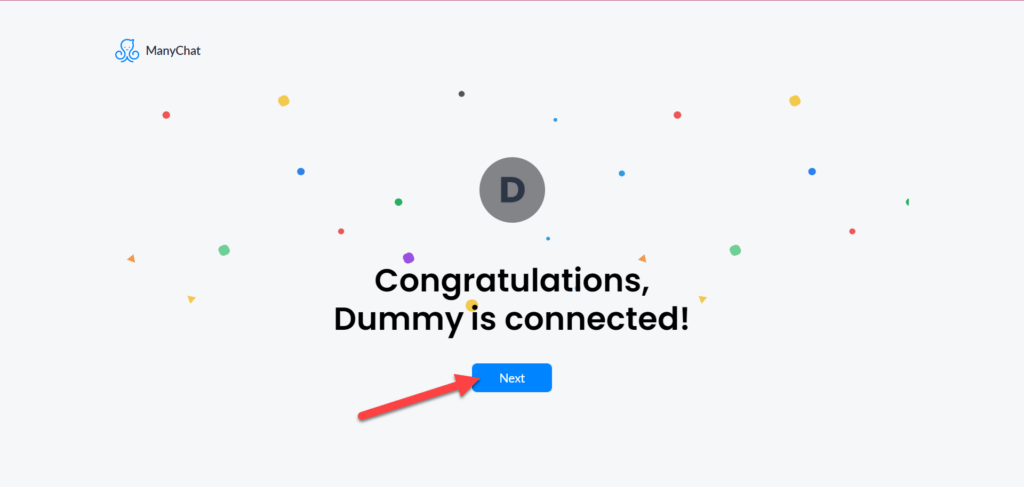
Your Facebook page and ManyChat profiles are now linked. Continue by clicking “Next.”
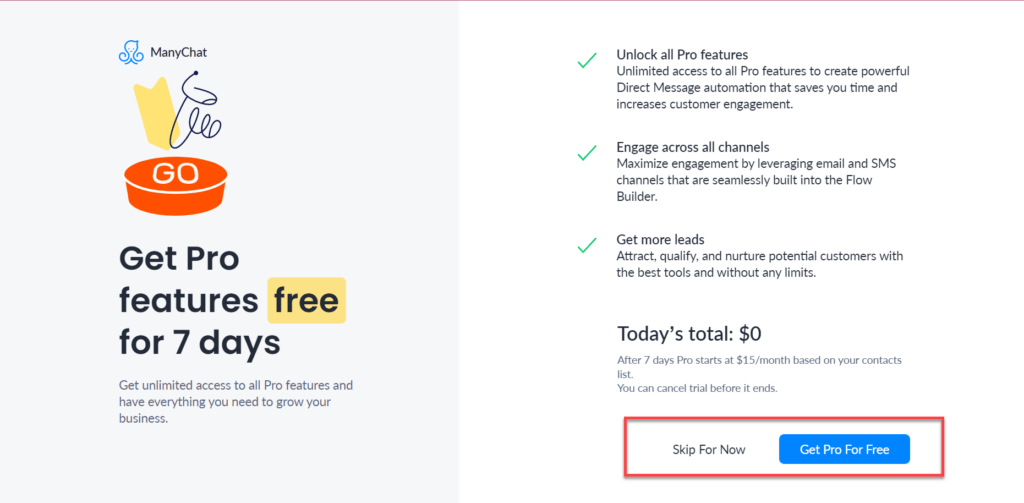
ManyChat provides you with a pro version for free in the beginning. It all depends on whether you want to go pro or simply use the free version.
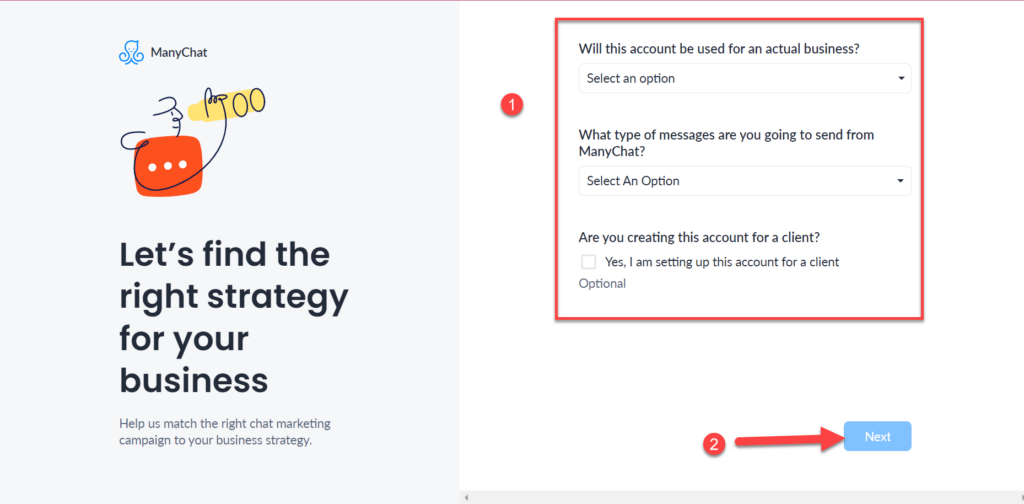
Furthermore, it will ask you what you will do with your ManyChat account. Fill out the details and click the “Next” button.
Now your account is finally ready.
Step 2: Creating a Chatbot for Your Website
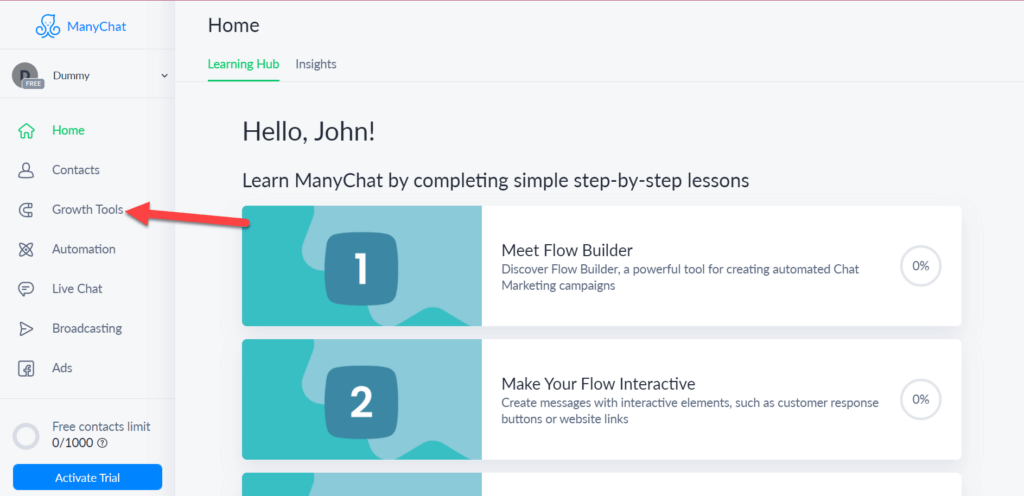
After creating your ManyChat account, it’ll take you to your dashboard. Click on the “Growth Tool” option on the left-hand side of the screen.
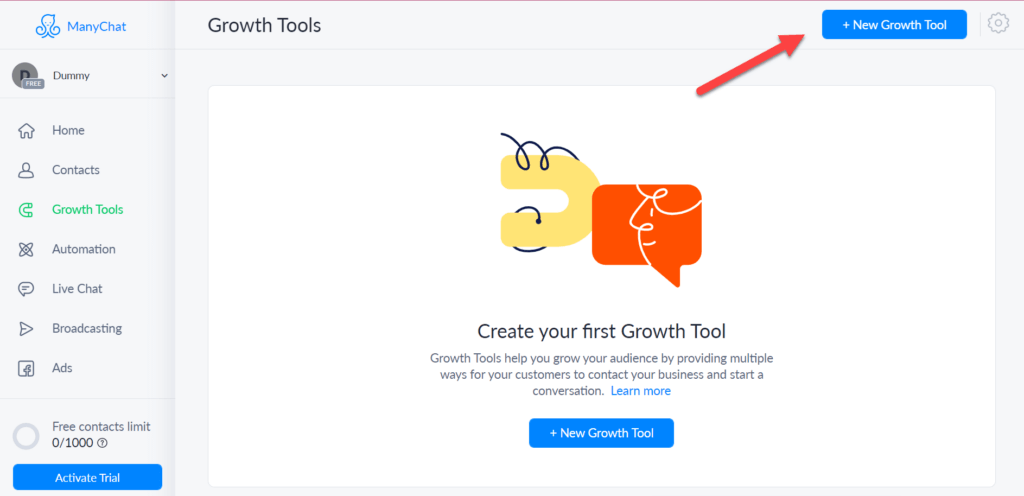
Click on the “New Growth Tool” button on the growth tool page.
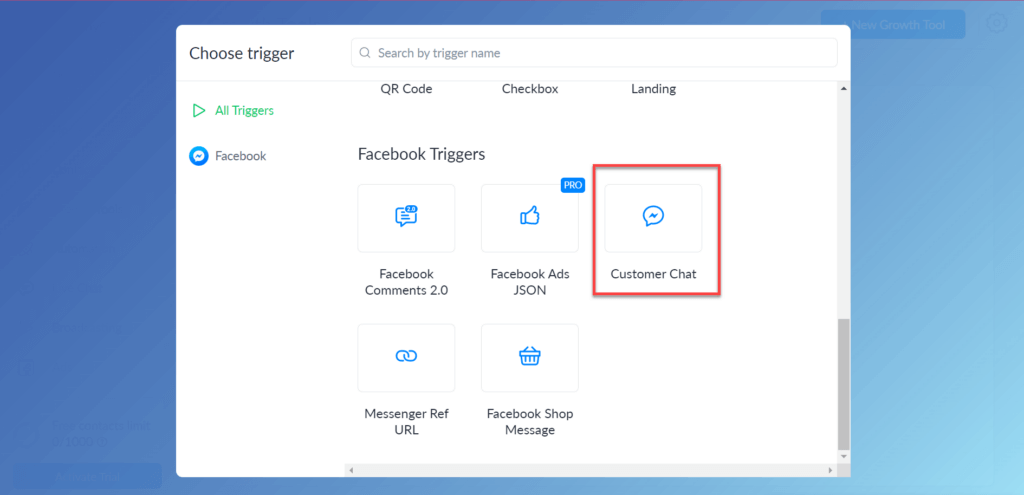
There will be a pop-up on which you select the “Customer Chat” option.
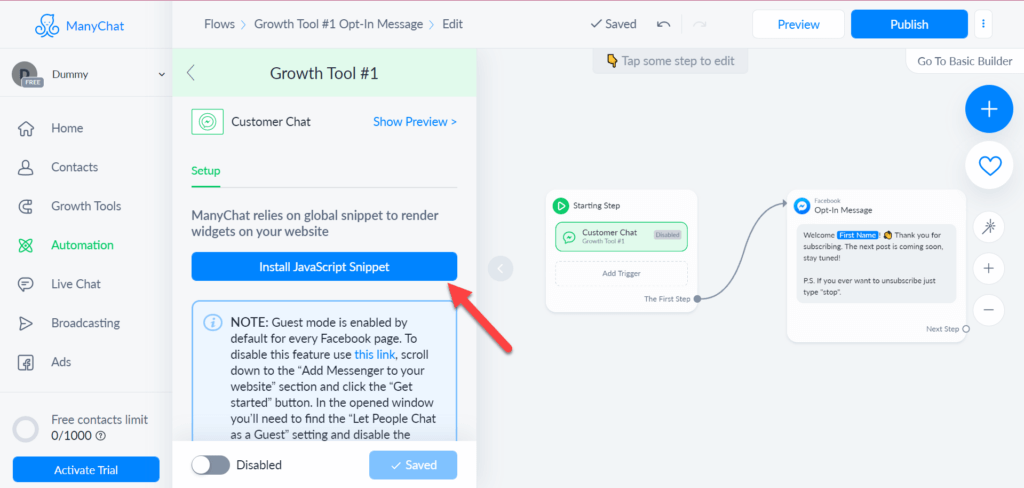
You will add a new growth tool to your profile. Click on the “Install JavaScript Snippet” button to proceed.
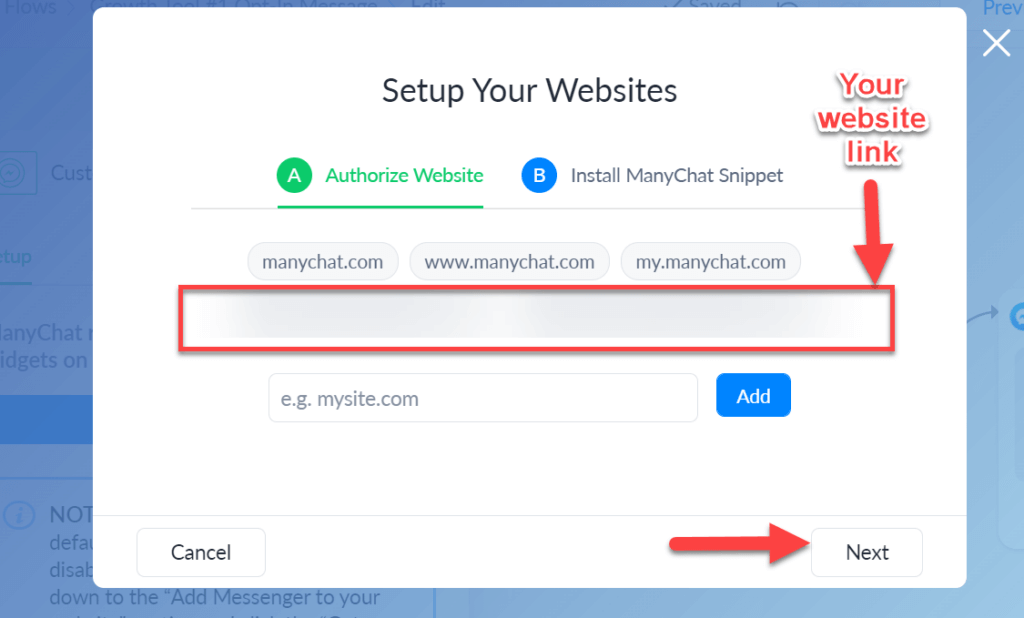
On the pop-up, paste the address of your WordPress website on which you want to add the ManyChat chat section. After pasting the address, click on the “Add” button to proceed.

After adding the address, click on the “Next” button to continue.
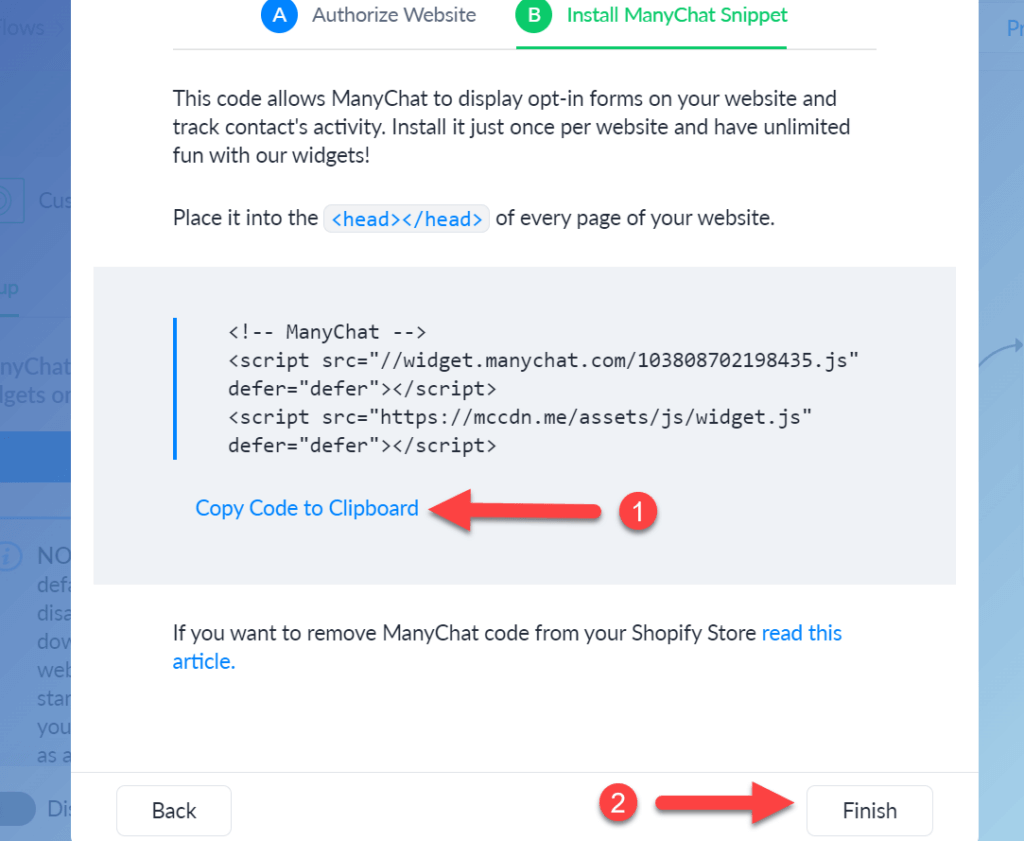
On the next page of the pop-up, there will be a code that you will copy and then click on the “Finish” button.
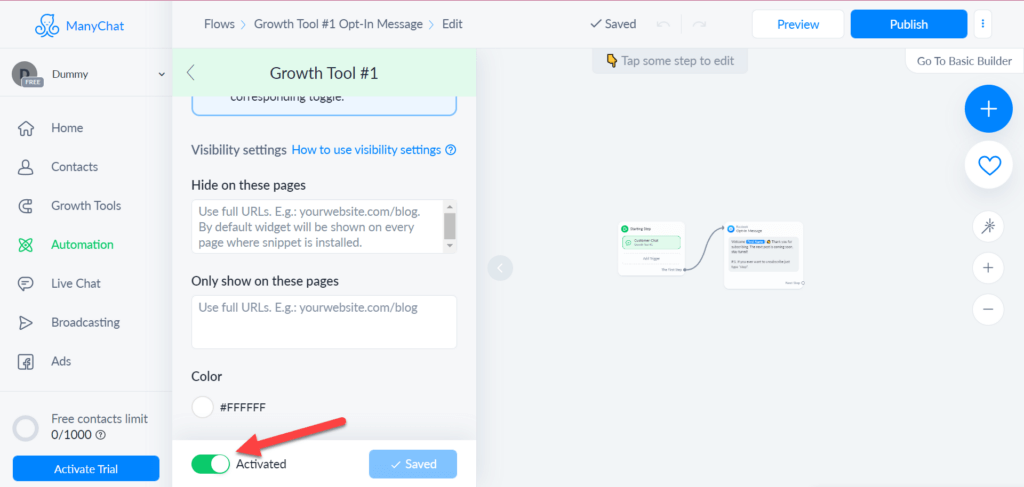
Don’t forget to click on the “Activate” switch to make it visible.
Step 3: Adding ManyChat to a WordPress Website
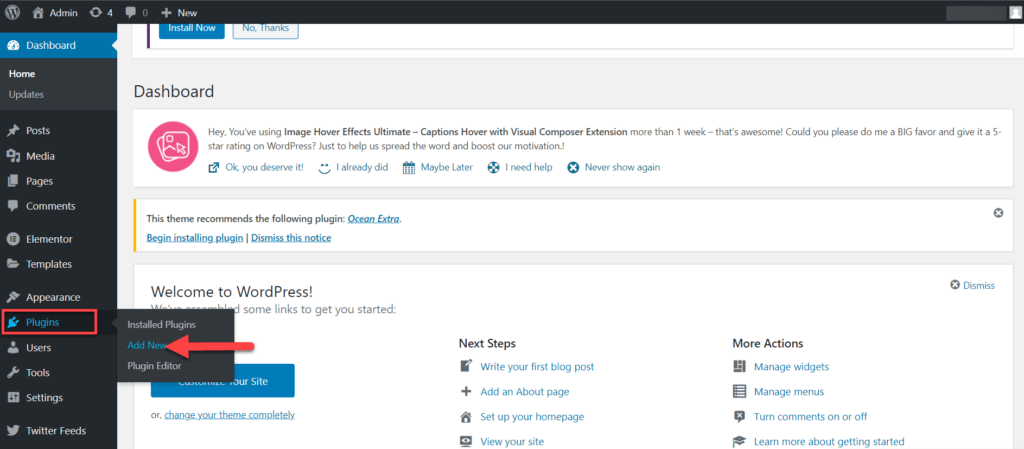
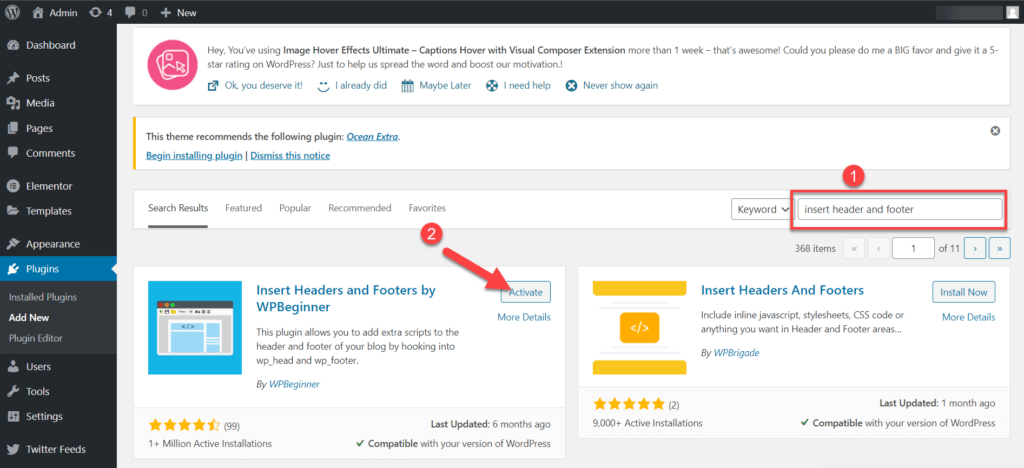
The next part of this guide is the most important one. Go to your WordPress website dashboard, hover over the “Plugins” option and click on the “Add New” option.
Search for the plugin called “Insert header and footer.” After locating the plugin, click the “Install” button. After installing, the button will become an “Activate” button; click on it to proceed.
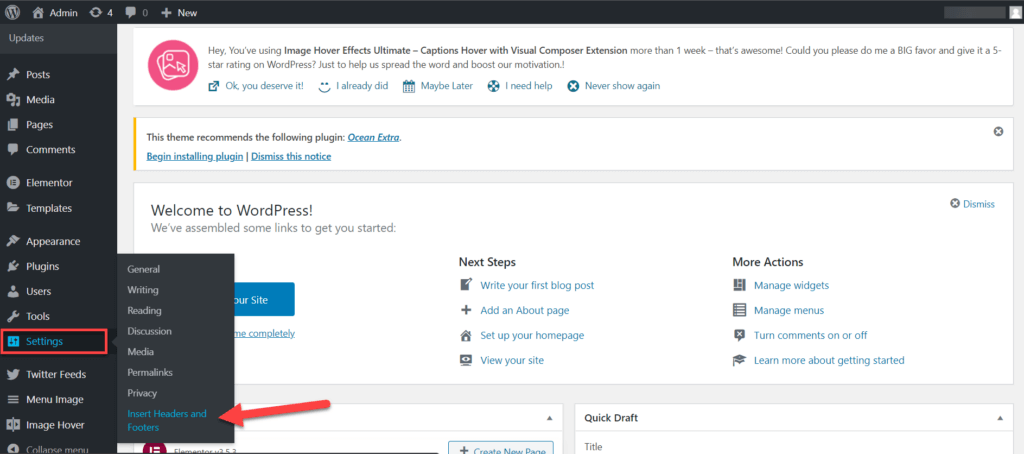
Hover over the “Settings” option and click on the “Insert Headers and Footers” option.
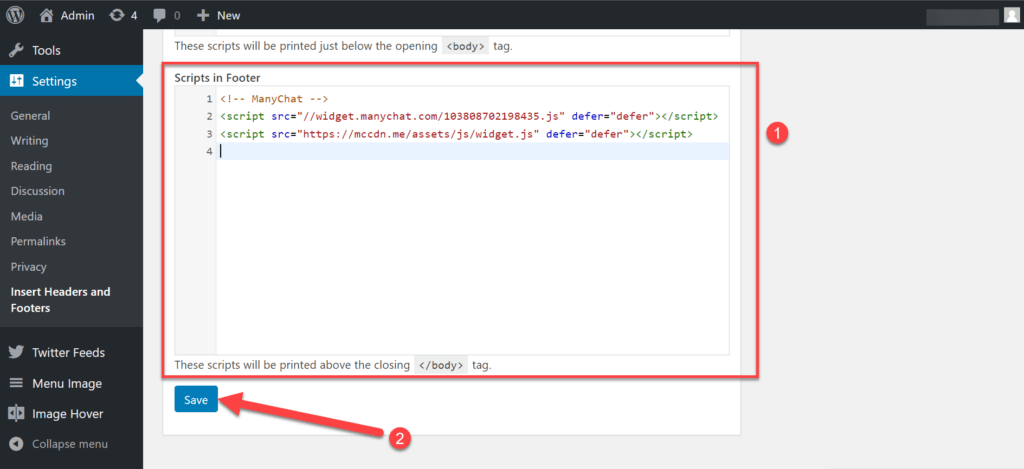
A page will open on which you will scroll down and paste the previously copied code (from the ManyChat growth tool) in the “Scripts in Footer“ section. Once the code has been pasted, click on the “Save” button.
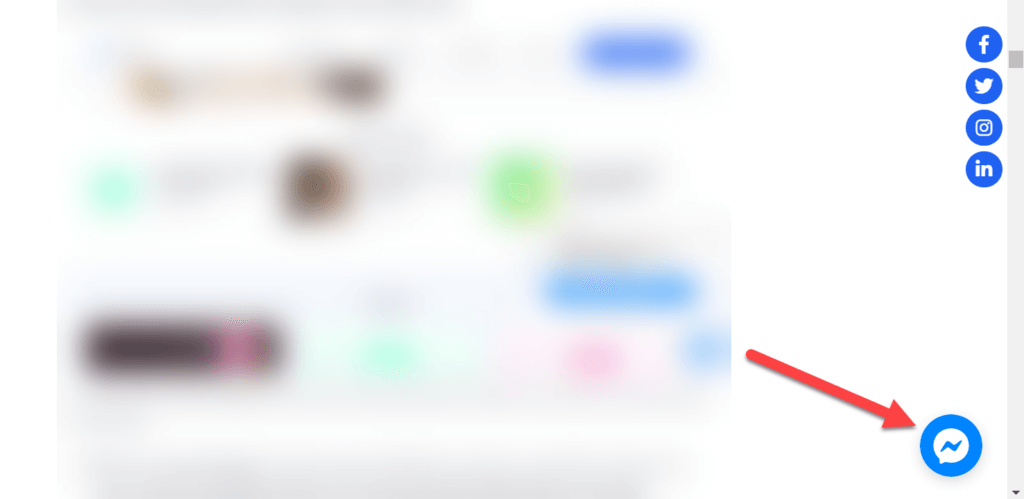
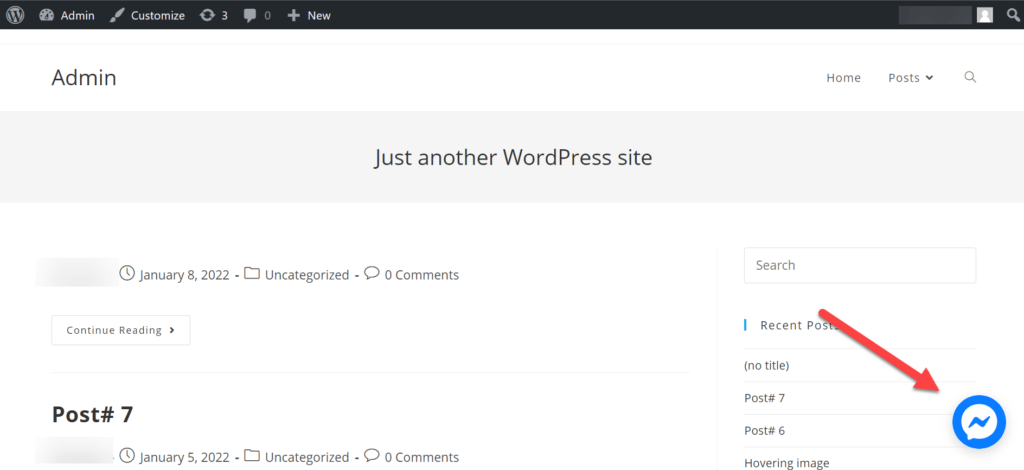
Now all you have to do is go back to your website and refresh it. After some wait, you will see a messenger icon on the bottom right corner of the screen.
Wrapping Up
In the end, chatbots are a great way to provide immediate feedback and resolve customer issues quickly. They also help reduce the load on your customer service team.
If you haven’t added a chatbot to your website yet, we encourage you to do so today. It’s an easy way to improve customer satisfaction and keep them happy.
Have you tried using chatbots on your WordPress site? What has been your experience?


