How to Change Hyperlink Color in WordPress

Many people don’t concern themselves with changing the hyperlink color of their website, but some do want to match it with their website theme.
That’s why today, I’m going to show you how anyone can change hyperlink color in WordPress.
In this guide, you’ll learn:
- What are hyperlinks?
- Why change the color of hyperlinks?
- How to change hyperlink color in WordPress?
Let’s start with what exactly is a hyperlink?
Table of Contents
What Are Hyperlinks?

A hyperlink is a link when clicked takes the reader to another webpage. Hyperlinks are often blue and underlined, but they can also be in any color and format.
Hyperlinks are an essential part of web design, as they allow users to navigate between pages with ease. Most browsers support hyperlinks, and you can use them on both desktop and mobile websites.
Some themes have default color settings for them, meaning that whenever someone applies a hyperlink in a particular theme, it would match the theme’s color scheme.
These are primarily used if anyone wants to provide the user with another relevant piece of information. Furthermore, it can also be some sort of download link.
Why Should You Change the Color of Hyperlinks?
Changing the color of a link isn’t something that most people try to change. They are mostly content with the default color of the link, which is mostly blue. In some cases, when you use a theme and apply the template, the color scheme will change according to it.
Providing a link is the backbone of any type of SEO. Suppose you are doing on-page SEO, then you have to provide internal as well as external links. Additionally, if you’re doing off-page SEO, then you have to use the link of your website to other websites.
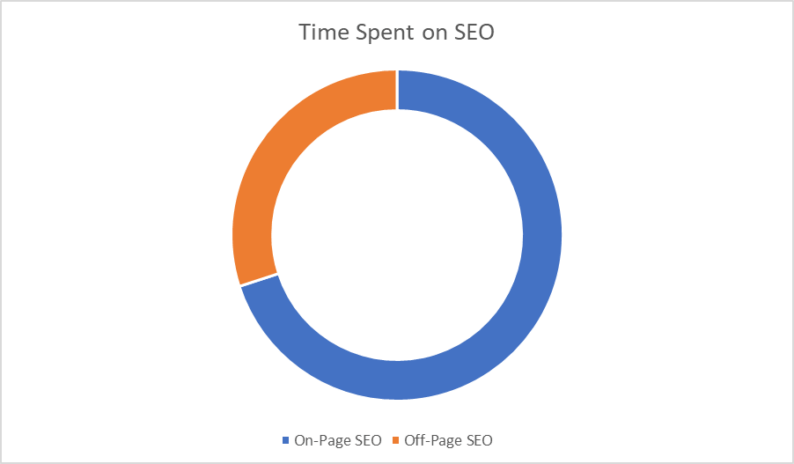
According to Dr. Pete Meyers, many people spend 30% of their time doing off-page SEO and 70% on on-page SEO. It goes to show you how much people put emphasis on on-page, but it also shows how much linking is necessary for your website.
Sometimes, the color won’t change, and the website owner may want to match it with the website’s theme. It’s mostly done because when all the available elements of the website match up with every other element, it drastically improves your brand recognition.
How to Change Hyperlink Color in WordPress?
There are several ways to change the color of the hyperlink. You can choose whichever seems easiest to you. Let’s discuss all of them one at a time.
Method 1: Edit Through the Customize Option
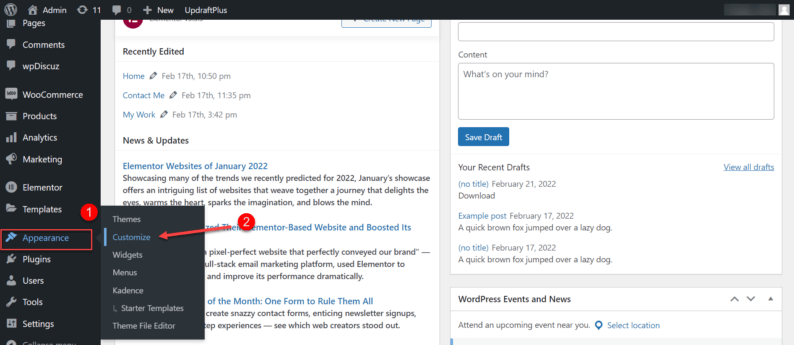
Start by hovering over “Appearance” and clicking on the “Customize” option.
Note: You also go to this section by clicking on the “Customize” option on the website.

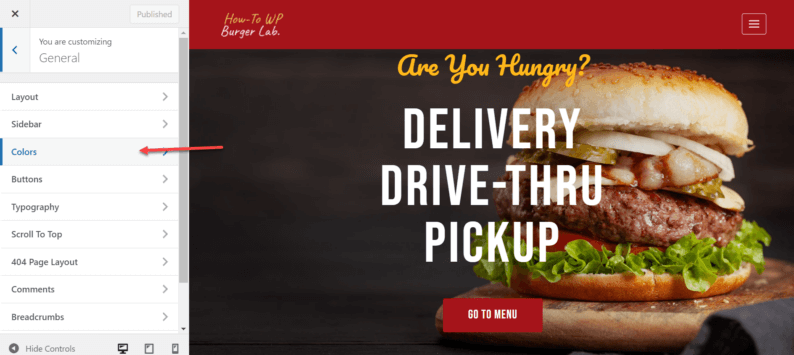
In the customization setting, click on the “General” option.

Now click on the “Color” option.
Scroll down to the Content Link section. Here you will see the “Links Color” option.
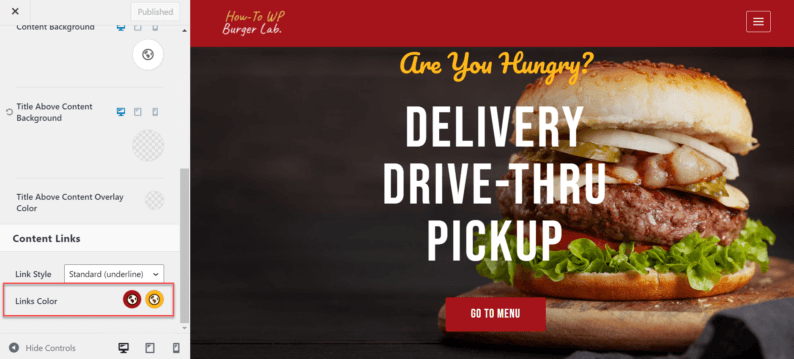
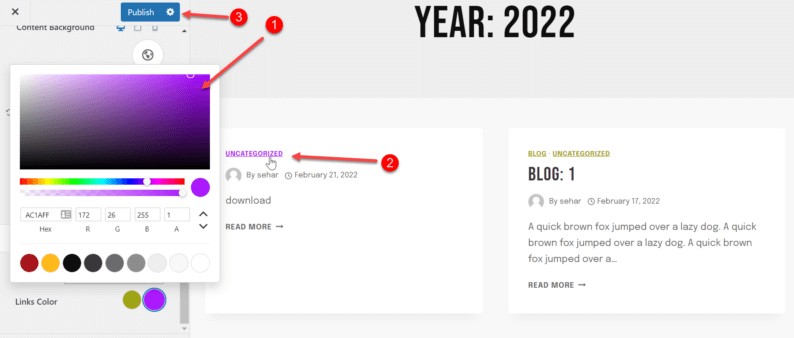
By clicking on the first one from the left, you’ll see that the colors of the links can be changed.
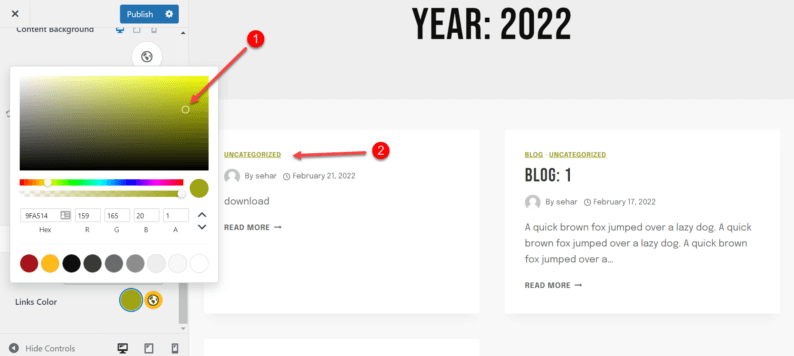
On the other hand, if you choose the other option, you’ll be able to change the color of those links.
After changing the colors to your liking, click on the “Publish” button to save changes.
It’s one of the easiest methods to change color, but for some reason, it doesn’t work; there are other methods as well to change hyperlink color in WordPress.
Method 2: Use Additional CSS
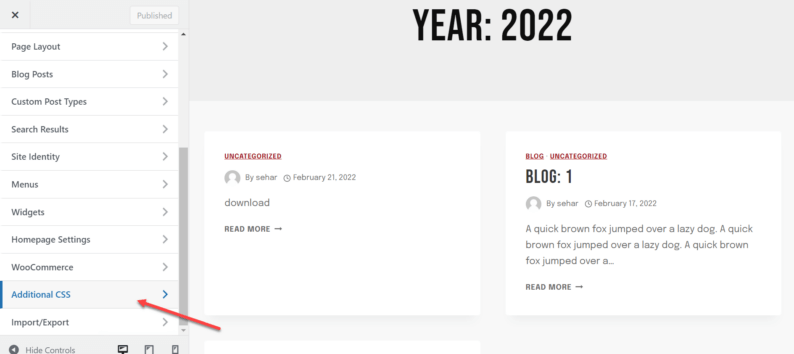
If you’re already in the Customize section, then well and good, otherwise go to Appearance >> Customize.
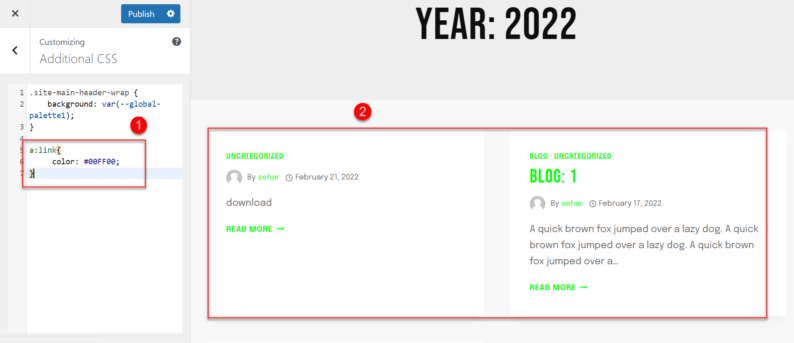
Scroll down in the customize section and click on the “Additional CSS” option.
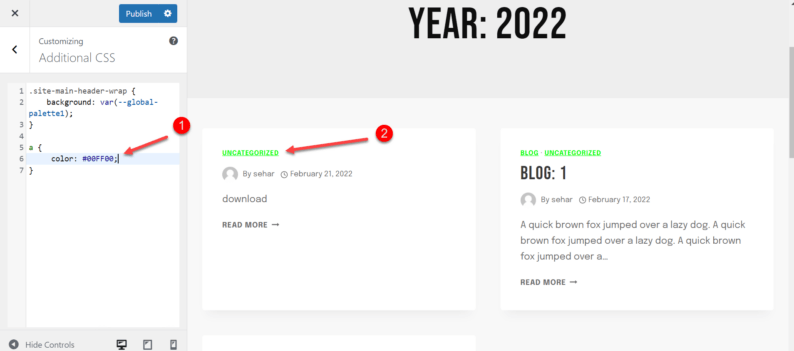
Here you’ll write a small code that can change the color of the link. Just write:
a{

  color: #00FFFF;

}
Note: You’ll have to enter the color code you want for the link.
If you want to change all the available links colors available on the page, you’ll write the following code:
a:link{

  color: #00FFFF;

}
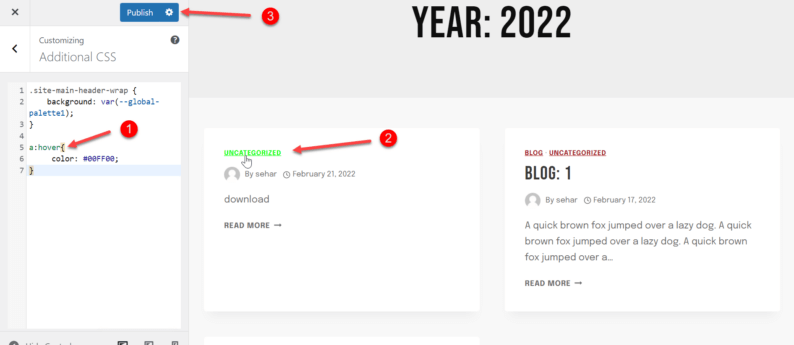
You can also change the hover colors of the links. Write the following code:
a:hover{

  color: #00FFFF;


}
To save all the changes, click the “Publish” button.
Method 3: Use CSS to Change Color of Each Hyperlink
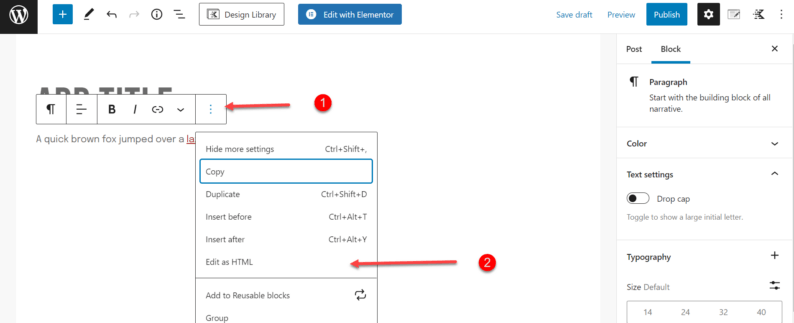
This method is a bit long, but it gets the job done. Go to any pre-existing post or add a new one by going to Posts >> Add New.

Write a text with a hyperlink, after which you’ll click on the 3 dots icon. It’ll display a drop-down menu where you’ll click on the “Edit as HTML” option.
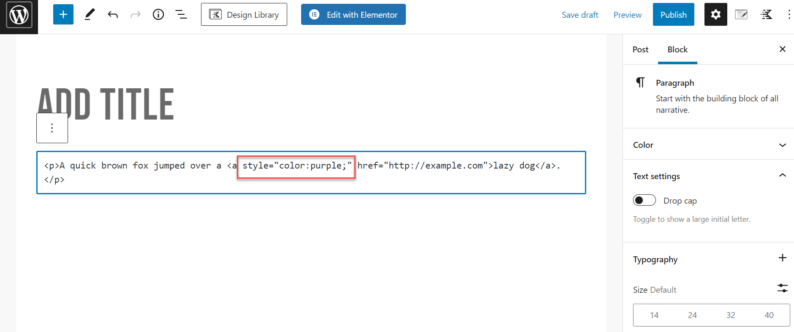
Now, look for the “a href” tag, which adds links to the text.
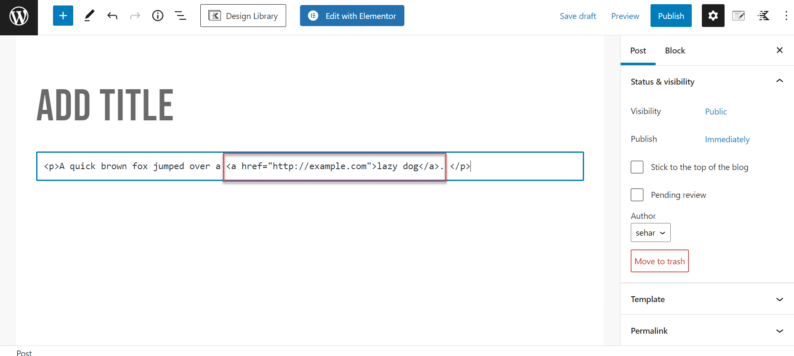
In the a href tag, right before the link, you write a small CSS code that will change the color of the URL.
Now, click on the 3 dots icon and click on the “Edit visually” option.
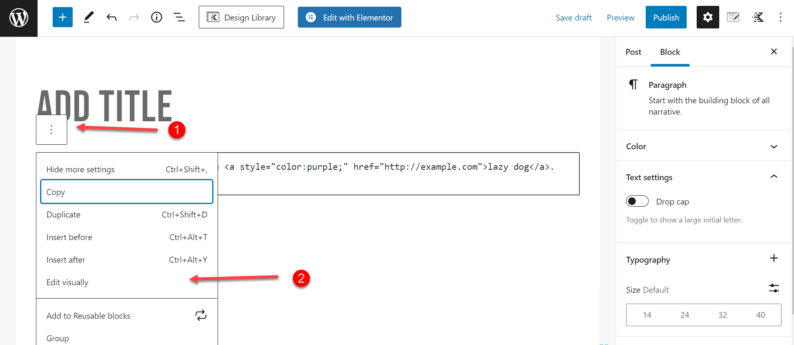
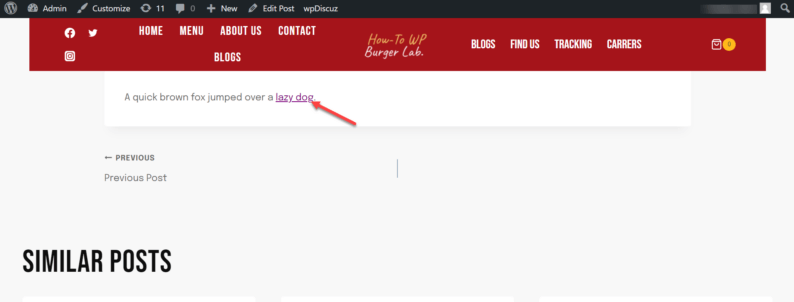
You’ll see that the color of the link is immediately changed. All that remains is that you click the “Publish” button and go to the website. Here, you’ll see that the color of the link has actually changed.
Method 4: Use Elementor
Start by clicking on the “Edit with Elementor” option on the top bar of your website.

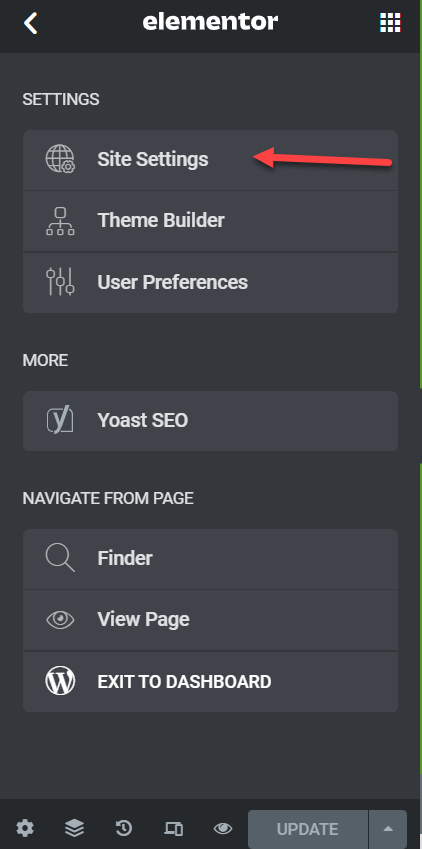
Elementor will open on the left-hand side of the screen. Click on the menu option in the top left corner of the screen.
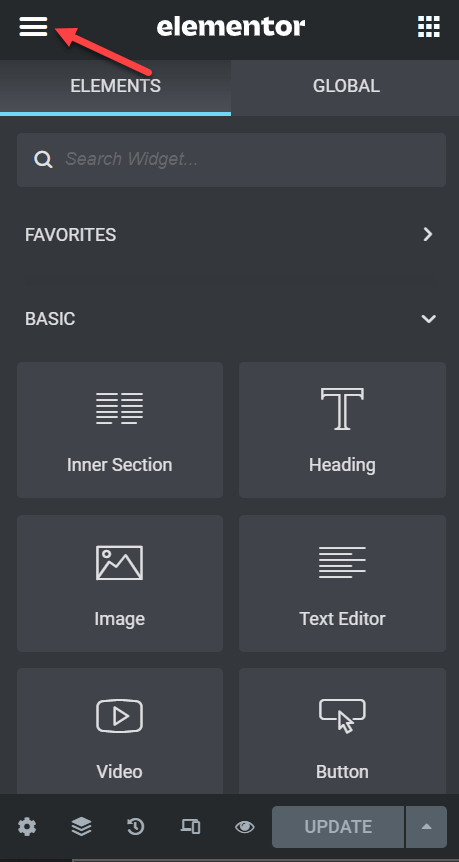
Click on the “Site Settings” option.
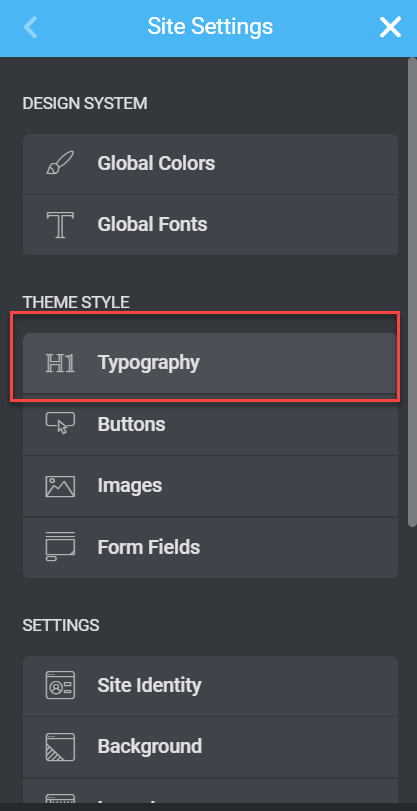
Here, you’ll click on the “Typography” option.
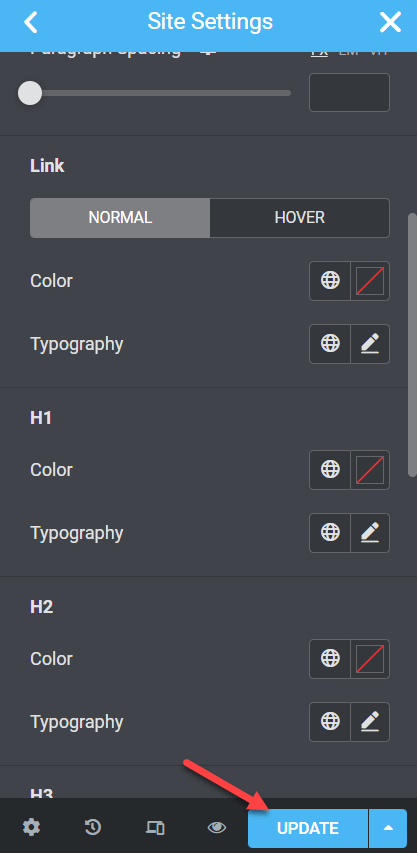
Scroll down, and you’ll see a section for “Links.” Here you can change the text style as well as the link color.
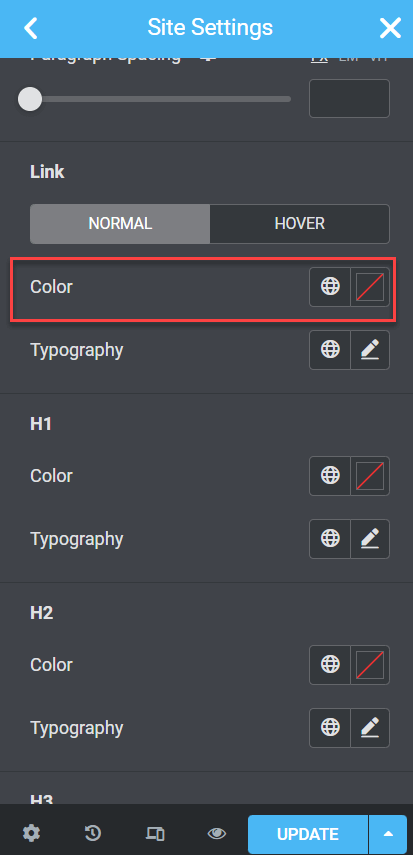
First, click on the option for changing color, and then you can edit all the colors of the links.
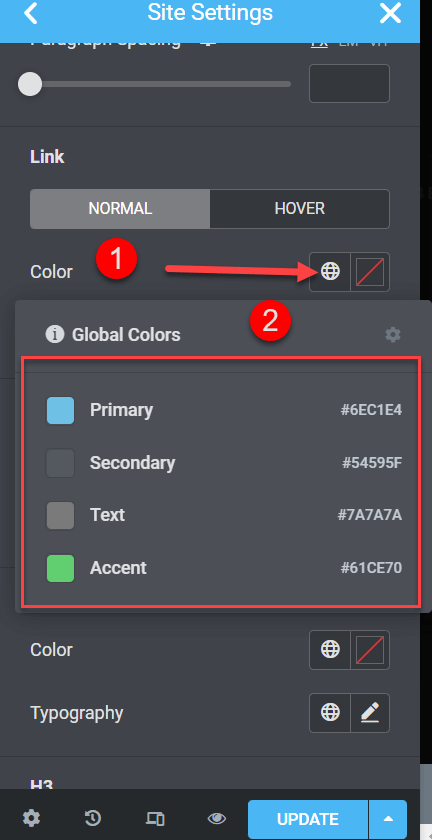
After changing all the colors, click on the “Update” option to save all the changes.
Wrapping Up
As you can see, there are several methods for changing the color of a hyperlink, but unfortunately, there isn’t any specific plugin designed to change its color.
These are all the available methods I know of to change the color but if you know any other way, feel free to mention it in the comment section below.


