How to Deal with Invalid or Broken Links on Your WordPress Site

You have probably heard of dead or broken links before. At least at some point, you had a chance to see them. Knowing how to deal with such links is vital for any website developer. That’s why I will show you a great way to deal with invalid or broken links.
You’ll learn:
- What are broken links?
- How to use the plugin and deal with invalid or broken links
- What is WP 301 Redirects plugin, and why should you use it?
Table of Contents
What Are Broken Links?

Broken links are links that no longer work or are no longer accessible. Broken links can be caused by a variety of issues, from outdated website content to broken links on the website itself.
When a link is broken, it can cause users to become lost and frustrated. Broken links can also lead to decreased traffic and visitor engagement on a website.
Invalid or broken links don’t necessarily affect your SEO ranking but having too many can be a cause for concern. Thus, it is imperative that you regularly check your website for any broken links, but it can be tedious work.
It’s best to leave such problems to the plugins that automate our work.
How to Use the Plugin and Deal with Invalid or Broken Links
This plugin is free to download from the WordPress repository, so it’s pretty handy. However, you must download and install the pro version for your site.
Let’s start with the installation of this plugin.
Step 1: Installation
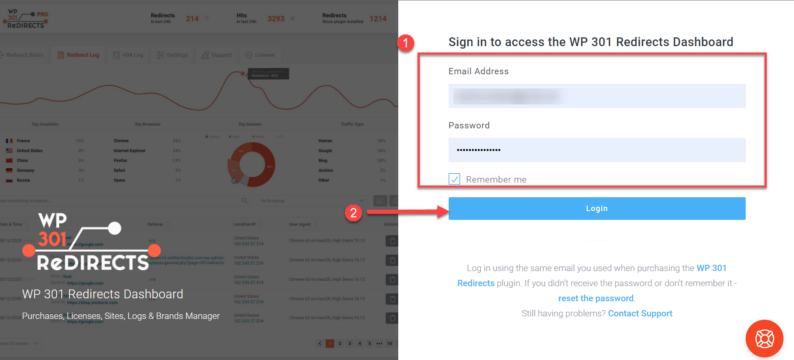
Go to the WP 301 Redirect login page. Here, enter the email and password you used while purchasing this version.
After entering details, click on the “Login” button.
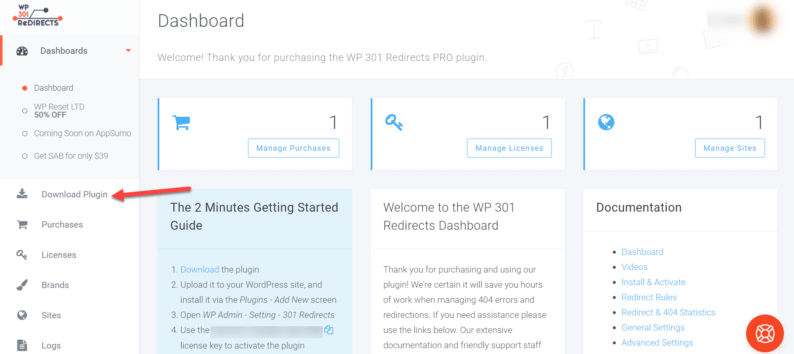
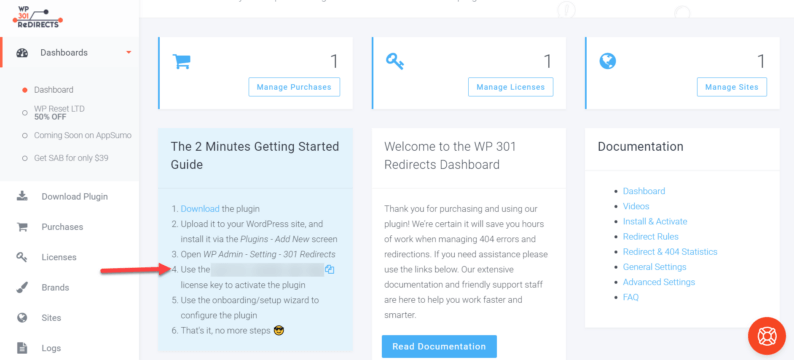
Once logged in, click on the “Download Plugin” option.
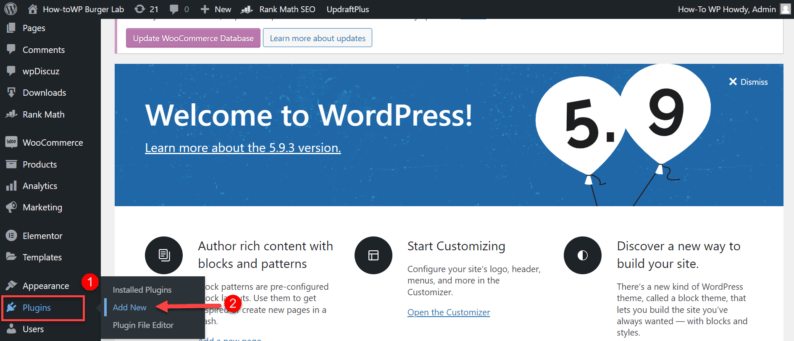
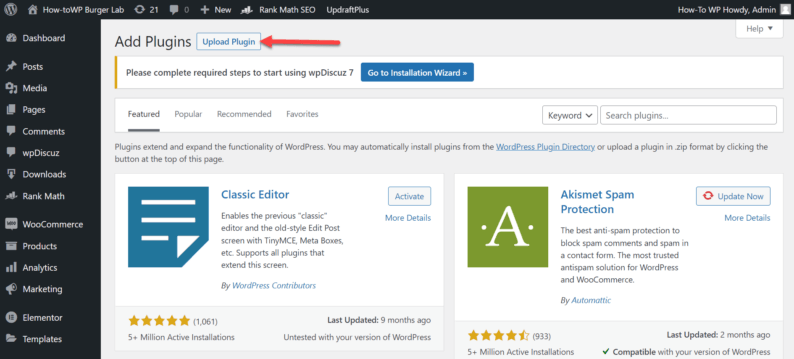
Once the download is finished, go to your website’s dashboard. Here, you’ll go to “Plugins” and click the “Add New” option.
Click on the “Upload Plugin” button.
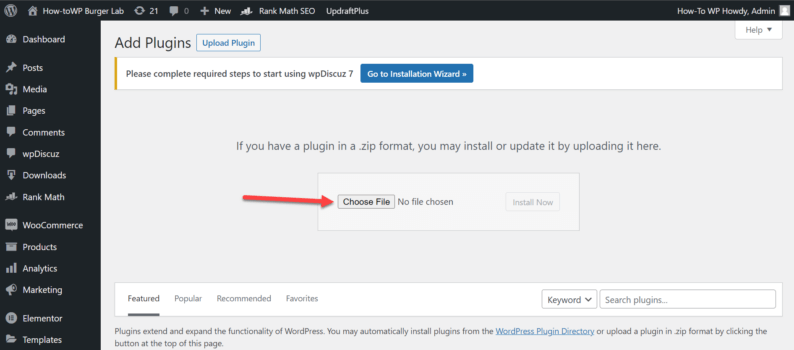
Click on the “Choose File” button.
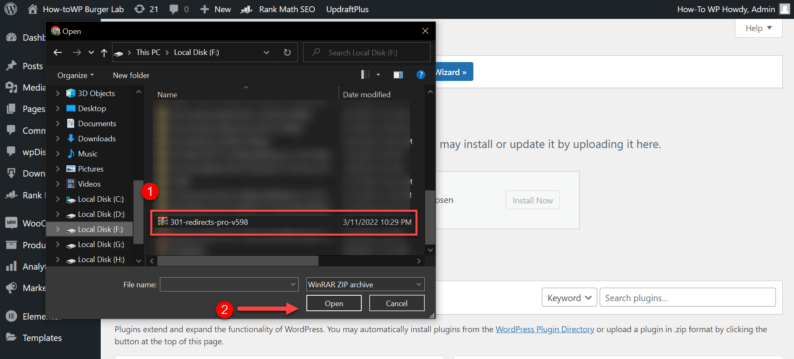
Select the downloaded zip file and click the “Open” button.
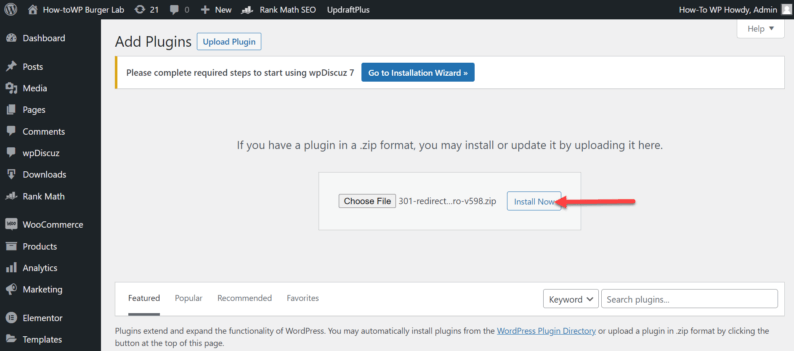
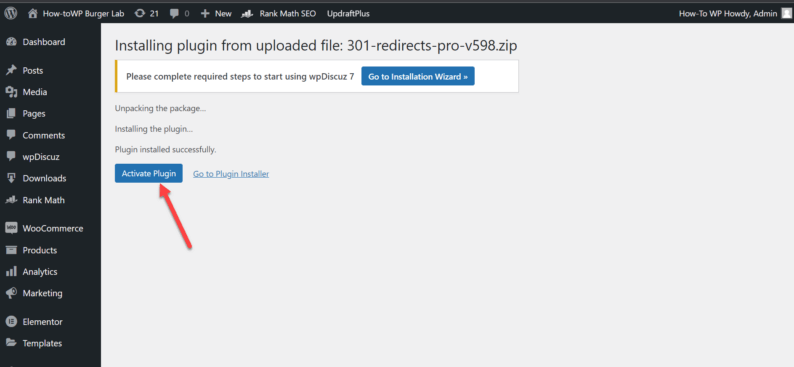
Next, click the “Install Now” button.
Now click the “Activate Plugin” button.
Step 2: Activation
After the installation process, you’ll need to activate the plugin. You’ll go back to the dashboard and copy the activation code from the instructions.
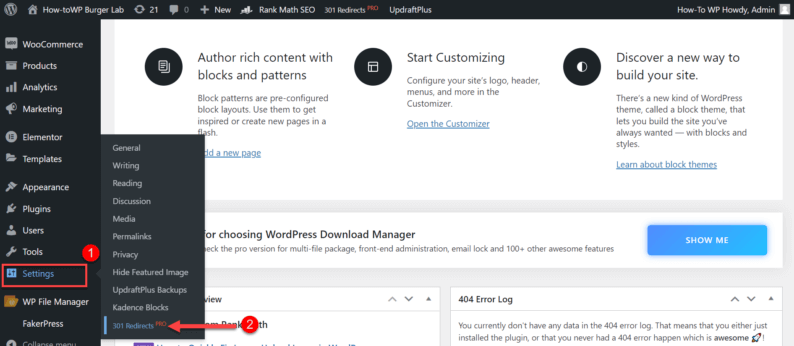
Now go to the dashboard of your website. Hover over the “Settings” and click on the “301 Redirect Pro” option.
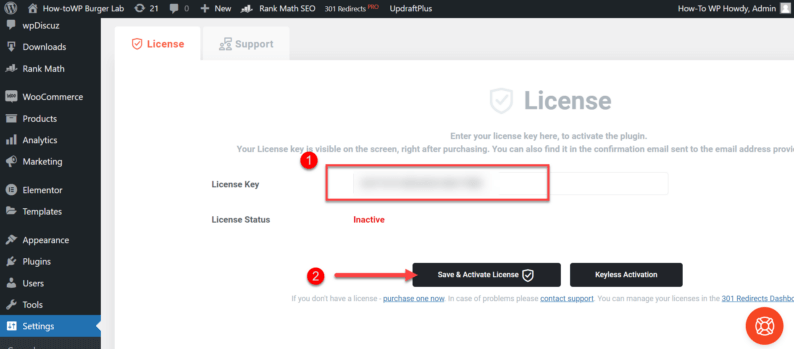
Paste the license key and click on the “Save & Activate License” button.
Now the setup process for the plugin begins. Click the “Next” button to continue.

Toggle the “Autoredirect 404” switch to “ON.” After that, click the “Next” button.
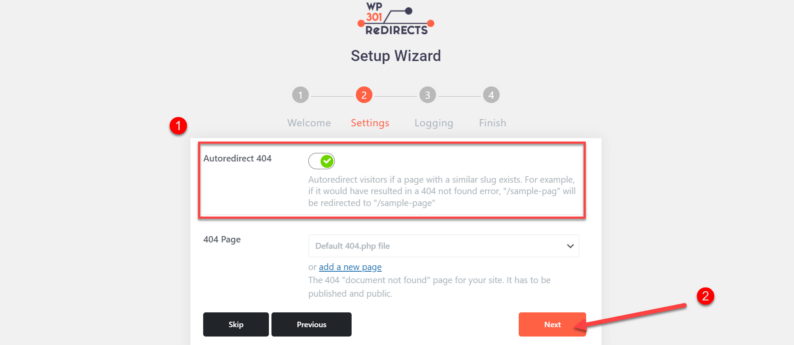
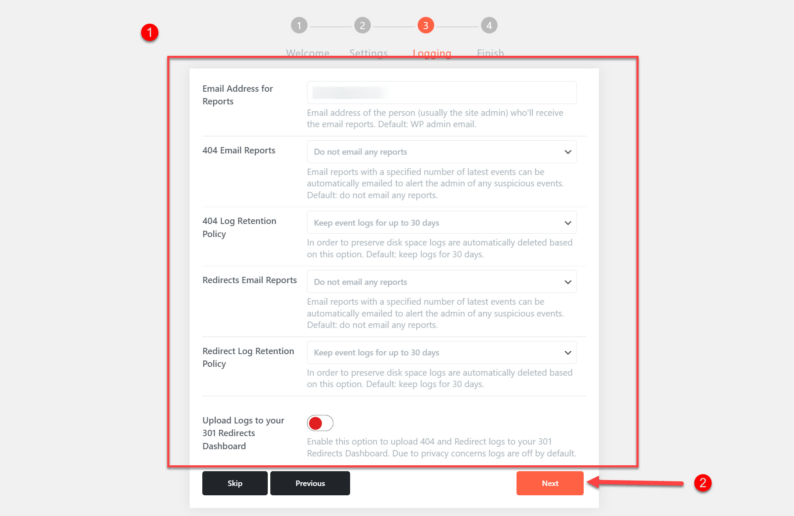
This page is mainly optional. Just check out the settings and click the “Next” button.
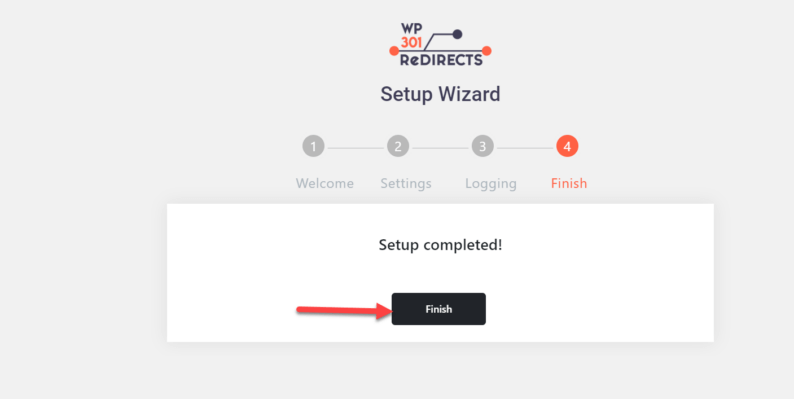
In the end, click the “Finish” button.
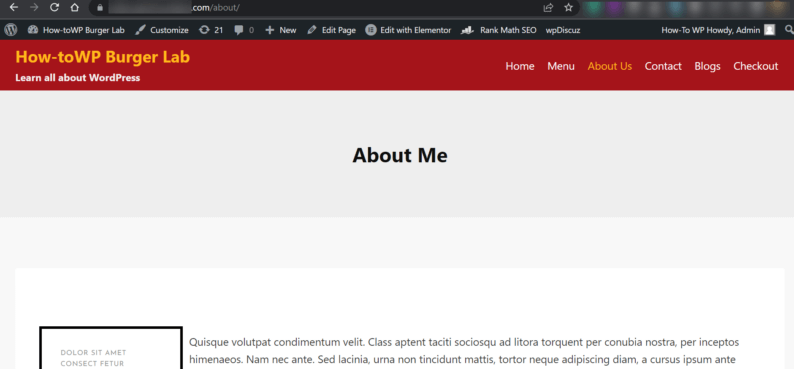
Step 3: In a Case of Typo
Sometimes a user can paste the URL of a website with a small mistake, but the “Autoredirect 404” feature will handle it.
Type in a slightly wrong URL, such as “aboutssss” in the URL.
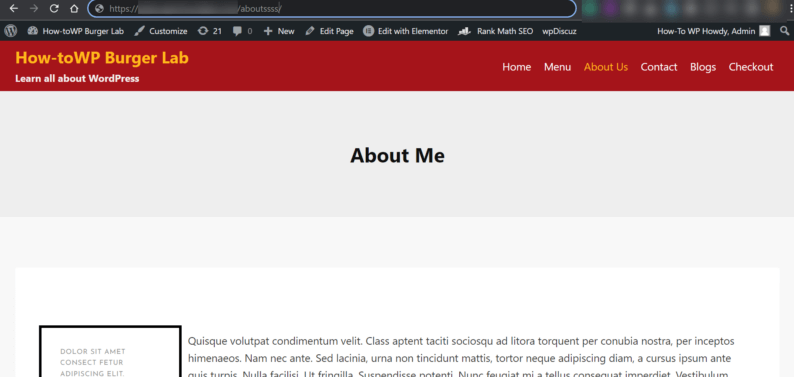
After pressing the enter key, you’ll be redirected to the actual page.
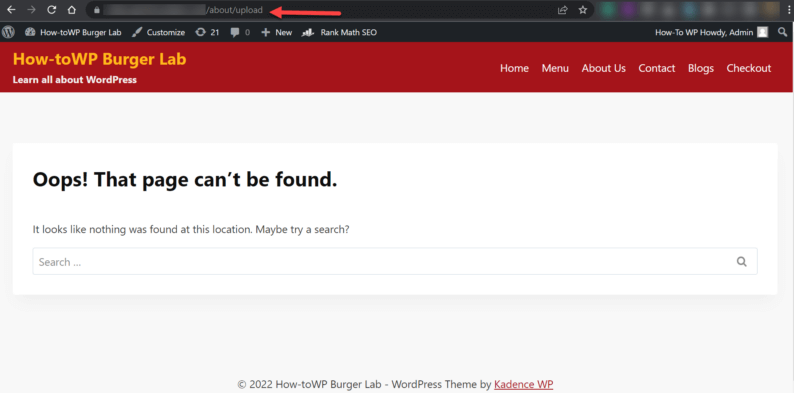
Step 4: In Case of an Invalid URL
Invalid URLs can sometimes occur when the website owners delete a page. In such a case, you can use the plugin to set a default page in case of a 404 error.
When you paste a wrong URL, it displays an error message on the screen.
Go to “Settings” and click on the “301 Redirect” option in the dashboard.
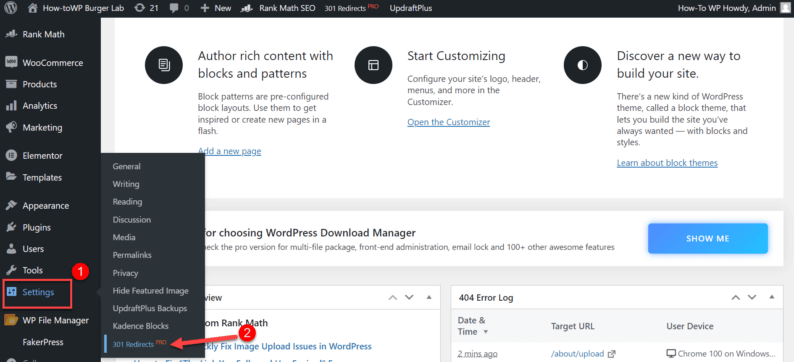
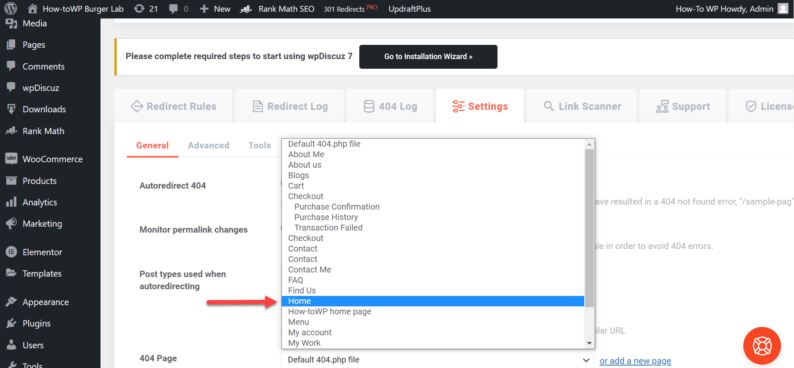
Go to the “Settings” sections and click on the “404 Page” drop-down menu.
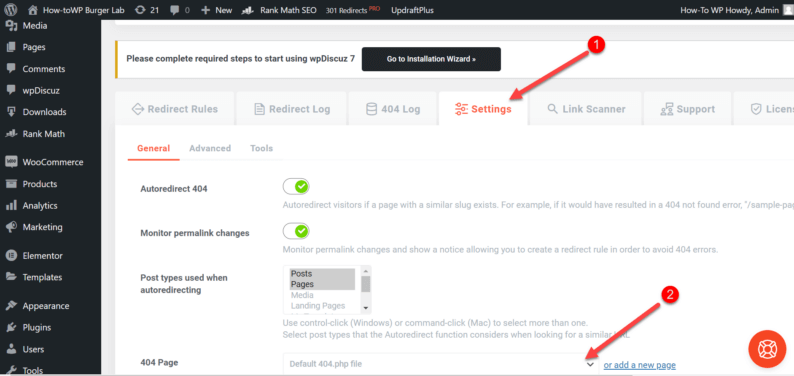
Select a default page in case of a 404 error.
Click on the “Save Changes” button.

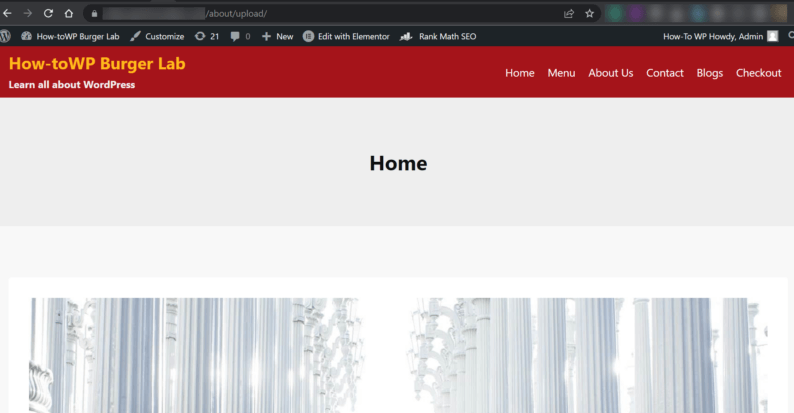
After saving the changes, you’ll see that now the user is redirected to the default page.
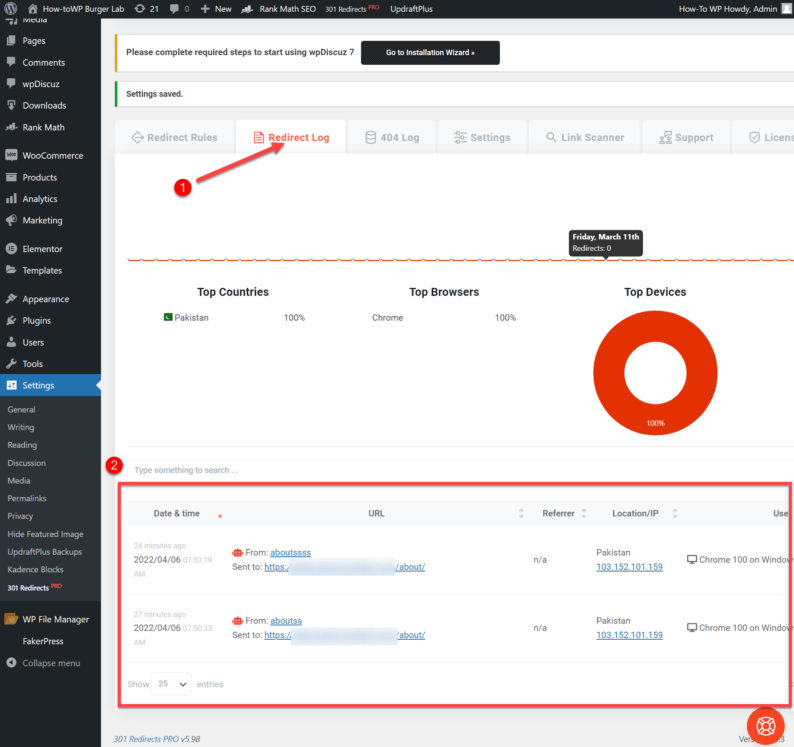
How to View the Redirect Logs
To view the redirect logs, go to the “Redirect Log” section and view all the redirected links.
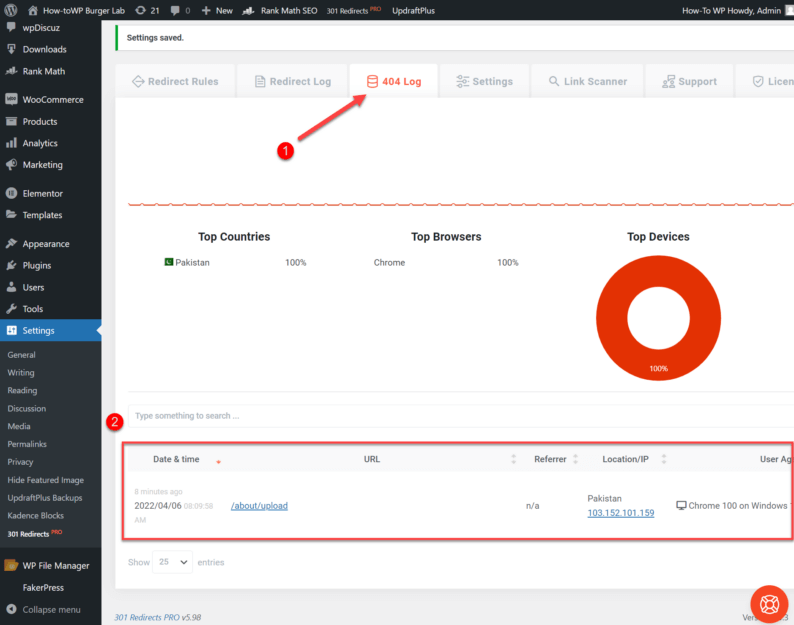
How to View the 404 Logs
To view all the URLs with a 404 error issue, go to “404 Log” and view all the links with issues.
What About the WP 301 Redirect Dashboard?
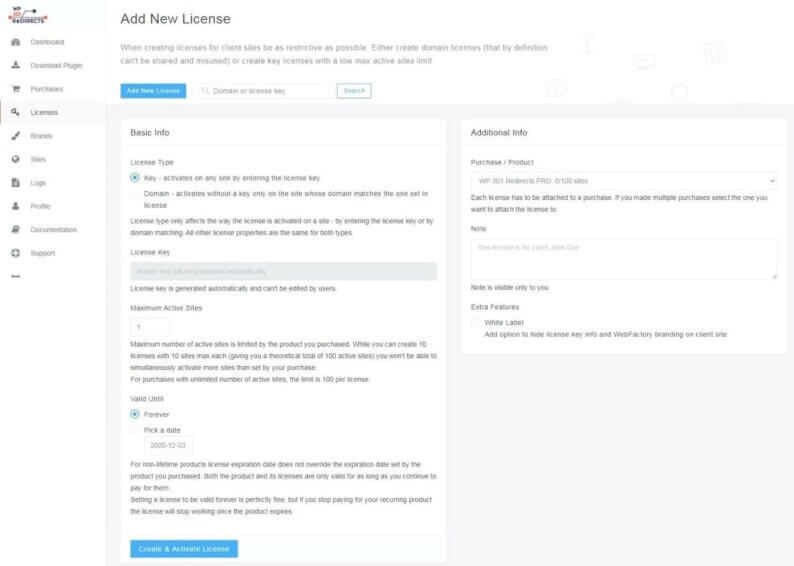
The control panel offers you many options, whether setting up typing errors or setting up manual redirects. Manual redirection is possible if the URL is not so complicated to enter. You can also access reports that can help you improve and optimize your site.
One possibility is that the control panel contains an overview of your computer. It makes it easier to access settings, licenses, support, 404 logs, policies, or redirection logs.
Furthermore, you can add new rules to redirection rules. A great option is to see which browsers, devices, or even which countries your visitors come from.
Features of WP 301 Redirects Plugin
If you want to avoid non-existent website URLs forever, then the WP 301 Redirects plugin is the right solution. WP 301 Redirects is a plugin that redirects visitors to the actual content they want.
Best of all, WP 301 Redirects is totally secure and can work with any theme and add-on. You have no reason to worry – it has been tested and is SURE one of the best on the market. Not convinced? Let’s look at a few of the advantages of this plugin:
- Instantly boost meaningful traffic. You will avoid dead links and immediately see the content you want to see. Plus, bad bots are ignored.
- Take control over redirects. You can easily manage redirection, whether or not you have changed the URL structure.
- Scan & verify every link.
- Ignore bad traffic.
- Keeping up with statistics.
- Fast & friendly support.
Conclusion
If you want to be serious in the world of WordPress and work on improving your site, then the WP 301 Redirect is a must-have plugin.
Although we have listed all the advantages of this plugin, it’s always best to do your own research. It helps you make an informative decision. However, I find that this plugin works the best.😂
With 301 Redirect, you can forget about invalid and broken links forever. Don’t forget to tell me about your experience with the plugin in the comments down below.