How to Create A WordPress Staging Site [A Visual Guide]

We all must have heard about prototypes of various products. According to Wikipedia, “A prototype is an early sample, model, or release of a product built to test a concept or process.” Before launching a product for the public to use, its prototype is first made and evaluated so that it turns out to be the best for the people.
As with prototypes, you can refine and validate your designs so your brand can release the right products. Similarly, in web development, a staging site fulfills the role of a prototype. Let us dig into that more.
Table of Contents
- Overview of WordPress Staging Site
- Way 1: Creating a WordPress Staging Site Through WordPress Hosting
- Way 2: Creating a WordPress Staging Site With Plugins
- Way 3: Creating a Offline WordPress Staging Site
- Way 4: Manually Setting Up A WordPress Staging Site
- Steps To Follow After Your WordPress Staging Site Is Ready
- Summary
- FAQ’s
Overview of WordPress Staging Site
Before you deploy all changes to your live website for the users to use, a copy of that live website is created by developers. This live website copy is called a “Staging Site.” It is the last part of the whole deployment process and is recommended by all the web developers.
It is always good to test changes before applying them to your main website to avoid any issues later. To prevent errors staging sites serve as an intermediator between the localhost and the live server. Thus, you can play with your WordPress staging site and test all the plugins, updates, etc., before going live as it is not visible to the public. They can be instrumental in avoiding shutting down your website and lead to an excellent overall user experience.
Back in the day, creating your staging site was considered one of the most taxing tasks, but not today. This article will discuss a few ways to make your WordPress staging site that will not be difficult, especially for non-technical people. Later on, I will also highlight the option for advanced users.
In the world of websites, setting up a WordPress staging site is crucial for testing your changes before they go live. You’ve probably seen lots of articles online explaining how to do this, but it can get confusing with so many options out there.
Don’t worry! We’ll focus on just four simple and efficient ways to create a WordPress staging site together. These methods are designed to save you time and energy, making the whole process smooth and stress-free for you.
Let’s explore these practical ways and see how they can work best for your needs.
Way 1: Creating a WordPress Staging Site Through WordPress Hosting
Setting up your WordPress staging site manually can be cumbersome if you are a beginner. Usually, the top-quality WordPress hosts offer the function of creating a WordPress staging site themselves. This feature makes the life of a developer easy.
Here at How-To WP, I have already recommended a few popular web hosts. Our recommended web hosts offer staging sites as part of their hosting plans. Click here to know more about those web hosts.
How-To WP Hosting Recommendations
Nexcess
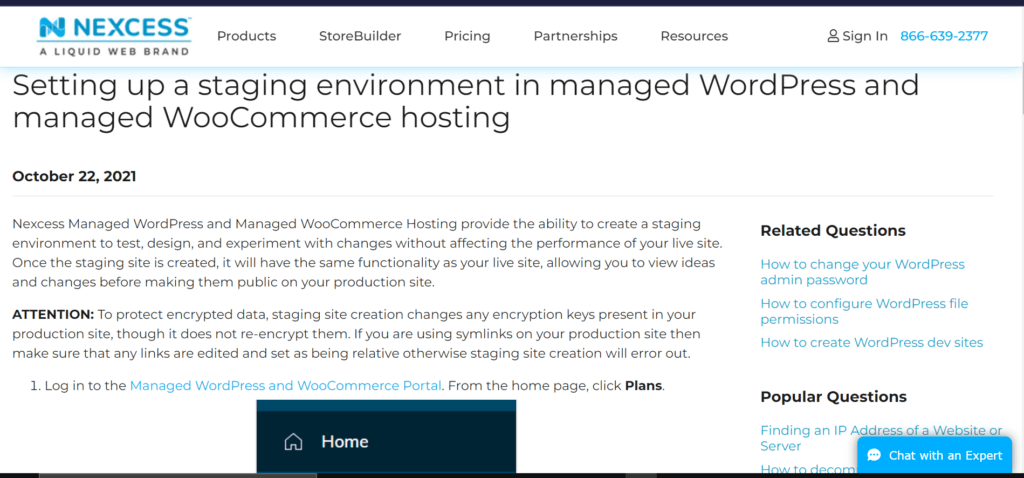
How-To WP is hosted at Nexcess, and that’s one of the best-managed WordPress hosting that we recommend to our users. They offer built-in WordPress staging sites as part of their service. Setting up your WordPress staging site with Nexcess requires a few clicks, and your testing environment is ready. Follow the step-by-step procedure here, and you are set to go.
Kinsta
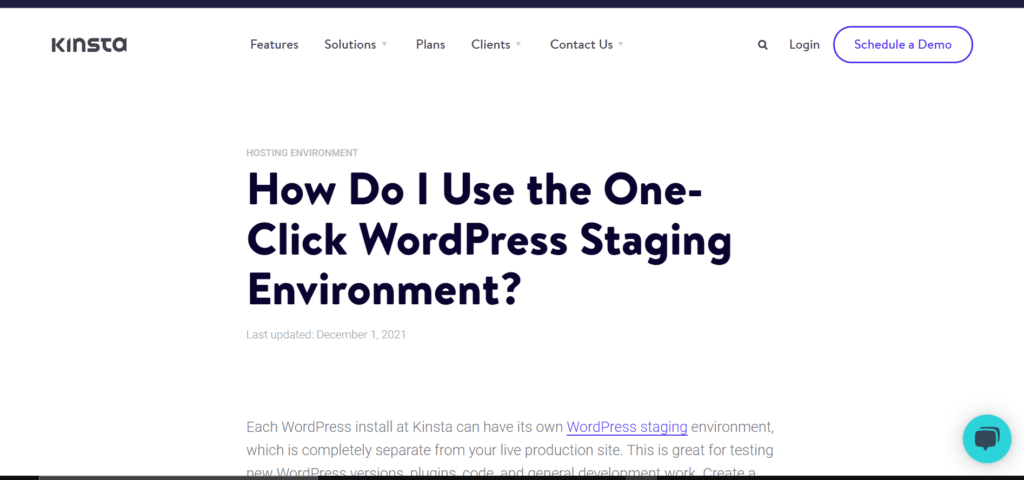
Kinsta is one of the fastest-growing cloud hosting companies on the web. They cater to users who are looking for scalable WordPress hosting. When it comes to a WordPress staging site, Kinsta offers one-click staging. You can learn more about Kinsta’s one-click WordPress staging environment here.
WPEngine
WP Engine manages to host setups for you so that you don’t need to do anything at your end. WordPress sites are only hosted here, and they include features like automatic updates and one-click installation, search engine optimization, and enhanced security solutions. Besides that, since many web hosts don’t offer staging sites as part of their hosting plan, with WP Engine, you don’t have to worry about this feature. You can access this functionality right from your user dashboard. To know more about setting up a WordPress staging site using the WP Engine, follow the step-by-step guidelines given here.
Way 2: Creating a WordPress Staging Site With Plugins
Many web hosts do not offer staging sites as their hosting plan. Still, there is nothing to worry about, and before thinking of setting a staging site manually, there are other easier ways.
One such way is to install various plugins to create a staging site for your website without much difficulty. I have listed down a few famous staging plugins for your use.
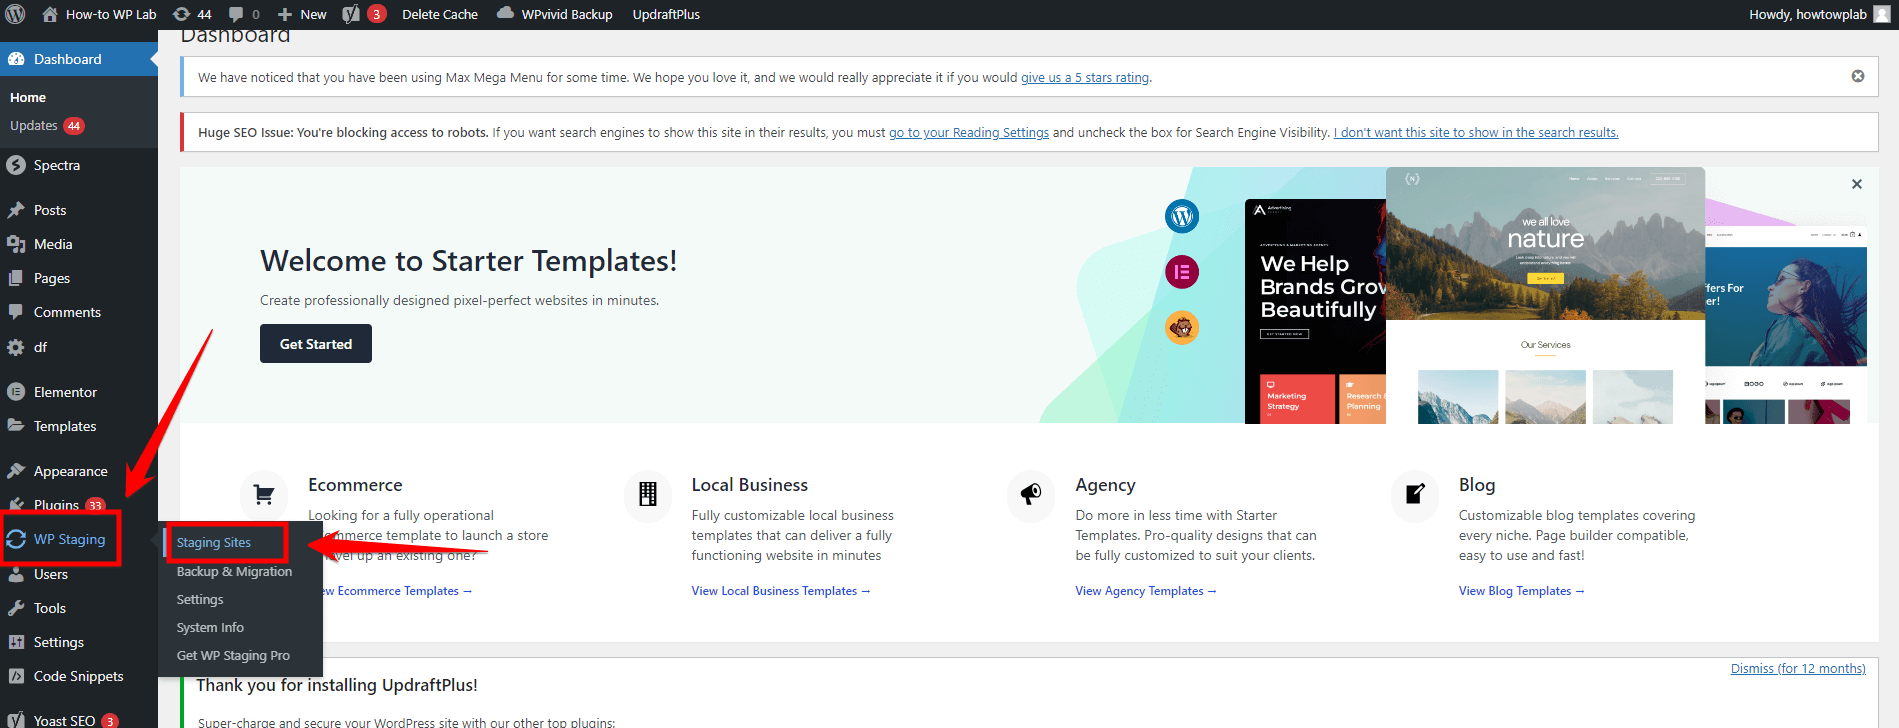
WP Staging
By installing this plugin, you can create a copy of your website within seconds. This staging and backup plugin can clone your website even if it runs on a weak shared hosting server. By just clicking one button, your clone site is ready.
After installing and activating the plugin, you need to click Start Cloning and select the appropriate options for your site to finish the process. To download the plugin and know more about it, click here.
Duplicator
Duplicator is a very famous migration plugin. It does not offer any staging facilities but can undoubtedly stage a site. If you don’t like installing several plugins or are not a fan of trying new ones, use Duplicator to stage a site.
BlogVault Staging
BlogVault is one of the most reliable plugins for setting up a WordPress staging site. Staging site created with the help of BlogVault runs on cloud servers. You can push changes to the live site with just one click merge. Since it is a backup plugin, it handles all the staging functions very well.
A staging site is created on a different server from your live site and thus ensures that your live site is entirely unaffected. This is why the plugin works well with all the web hosts. With the help of BlogVault, you can deploy a staging site in one click for free and can safely test your website’s updates and changes. Click here to know more about the plugin.
WP StageCoach
WP StageCoach offers a one-click step up with a unique database merge option. It is the easiest and the fastest way to set up a WordPress staging site. It can then ‘push to live’ all (or some) of your site changes—again, with just one click. It stores your staging site on its server, not on your live site’s server. It is compatible with all web hosts.
WP Time Capsule
Like BlogVault staging, WP Time Capsule is also a backup-focused plugin that offers staging facilities. It has a particular merge feature where you can include or exclude specific files and database tables.
Way 3: Creating a Offline WordPress Staging Site
You may sometimes wish to set up a staging site that is just limited to your computer’s use. For this, instead of the online staging site options, you can set up a local staging site, which only those with access to your computer will be able to use. This offline site turns your computer into a host.
Out of the many ways of creating local WordPress websites we recommend using Local. Developing local sites is not a significant issue by using local WordPress development.
Way 4: Manually Setting Up A WordPress Staging Site
If you are not a beginner and have enough knowledge and experience in the development field, creating a WordPress staging site manually will not be a problem. But, for WordPress beginners, it can be. If you choose not to mess with plugins to make your site even more complex and feel brave enough to go old school, you can manually create a staging website as well.
Here is how you can set up a staging site manually:
- The first step is to go to your hosting account’s dashboard and click on the Subdomains link. Creating a subdomain for the staging website is very important. Think of a name for the subdomain and press the Create button to finish it.
- After this, you will see the subdomain option in your hosting dashboard.
- The next step is to create an FTP account for your staging environment. All you need to do is go to the FTP accounts section in your hosting provider’s dashboard and fill in the fields. By creating an FTP account, you ensure that you don’t make changes to a live website. In short, this will keep your changes separate from the live website.
- After this, find the `phpMyAdmin` option on your hosting provider’s dashboard and choose Operations or something similar. If your host has a database backup, all you need is to select the option of Copy Database To of the staging site. Otherwise, you first need to create a backup for your database and then do the same. After following these steps, you will upload your live site to the staging area.
- In the end, you can start copying plugins, themes, and other elements and see the final result on your live website.
Even though creating a WordPress staging site manually is for professionals, I will still not recommend doing it as it has certain disadvantages.
Let me briefly summarize those drawbacks that led me to this conclusion.
- There are more chances of errors with the manual creation of a staging site.
- The website will be temporarily unavailable when you deploy the changes from the staging site to the live one.
- You cannot push selected data, tables, or files between installations by manually setting up a staging site.
- Creating a staging site manually is very complicated and is a strenuous task.
Thus, if you are going to create a staging environment manually, you need to keep all these things in your mind before setting up your staging environment.
Steps To Follow After Your WordPress Staging Site Is Ready
In this piece, I have listed down how you can create a Staging Site. Whatever option you choose and think is best for your site depends solely on you. Once your staging environment is ready, there are a few steps you should follow for the betterment of your site.
Once you’ve copied over your live website, you need to have a thorough look at your staging site and ensure everything has been transferred correctly. Ensure your content is formatted the right way, images, other media, key features, etc., are working correctly.
Go to your WordPress Dashboard’s Settings and correctly set up the staging site’s permalink. It has to be the same as your live site to avoid errors.
When you have followed these guidelines, you are ready to go!
Summary
If you are interested in maintaining your website, setting up a WordPress staging site should be at the top of your priority list. Whether you have a copy of your live site online (web hosts or plugins) or offline (on your local computer), staging helps you test all the changes to your live website in a safe environment. As a staging site is like your playground, you can do anything you want there without any inconvenience to your live website.
Since it is a copy of your original website, it is a place for you to experiment, troubleshoot problems with your website, and change the design before the website goes live. This will ensure a good user experience.
According to me, the safest and most reliable way to create a staging environment out of all the ways I mentioned in this article is through your web host. You can undoubtedly use the other methods too, but they do pose various problems. Using your hosting provider for this function saves a lot of time, is cost-effective, and maximizes site performance.
So, if you want the absolute most straightforward way to run a WordPress staging site, pay for a host that offers a built-in staging site function. I have tried to cover all the ways that can help a newbie, and a pro web developer set up a staging site for their website. If you have any queries or feedback, reach out and post in the comments section below.
FAQ’s
Where is my WordPress staging site?
If you are wondering about the location of your WordPress staging site, typically, it exists either on a subdomain of your main website or on a separate directory of your hosting server. To find its exact location, you can check with your hosting provider or access your WordPress admin panel where staging details are usually provided.
How do I create a staging area in WordPress?
Creating a staging area in WordPress involves several steps. Initially, you may install a staging plugin like “WP Stagecoach” or use your hosting provider’s tools to set up a staging environment. Clone your original site to this staging area, ensuring a replica of your live site. Once your changes are tested and scrutinized within the staging environment, you can proceed to deploy them safely to your live site.
What is a staging site or dev site?
A staging site, also known as a development site (dev site), is a duplicate version of your live website where you can test new features, updates, or designs without affecting your live site’s performance or SEO rankings. Staging sites enable you to troubleshoot issues, experiment with changes, and ensure that everything works smoothly before deploying these modifications to your actual website.
How do I publish a staging site in WordPress?
To publish your staging site in WordPress, you typically utilize a plugin or built-in options provided by your hosting service. Once you are satisfied with the changes made in your staging environment, you can push these changes live. This involves aspects like syncing databases, files, and configurations between your staging and live sites. Point your domain to the new site, verify its functionality, and ensure a seamless transition for your visitors.


