How to Create Tables in WordPress

A properly utilized table can help you increase traffic to your WordPress site. Other than that, it looks professional and helps you organize your data in a more presentable manner.
That’s why it’s beneficial to know how to create tables in WordPress. For that purpose, I’m going to show how you can create tables.
In this article, you’ll learn about:
- How to create tables in WordPress
- Editing tables in WordPress
- What are tables in WordPress
Let’s start with the main topic, which is how to create tables in WordPress.
Table of Contents
How to Create Tables in WordPress
Creating a table in WordPress is extremely simple. There are two main ways of creating a table, and both of them are extremely simple (However, one isn’t a very conventional way).
Let’s start with the one that is mostly used.
Method 1: Using Table Option
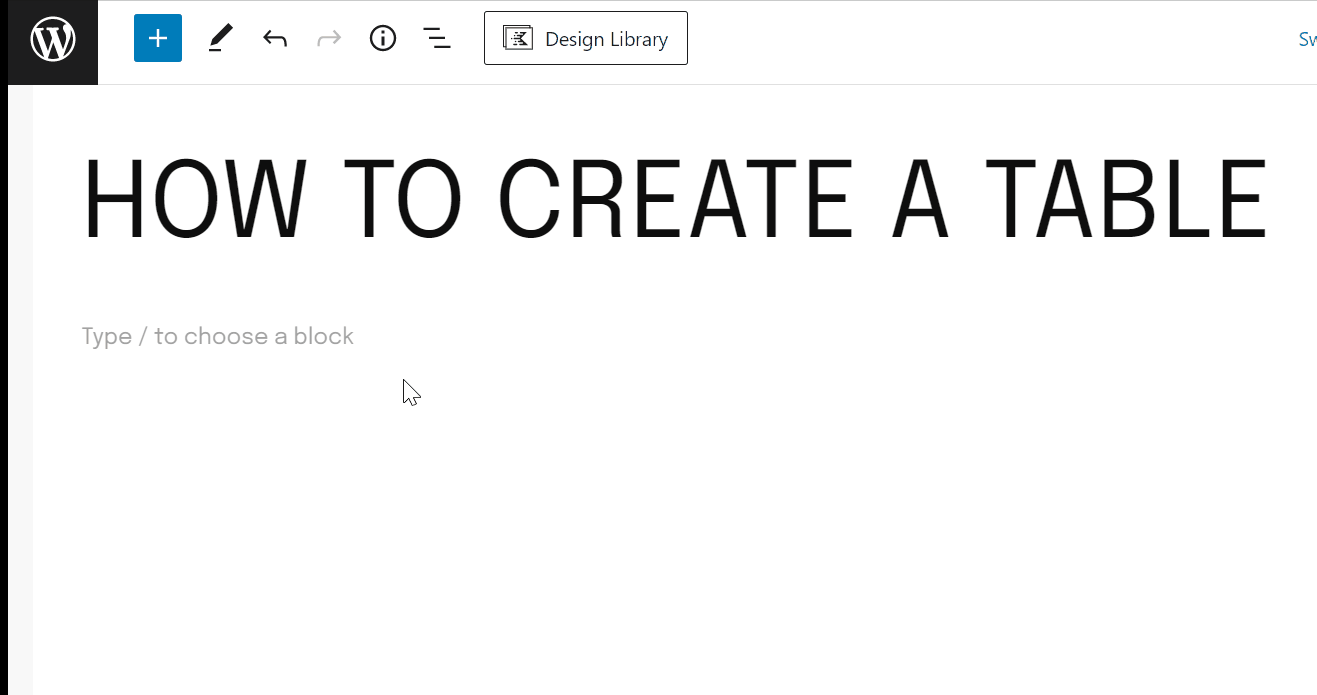
Creating a table in WordPress using this method is very simple. All you have to do is go to the “Posts” section and click the “Add New” option.
Note: You can also create using tables in WordPress in a previously written post.
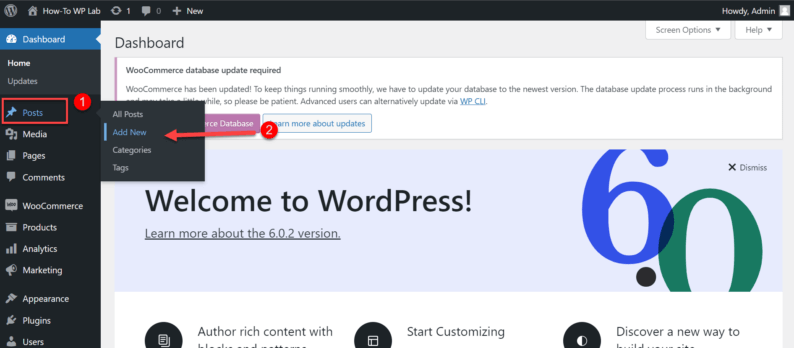
Click the “+” icon to insert the table.
Search and click the “Table” icon.
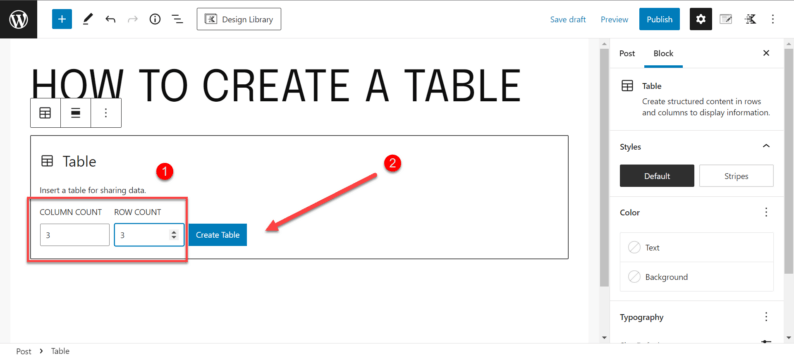
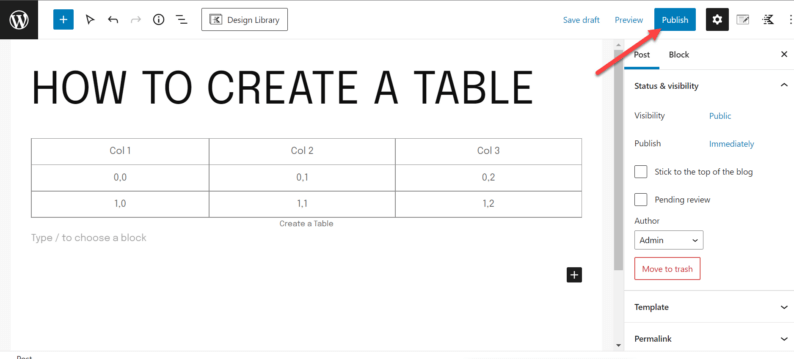
Set the number of rows and columns of the table. After that, click the “Create Table” button.
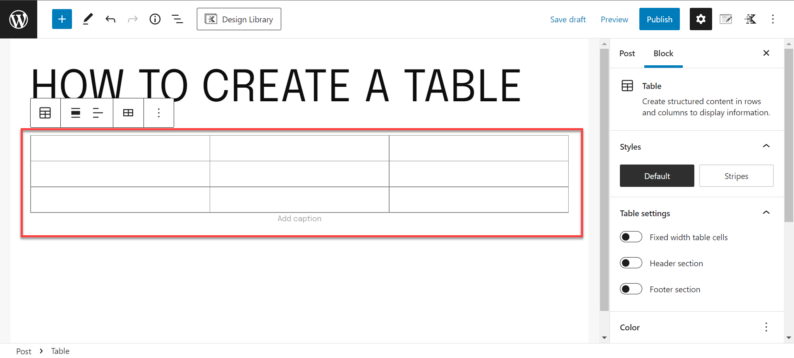
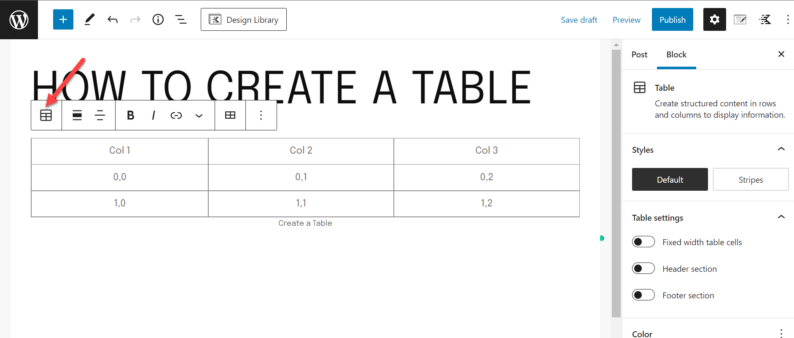
A table has been inserted in the WordPress post.
Method 2: Pasting Google Sheet Cells
As I mentioned before, this method is more of an unconventional method used to create tables in WordPress. This method requires you to copy and paste cells from a Google Sheet.
Note: I should mention that I’ve tried to apply the same method using MS Excel, but it didn’t work.
Now, here is the procedure to create tables in WordPress using the copying and pasting Google Sheet cells.
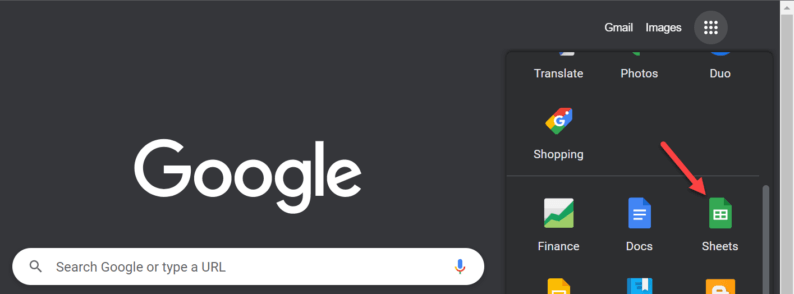
Start by clicking the 9 dot icon on the right-hand corner of your browser tab. After that, you’ll have a multitude of Google options. Click the “Google Sheets” option.
Note: Keep in mind that to access Google features such as Google Sheets and Google Docs, you’ll need to have a Google account. After creating the account, you’ll see the dotted icon I’m talking about in a new tab of the Google search engine.
Now you’ll need to open a new blank sheet. However, a previously edited sheet works as well. Select and copy a section of empty rows and columns.
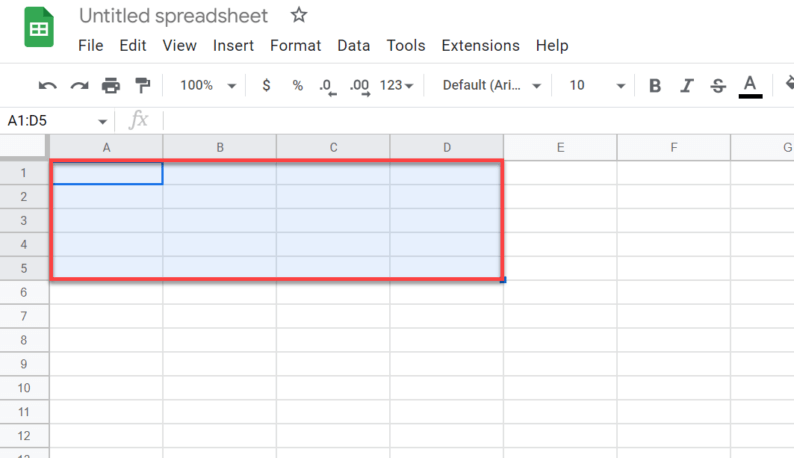
Now go back to your WordPress editor and simply paste the copied cells. A table will appear in front of you.
And you’re done! That’s all it takes to create tables in WordPress. I told you that the process of creating tables in WordPress is extremely simple.
Editing Tables in WordPress
Ok! Now that you have created, what now? Now you can enter any details you want in the table. That’s why you need to know how to edit tables in WordPress. You might need to insert a row or column or delete one.
So why don’t we start with how you can insert and delete additional rows in WordPress tables?
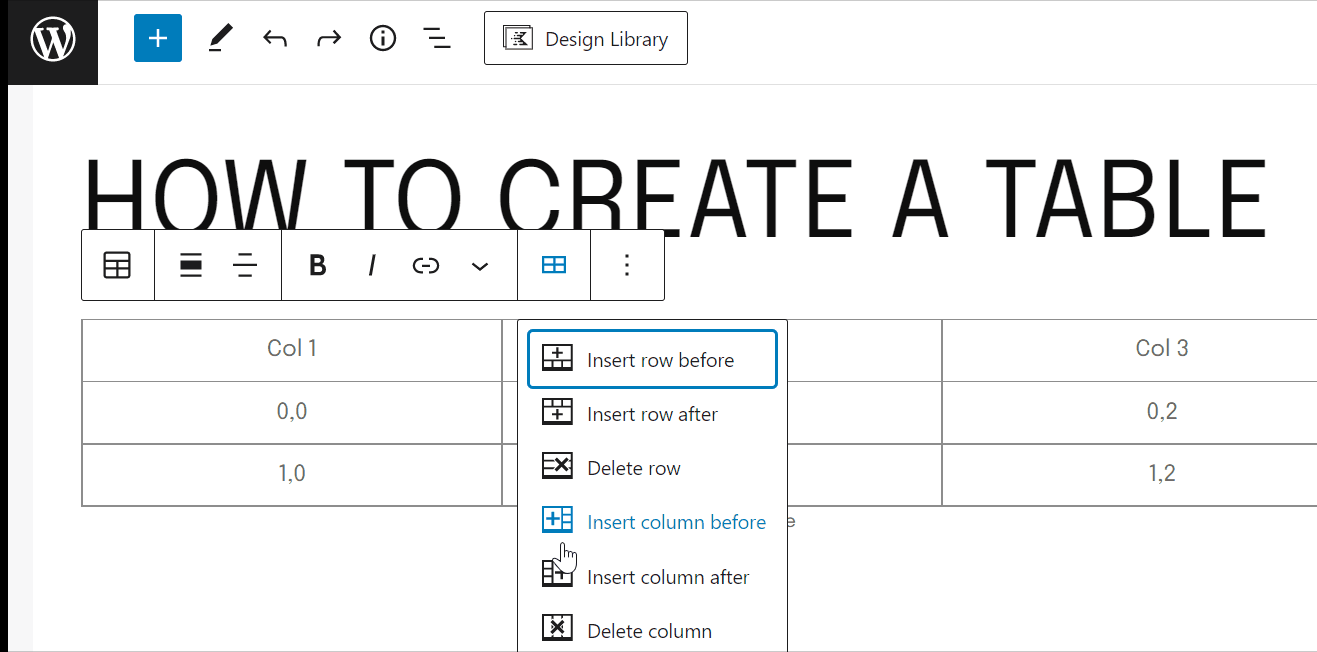
1. Inserting or Deleting Rows
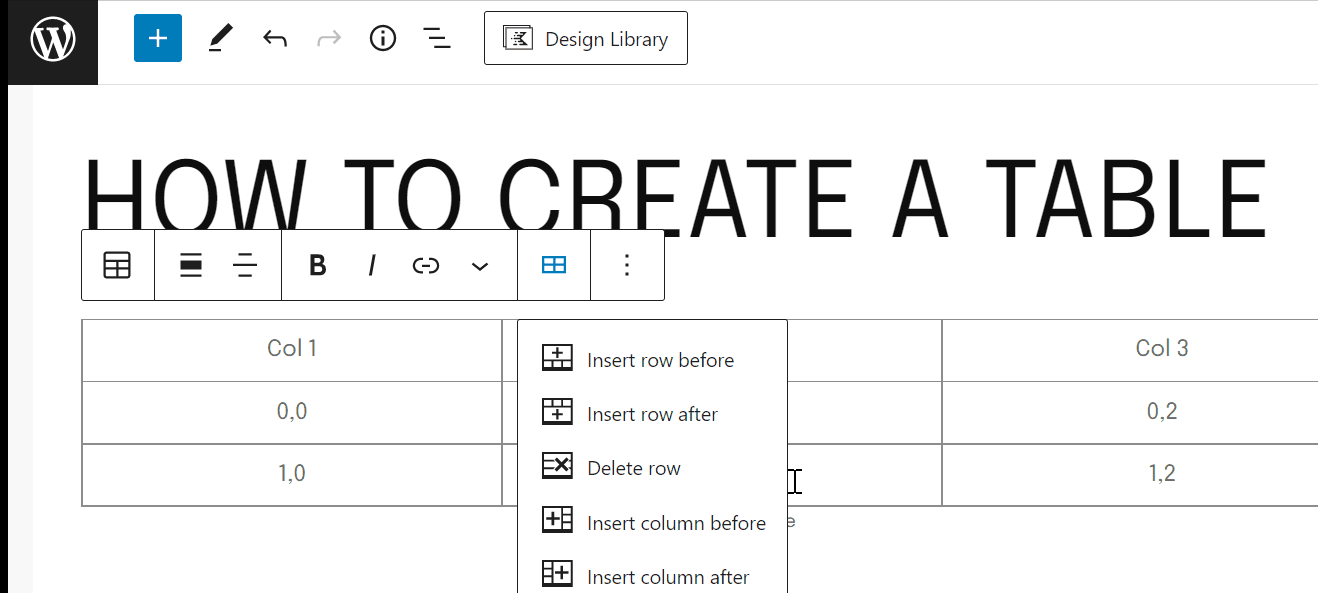
Start by clicking the table, and a multitude of options appear in the WordPress editor. Click the “Edit Table” option.

You insert rows before and after your current row.
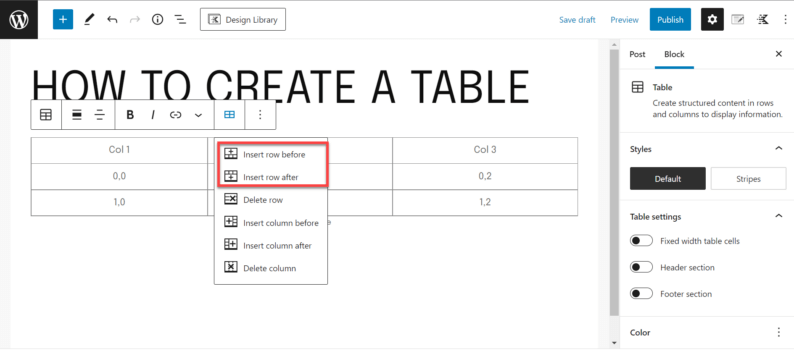
On the other hand, if you want to delete a dow from your table. You click the “Delete row” option.
2. Inserting or Deleting Columns
Just like rows, you also add and remove columns from your WordPress tables. To add columns, Click the table and then go to the “Edit Table” option.

Now you can insert a column either before or after your current column.
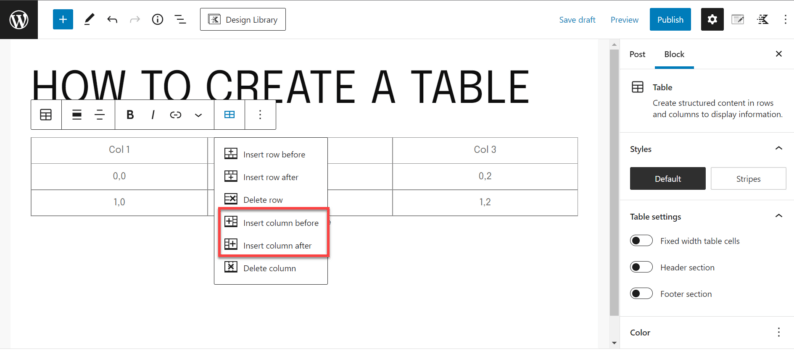
You can also delete any unwanted columns by clicking the “Delete column” option.
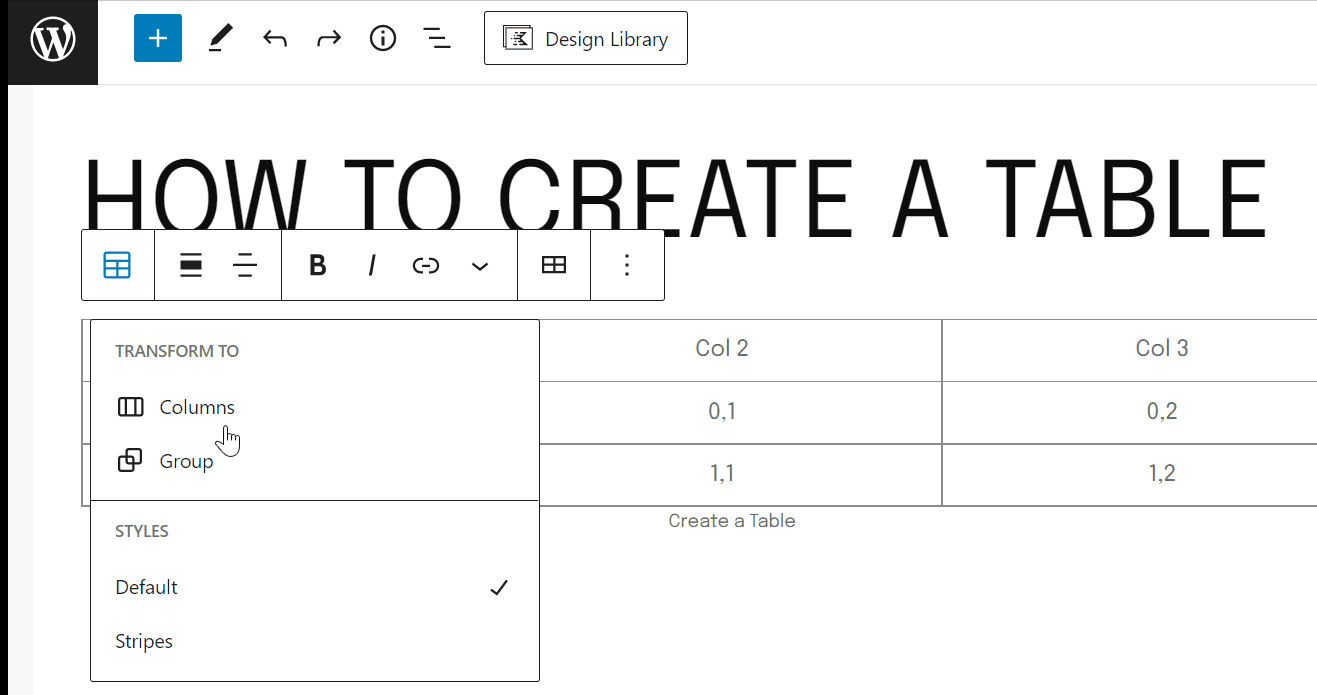
3. Styling the Table
You can also change the style of your table. Interact with your table and click the table style icon.
Change the style by changing it from “Default” to “Style.”
4. Delete the Table
Now, you might want to delete a table in WordPress. To do such, you’ll have to click the 3 dot icon because it’ll show a drop-down menu.
Now scroll down to the bottom and click the “Remove Table” option.
Note: You can also do the same thing by clicking the “Shift+Alt+Z” keys simultaneously.
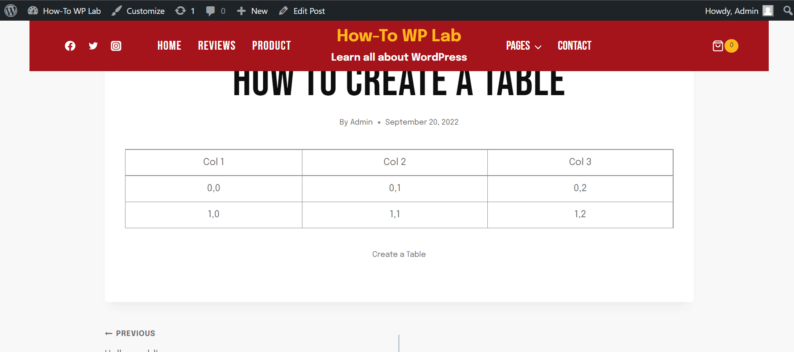
After making all the changes click the “Publish” or “Update” button.
The edited table on WordPress will now be visible for visitors to see.
What Are Tables in WordPress
Tables are a way of displaying information in a grid format. WordPress includes a built-in table feature that allows you to insert tables into your posts and pages.
Tables can be used to display data, like prices or product information, or they can be used to lay out the structure of your page, like a table of contents. You can even use tables to create forms.
The WordPress table feature is easy to use and comes with a few built-in options for customization. You can change the number of columns and rows, add or delete cells, and merge or split cells.
You can also add headings and footers to your table. And if you need more control over the appearance of your table, you can use the CSS editor to style it.
Tables are a great way to organize and present information on your WordPress site. With a little practice, you’ll be able to create complex tables that look great and are easy to navigate.
Benefits of Using Tables
Here are some benefits of using tables in WordPress.
- Tables can help to organize data in a clear and concise way.
- Tables can be used to display complex data in an easy-to-understand format.
- Tables can be used to create custom layouts for your WordPress posts and pages.
- Tables can be used to add additional functionality to your WordPress site, such as sorting and filtering data.
- Tables can be used to improve the look of your WordPress site.
- Tables can be used to share data between different posts and pages on your WordPress site.
- Tables can be used to create responsive designs for your WordPress site.
- Tables can be used to increase the speed of your WordPress site.
- Tables can help you save time when creating or editing content on your WordPress site.
- Tables can be used to create a unique user experience for your WordPress visitors.
Conclusion
By using the above-mentioned methods, you can easily create tables in WordPress and edit them however you like. I normally prefer using the insert table method because it’s relatively straightforward.
The copying and pasting method is also very simple; however, this method isn’t very well known and, to be honest, isn’t very efficient. You need to open an excel sheet and then copy the cell.
However, this method is useful when you have to move content from a Google Sheet to WordPress. If the method worked for you, then don’t forget to mention it in the comment section.


