How to Download Images from WordPress Media Library [4 Ways]
This library allows you to store all of your images and videos in one place, making them easy to find and use when you need them. But what if you want to download an image or video from the media library? In this article, we will show you how to do just that.
In this blog, you will learn the following:
- How to download Images from WordPress Media Library
- What Is Media Library in WordPress
Let’s start with the information on the media library.
Table of Contents
4 Ways to Download Images from WordPress Media Library
There are several ways to download your media files, from easy and difficult. The choice of the method solely depends on the person downloading the images for the WordPress media library.
However, I prefer the simplest method, but maybe that doesn’t work for you. That’s why I’ve found 4 ways that actually work. Each of them is full descriptive, and all you need to do is to follow all the steps carefully to download the images.
Way 1. Using the Export Media Library Plugin
It’s one of the simplest ways to export media files. I prefer this method because anyone can learn to use it regardless of their knowledge of WordPress. Let’s begin with the installation process of the export plugin.
Installation
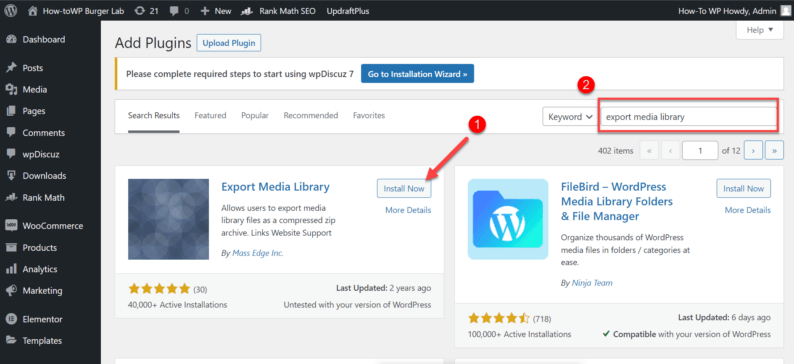
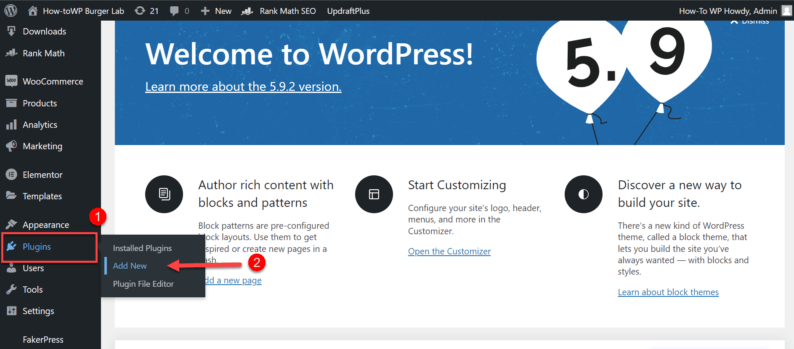
Start by going to the “Plugins” option and clicking on the “Add New” option.

Search and install the “Export Media Library” plugin.
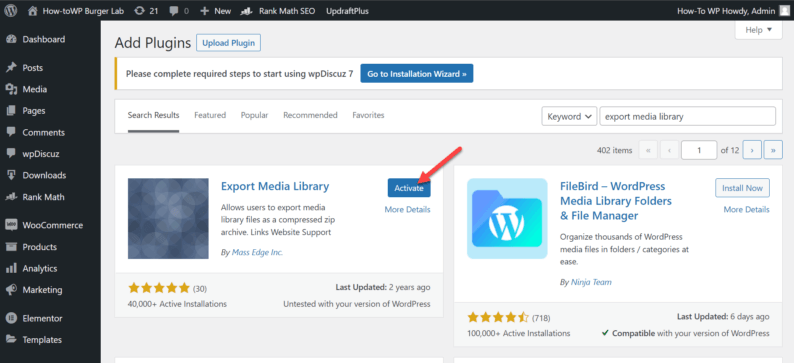
Stay on the page and activate the “Export Media Library” plugin.
Exporting Files
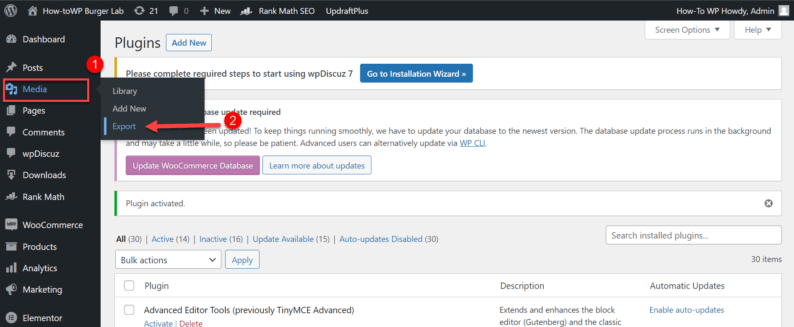
After the installation process, go to the “Media” option in the main navigation bar and click on the “Export” option.
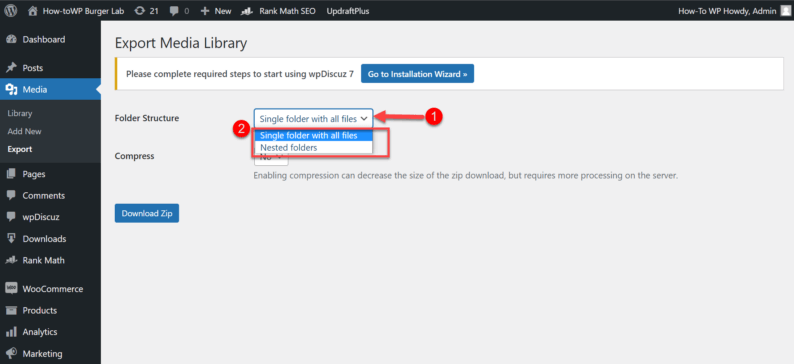
Select the type of folder you want from the drop-down menu.
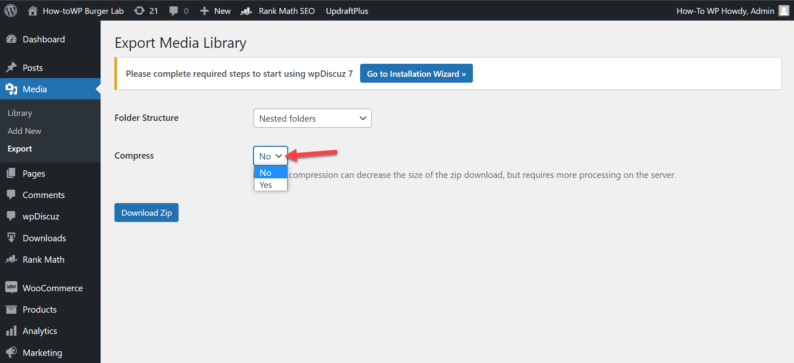
After that, choose if you want to download a compressed file or not.
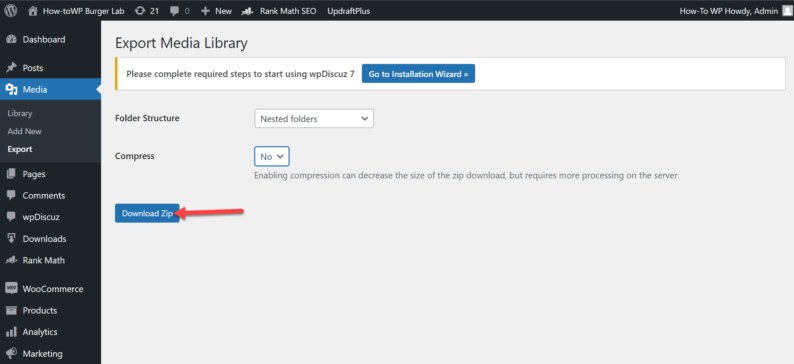
Click on the “Download Zip” button.
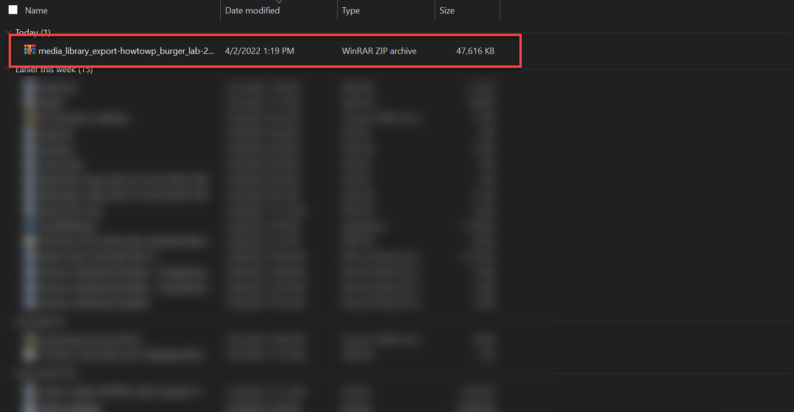
The zip file will be downloaded; click on the file to open it.
Note: Make sure that you have software such as WinRAR already installed.
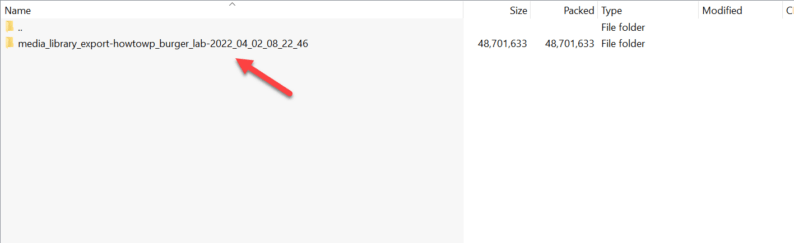
To find the media files, click on the folder shown.
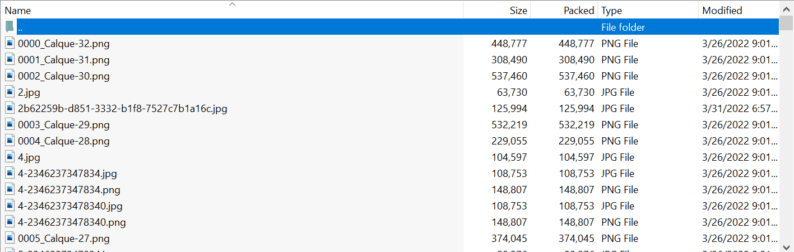
All the media files are available here (including images).
Way 2. Using the Updraft Plugin
This method uses a plugin called the “UpdraftPlus Backup” plugin to download media files.
To learn how to install the updraft plugin, check out my article on “How to Make WordPress Theme Look Like Demo.”
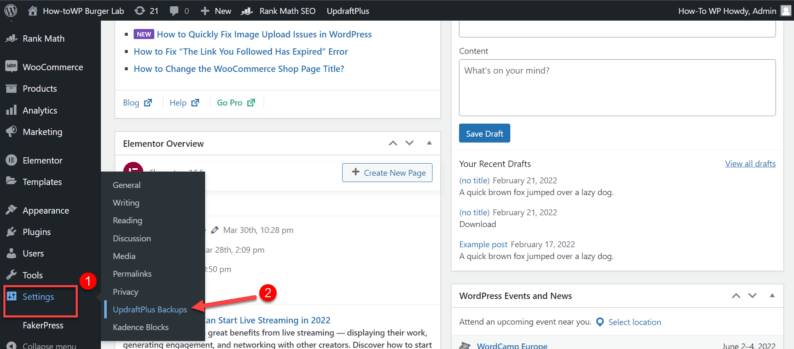
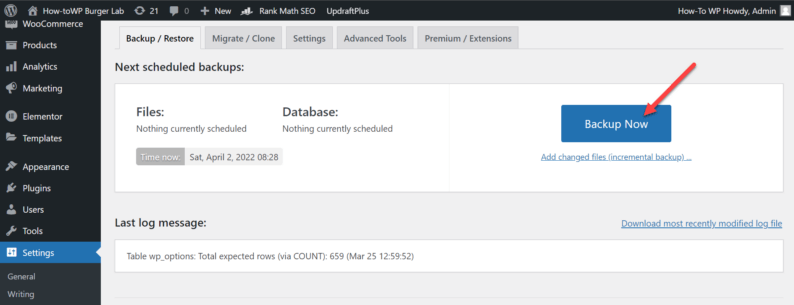
After the installation process, go to “Settings” and click on the “UpdraftPlus Backup” option.
Here, you’ll create a new backup by clicking on the “Backup” button.
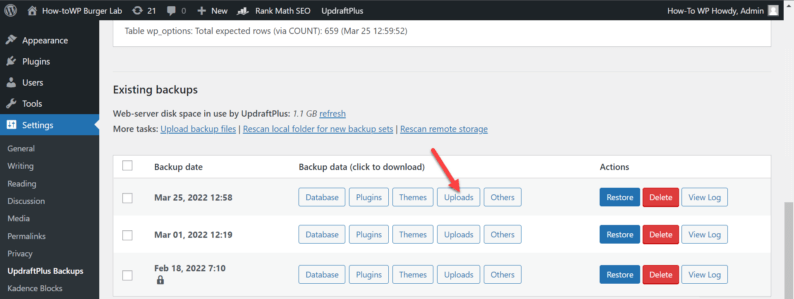
Once the backup completes, click on the “Upload” button.
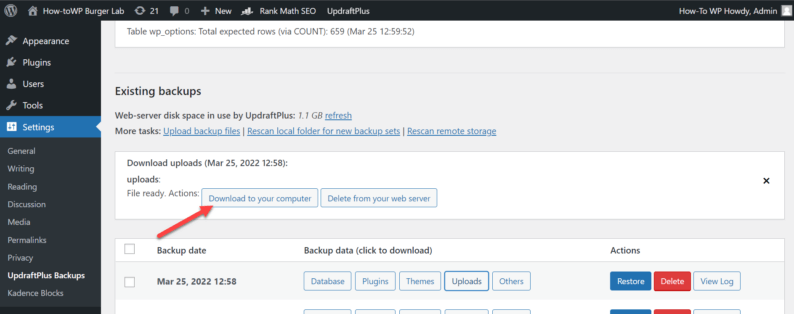
After clicking it, you’ll see two options, and you’ll click on the “Download to your computer” option.
The download will appear on your computer; click on it to view it.
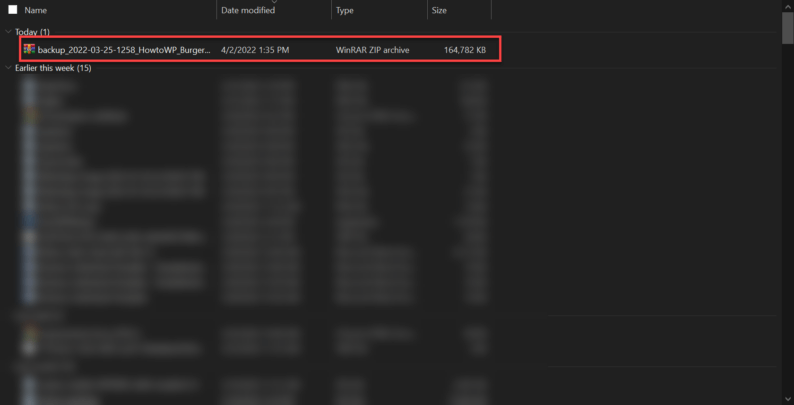
Click on the folder labelled “uploads” and view all the media files that were uploaded on the WordPress site.
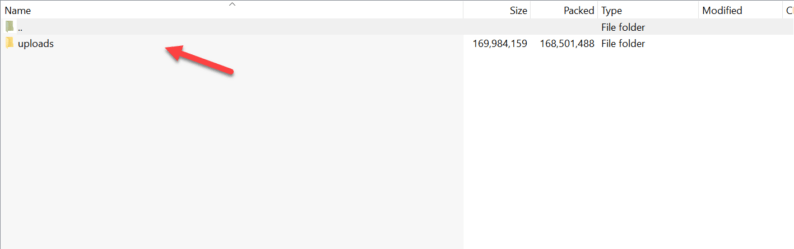
All the uploaded files are present here, which can be used later.
Way 3. Using the File Manager Plugin
It’s another plugin that can be used for exporting and managing files of your WordPress website. Let’s start by installing the file manager plugin.
Installation
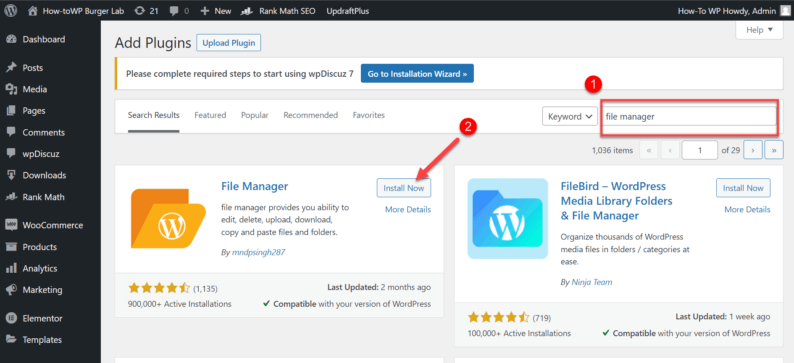
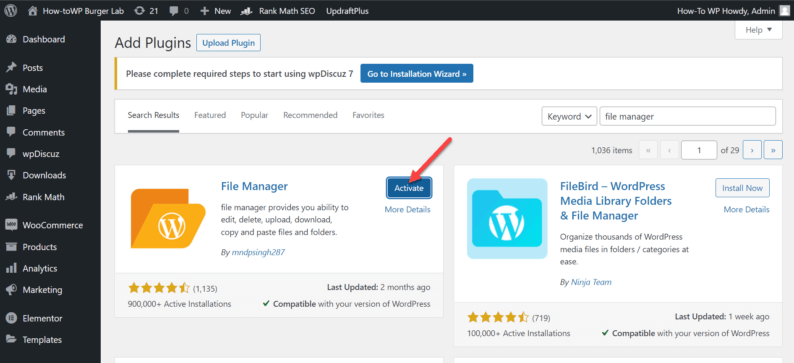
Search and install the “File Manager” plugin.
After installing the plugin, you have to activate the plugin.
Exporting Files
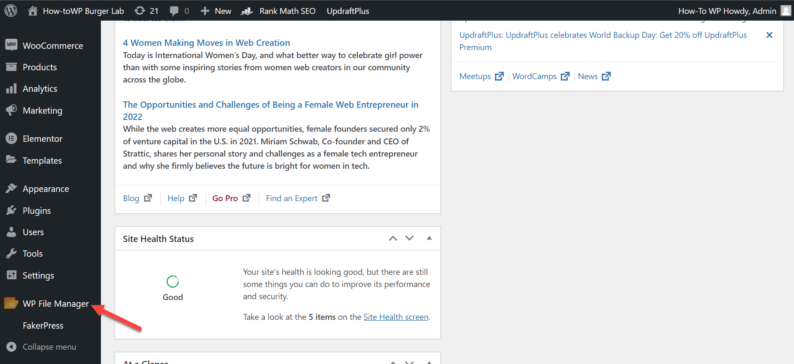
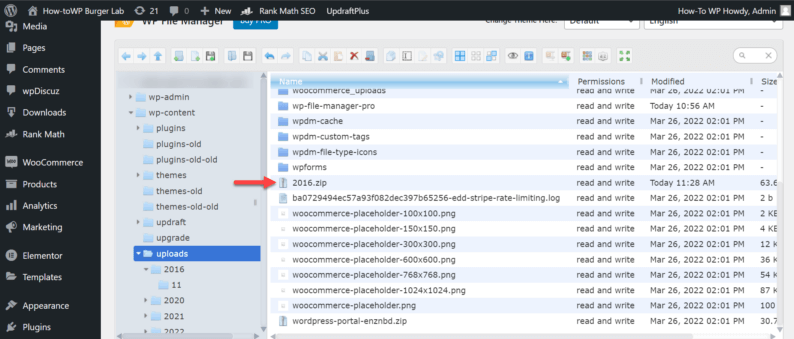
Go to the “WP File Manager” option from the main navigation bar on the left-hand side.
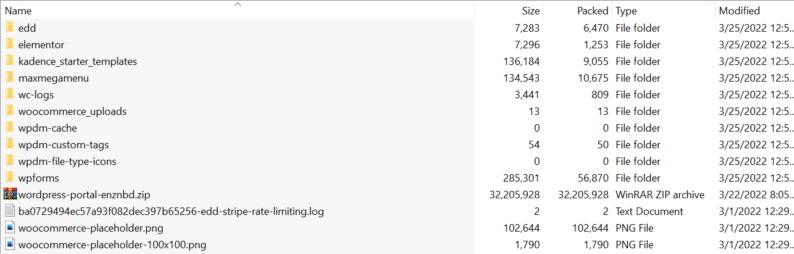
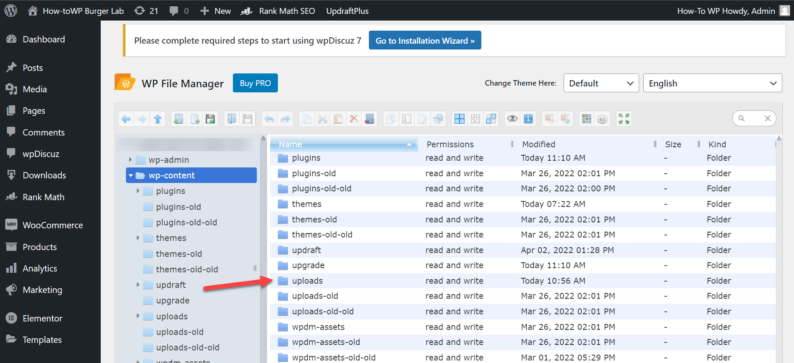
Now go to the “wp-content” folder.

Once in the “wp-content” folder, click on the folder labeled “uploads.”
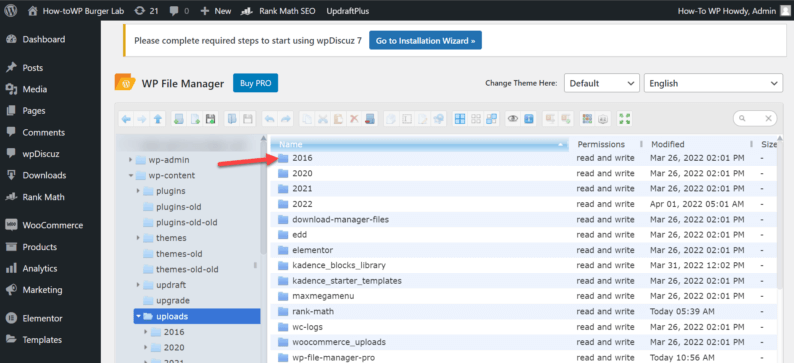
Here, you see all the uploaded files. To access the images, click on the folder that has a year mentioned on it, such as “2016.”
Note: Sometimes, these folders are nested, so if you find another folder inside the main folder, then click on it to proceed.
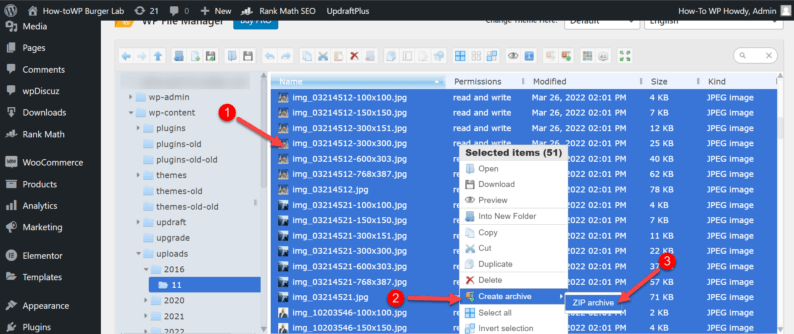
Select and right-click on all the files you want to download. Go to the “Create archive” and click on the “ZIP archive” to make a zip file.
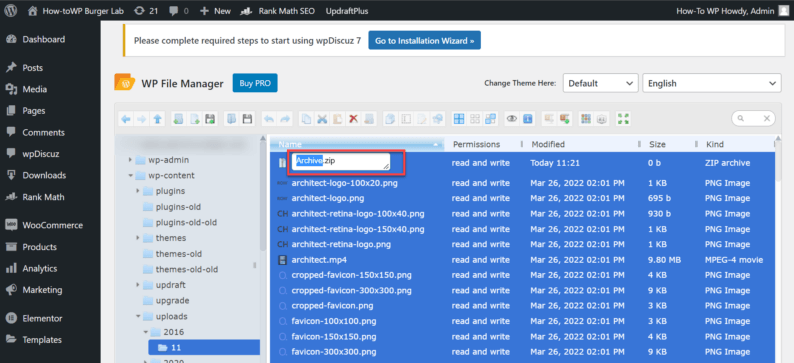
Rename the zip file.
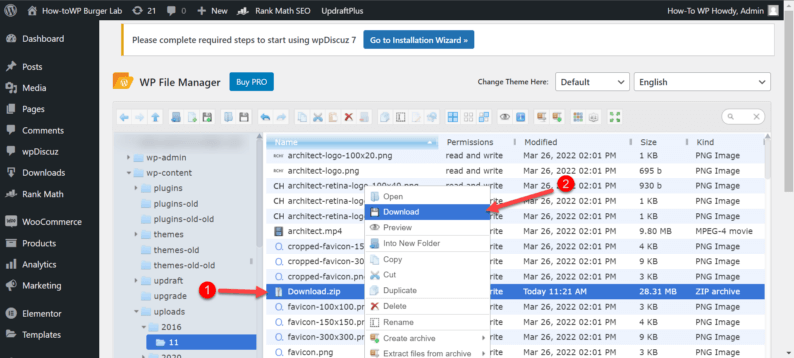
Right-click on the zip file and click the “Download” option.
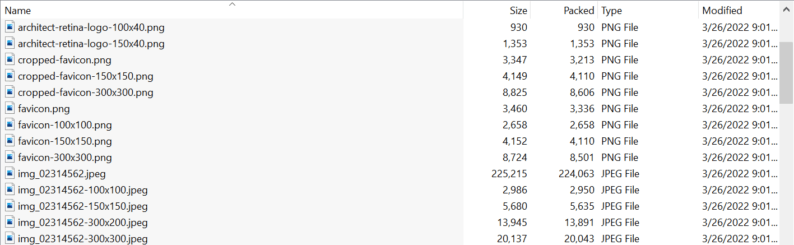
To access the media files, go to file manager and click on the zip file.
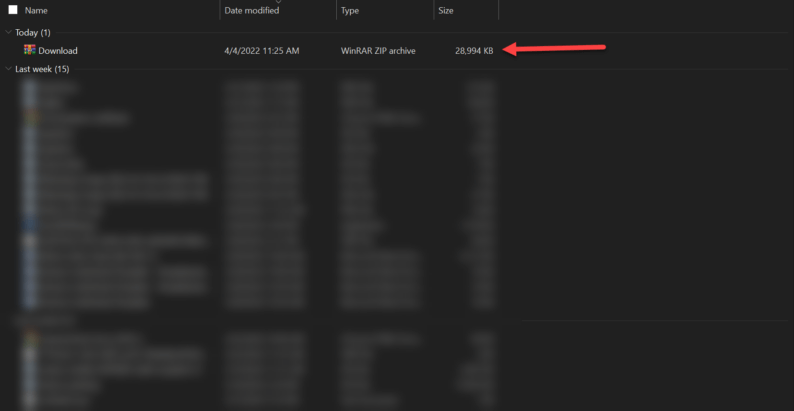
All the downloaded images are here.
Alternatively, you can make a zip file of the entire folder and download it in the same way.
These are the 3 easiest ways you can download images from the media library, but there is another. The method is a bit complicated but achieves the same results.
Way 4. Using FTP
Downloading images from the web for your WordPress site can be a cumbersome process. With FTP, you can quickly and easily download images for your website.
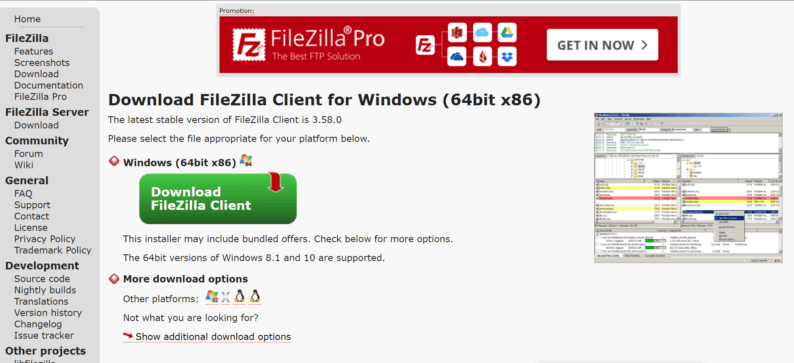
First, you’ll need to download a third-party software called FileZilla.
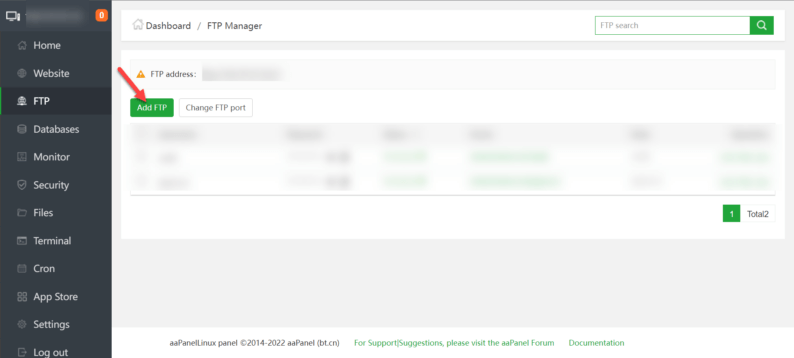
Now go to your hosting website and click on the “FTP” option.
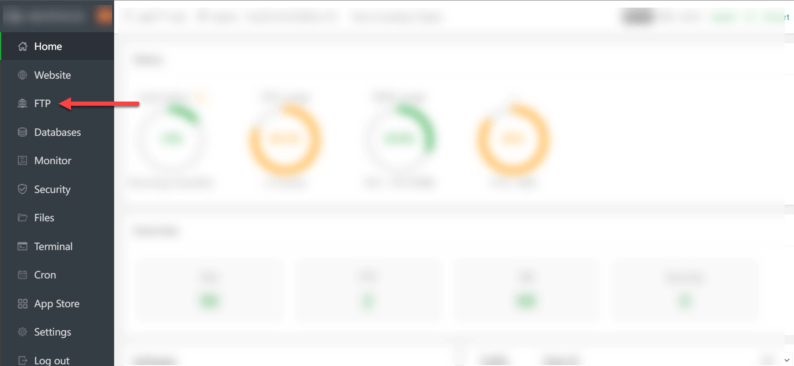
Click on the “Add FTP” button.
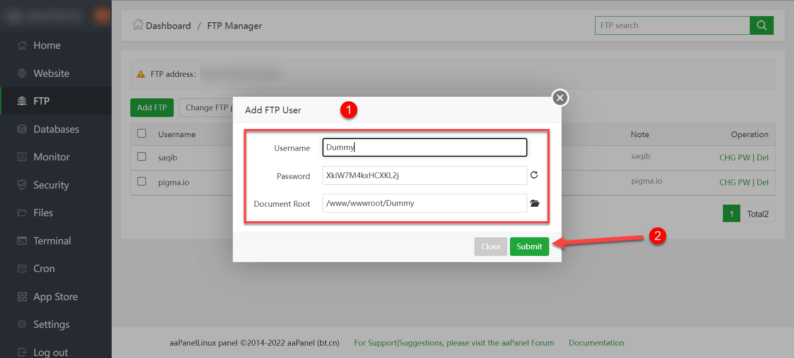
Enter your Username, Password and select a Document Root. After entering all the necessary details, click the “Submit” button.
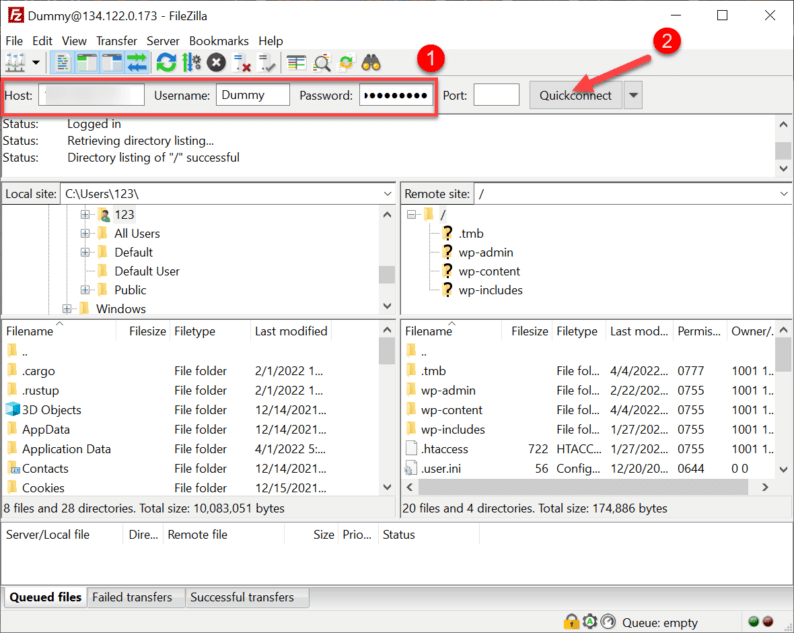
Now open the FileZilla application and enter your Username, Password, and Host details. After that, click on the “Quickconnect” button.
Note: The host details can be taken from the URL of the hosting website.
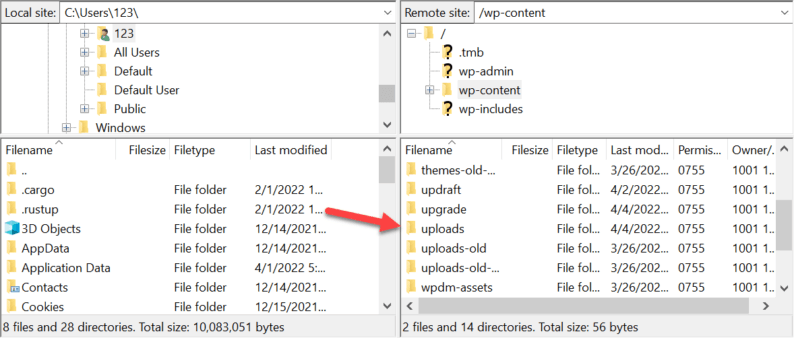
Go to the “wp-content” folder.
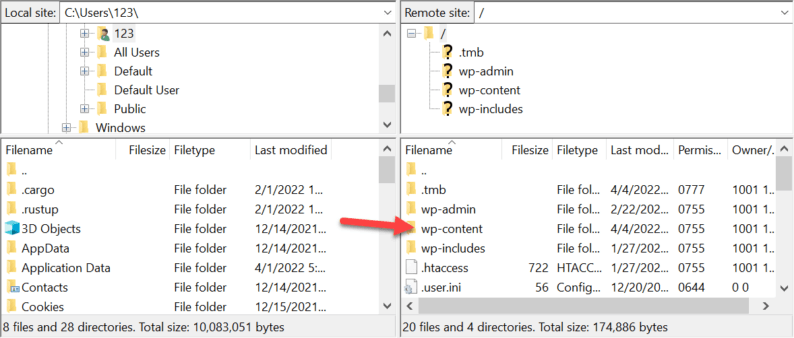
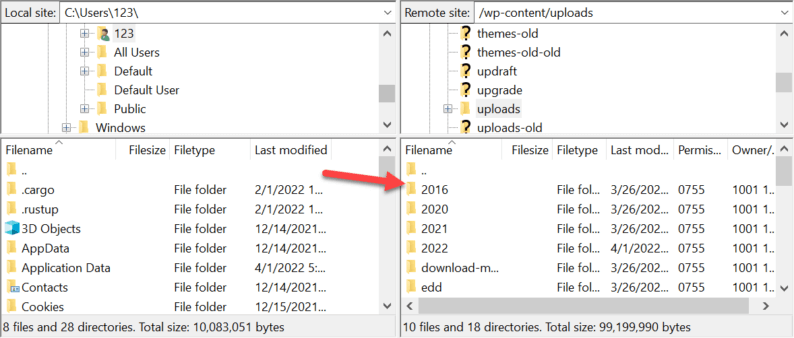
In that folder, click on the “uploads” folder to access the images from the media library.
Now click on the folder which is named after a year.
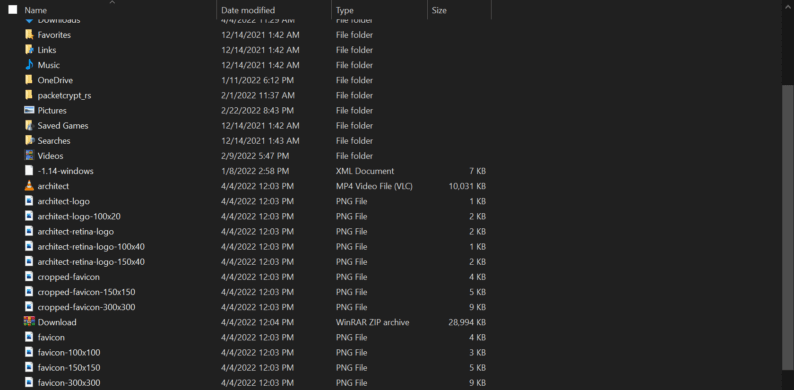
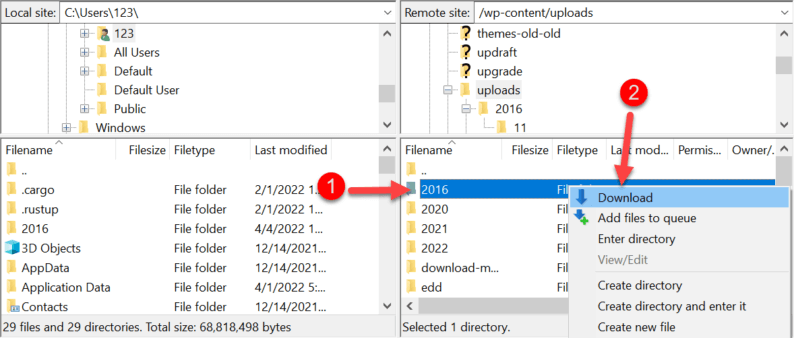
Here select the media files you want to download. After selecting the files, right-click on them and select the “Download” option.

The selected files have been downloaded.
You can also download the entire by right-clicking on the folder and choosing the “Download” option.
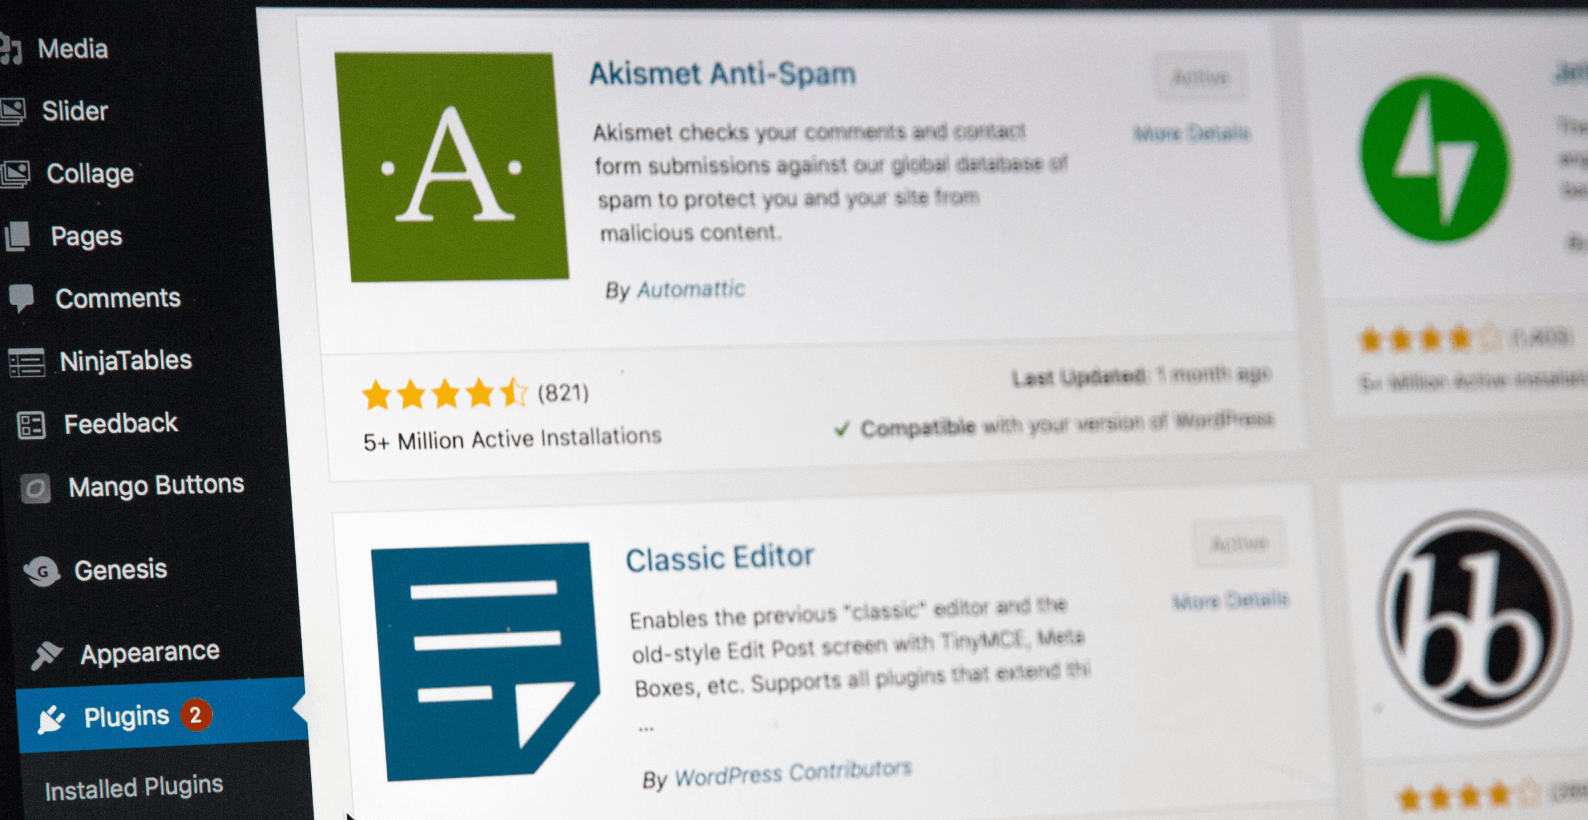
What Is a Media Library in WordPress
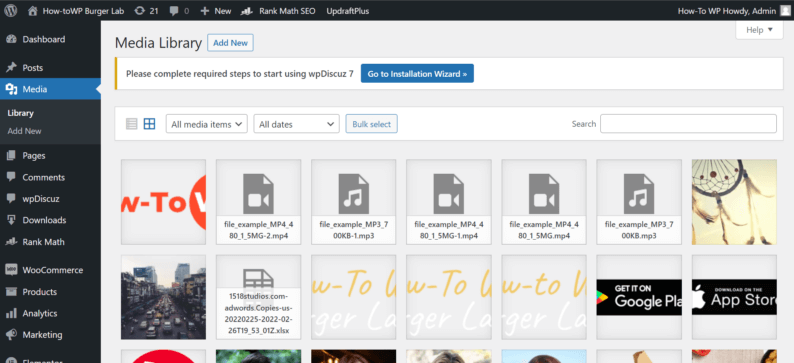
A media library in WordPress is a section of your website where you can store all of your images, videos, and audio files. Furthermore, you can access and manage all types of files from here, but it’s limited.
You can use these media files however you like. From adding feature images to creating a slick slider using them. The maximum file size of any upload type is 128 MB, but it can be increased using plugins.
Uploading a file to a media file is a simple drag-and-drop process. All you have to do is open the media library and drag the file on it.
A media library can be a great asset for any organization, providing a central location for all media assets and making them easily accessible to employees. Here are five benefits of using a media library:
- Improved Organization
Media libraries improve the organization of media assets, making it easy to find and retrieve specific items. All assets are typically stored in a central location, making them easy to access for those who need them.
- Enhanced Collaboration
Media libraries can also enhance collaboration among employees. With all assets stored in one central location, teams can easily share and work on projects together.
- Greater Efficiency
Media libraries can help improve the efficiency of an organization. With all assets readily available, employees can quickly find the items they need, saving time and increasing productivity.
- Reduced Costs
Media libraries can also help reduce costs associated with storing and retrieving media assets. By storing all assets in one central location, organizations can eliminate the need for multiple storage devices and locations.
- Enhanced Security
Media libraries can also provide enhanced security for media assets. With all assets stored in one central location, it is easier to track and secure them, reducing the risk of loss or theft.
Wrapping Up
Normally, when it comes to media files, you can easily download them. The purpose of doing so can vary from person to person. Some might want to use these media files on another website with similar content, while others only want to keep a backup of everything on the computers.
Therefore, you can use a few methods to make the process simpler and less time-consuming. By following the tips I’ve mentioned above, you can easily download any type of media file without worrying about losing it or causing damage.
Have you tried using these methods before? Let us know how they worked for you in the comments below.