How to Edit Footer in WordPress

Just like headers, footers are also important for any client who comes to your website. It contains all the important information such as contact information and policies etc. However, customizing the footer of your site is also important.
Editing the footer of a website is very simple, but many people don’t know how to edit one without contradicting other things. In today’s article, I’ll show you how to edit footer in WordPress.
You’ll learn about:
- How to edit footer in WordPress
- What is a footer in WordPress
Why don’t we start this article with the procedure on How to edit footer in WordPress?
Table of Contents
Editing a footer in WordPress isn’t a complicated task. However, it will vary depending upon what type of theme you’re using. I recommend that you use the KadenceWP theme because it’s one of the best and provides many features.
Your footer can be edited in a variety of ways, depending on your needs. Some are easy, and some require a bit of coding knowledge. Don’t worry because I’ll guide you through them so that you can customize the footer you like.
If you’re a frequent visitor to our site, then you know that we always start with the simplest solution for you. Let’s start with the one that works for all.
Method 1: Use Customize Option
The “Customize” option allows you to make changes to your website and mold it however you like. You can change anything you want from one place and see the changes live.
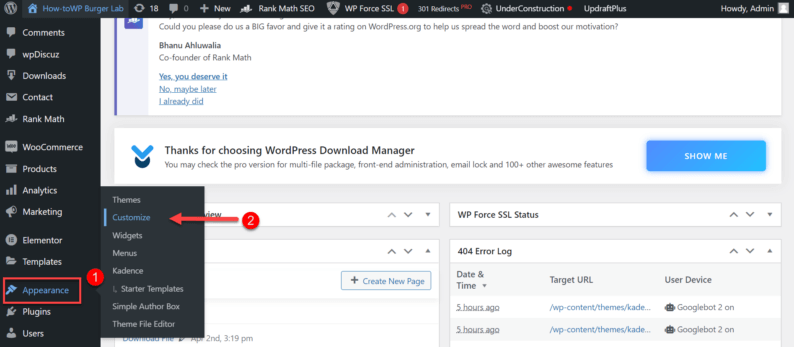
Start by going to the dashboard of your website. Then go to “Appearance” and click on the “Customize” option.
Note: You can also access the same option from the toolbar on the top when visiting your site.
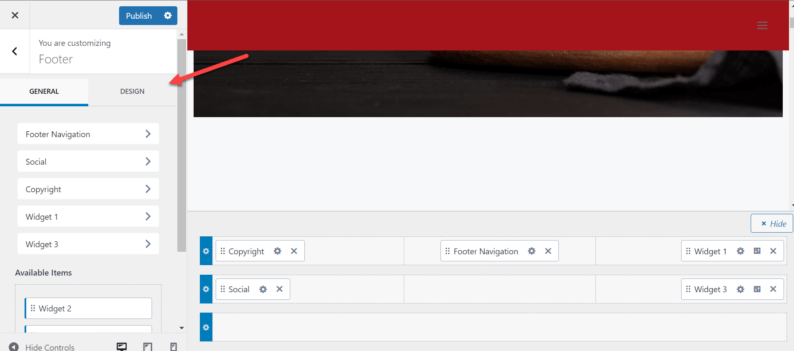
You’ll be taken to a page where you can customize the website however you like. From here, you’ll go to the “Footer” section.
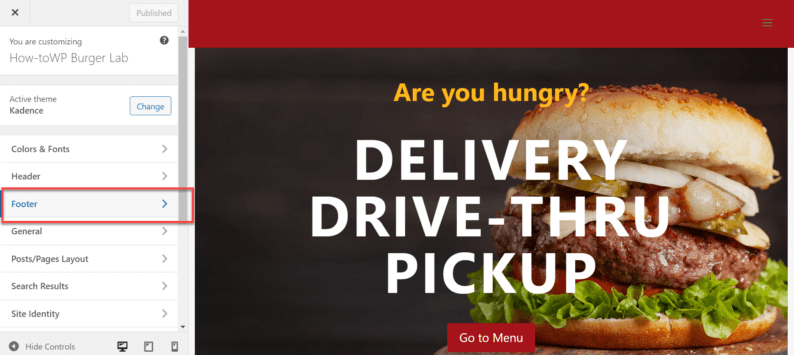
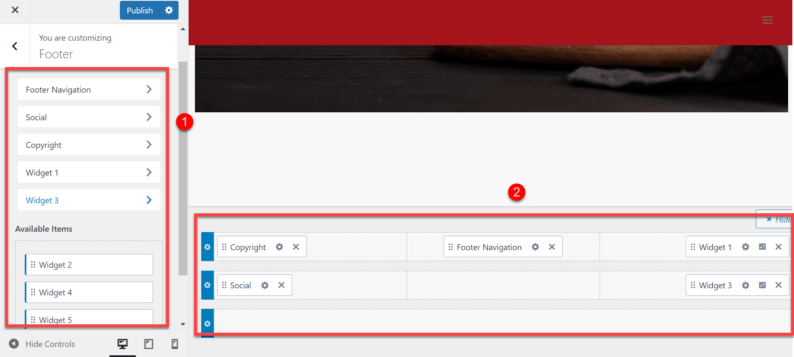
By default, you would be taken to the general section of the footer. Here you’ll see many options that you can either add or remove from the footer section of your site.
Note: There are two means of adding and removing things from the footer. You can either drag and drop items in the footer section or simply click on them.
Other than adding and removing items, you can also redesign the footer section to your liking. Go to the “Design” section.
From here, you change the color of the footer color in many ways. Furthermore, you can also add gradient colors making the footer more colorful and flowing.
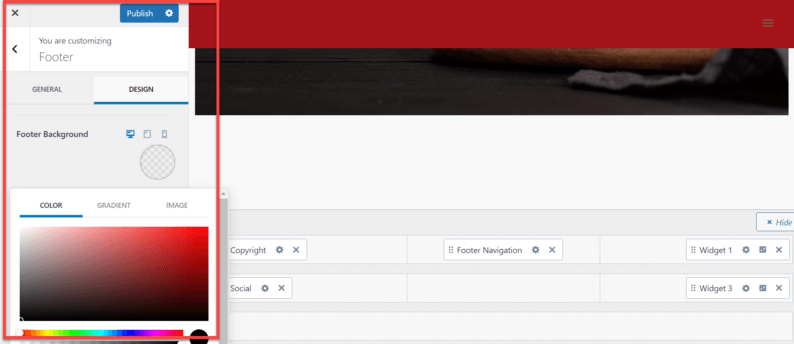
After making all the necessary changes, click the “Publish” button on top of the screen.

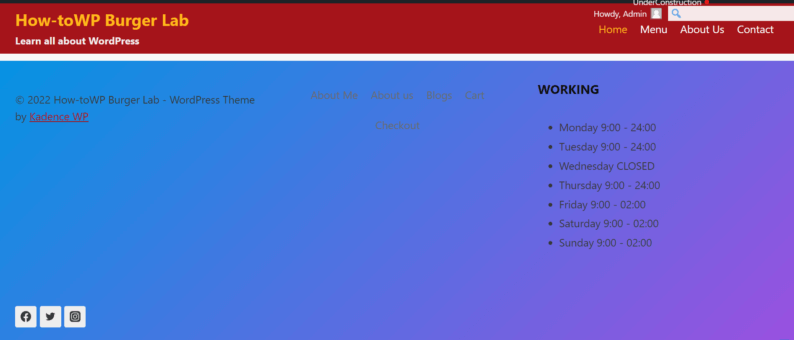
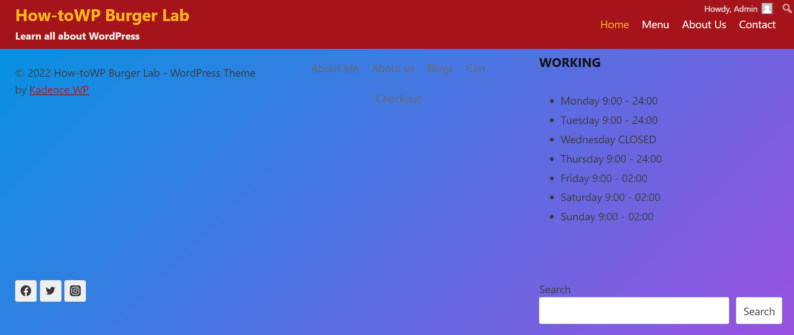
Once you go back to the website, you’ll see that footer has been changed.
Method 2: Use Widgets
Another way of editing the footer is to use widgets in them. These are small elements of the theme that helps you to add some specific features which will be helpful for the visitor. There are a number of widgets that you can use for your sites, such as a search bar, timing tables, calendars, etc.
Start by going to the “Appearance” section and clicking on the “Widgets” option.
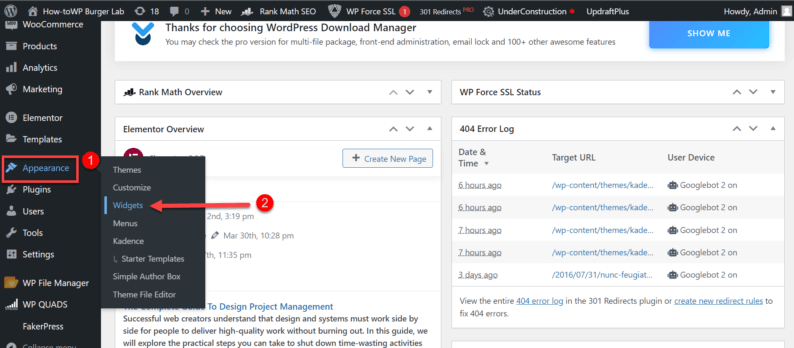
On the widgets page, you’ll see all the footer sections and how you can edit them. You can add any custom widgets or predefined ones.
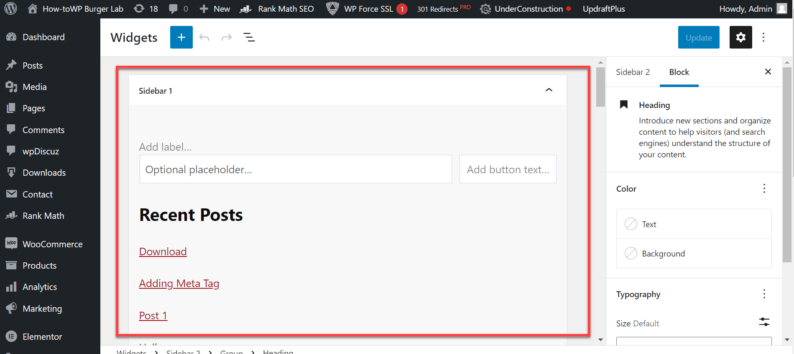
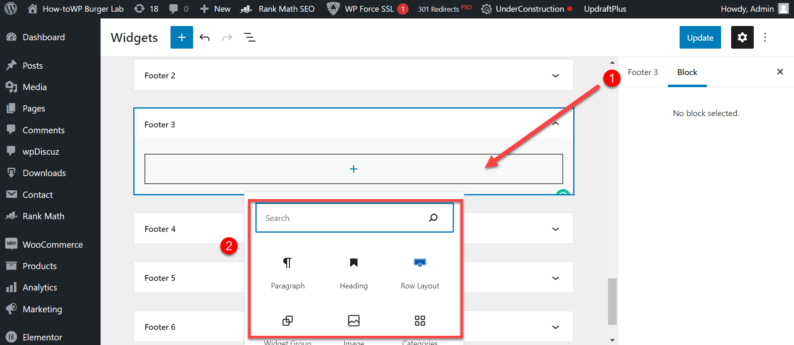
To add a widget, you first need to select the section of the footer where it’ll be displayed. After that, click on the “+” option. A pop-up box will appear from which you’ll search and insert the widget.
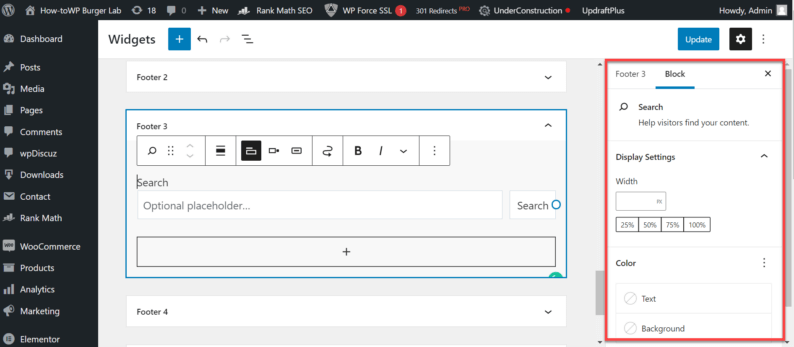
Once the widget is in place, you can change a number of different options such as name, size, and color. You have full control over how you want to display it.
After making all the changes, go to the top of the page and click the “Update” button.
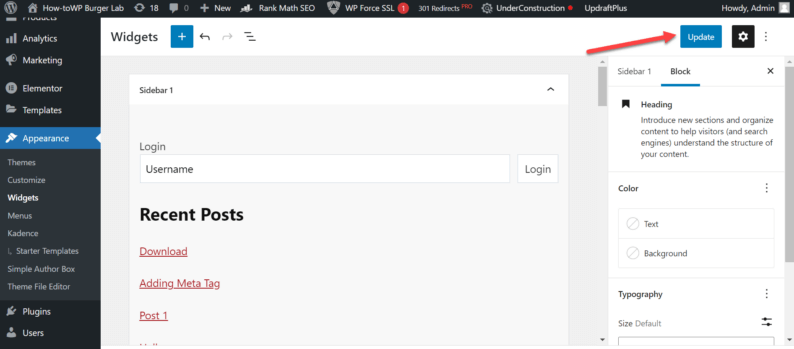
You’ll see that the widgets have been added to the footer by going back to the website.
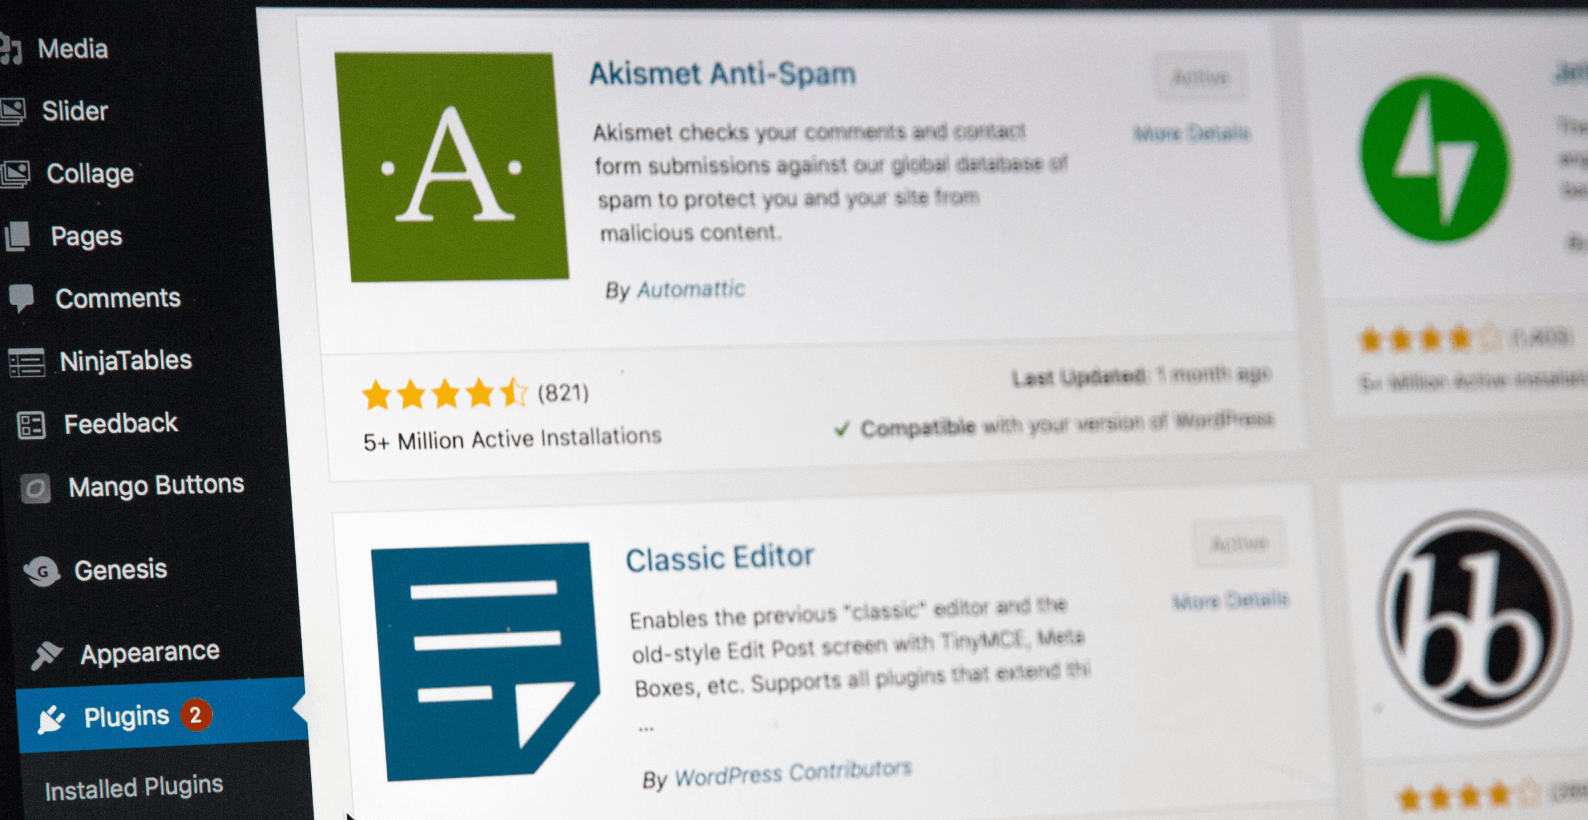
Method 3: Using Plugins
Prior to plugins, the website owners needed to have extensive coding knowledge to even make small changes. However, with the introduction of plugins, even a 10-year-old can make changes to the website.
Granted that plugins have made a lot of things easier for us, it also has a major drawback that can’t be ignored. Plugins are the primary means for hackers to infect the website and harm the ranking of the site.
According to Wordfence, more than 50% of WordPress websites are compromised due to fake plugins.
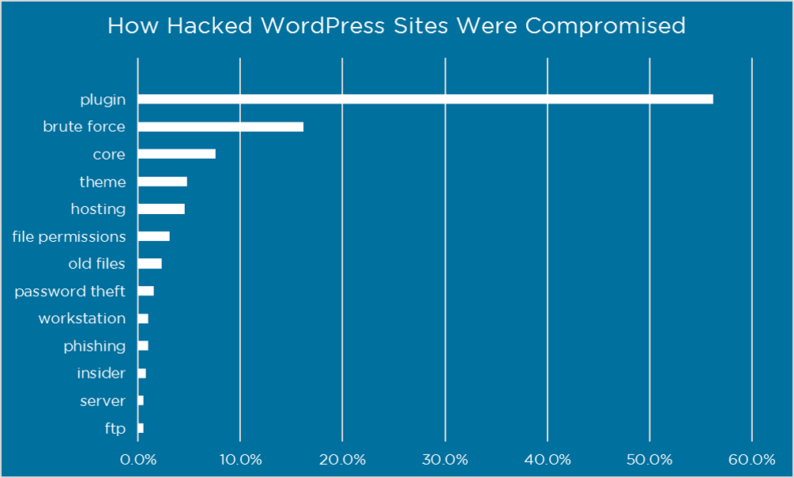
The best way to avoid being compromised is to always install the plugins from a reputable and trusted developer.
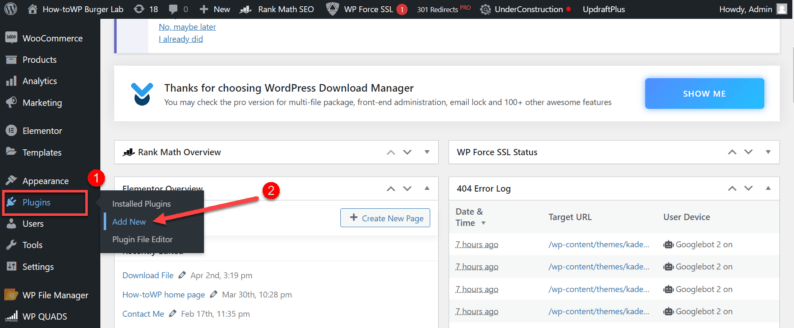
If you want to add text or remove it from the footer section, then I’ll recommend using the “Remove Footer Credit” plugin.
Start by going to the “Plugins” section and clicking on the “Add New” option.
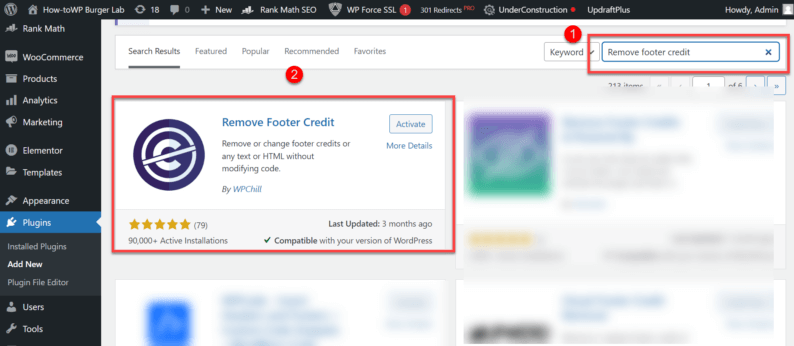
After that, you’ll search and install the “Remove Footer Credit” plugin. Make sure that it doesn’t leave the page after the installation process because you’ll need to click the “Activate” the plugin.
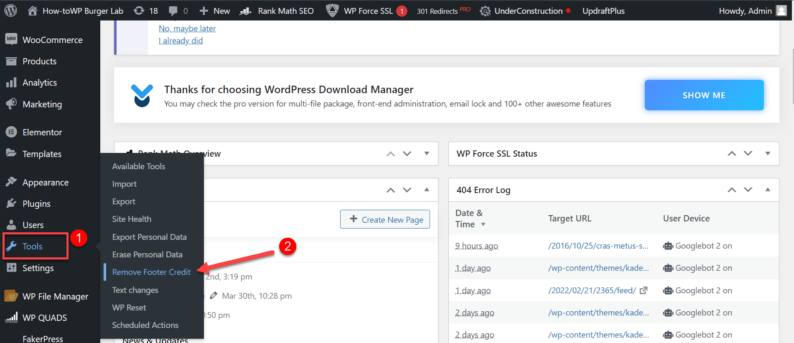
Go to the “Tools” section and click the “Remove Footer Credit” option.
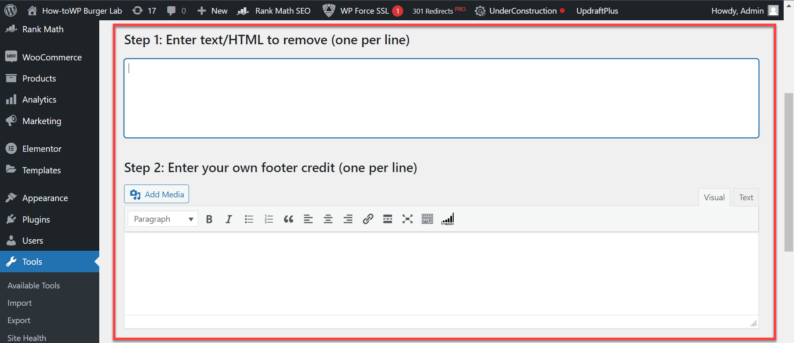
Here you can enter the text you either want to remove or replace in the first box.
Note: If you want to replace the credits, then you’ll enter the new text in the second box.
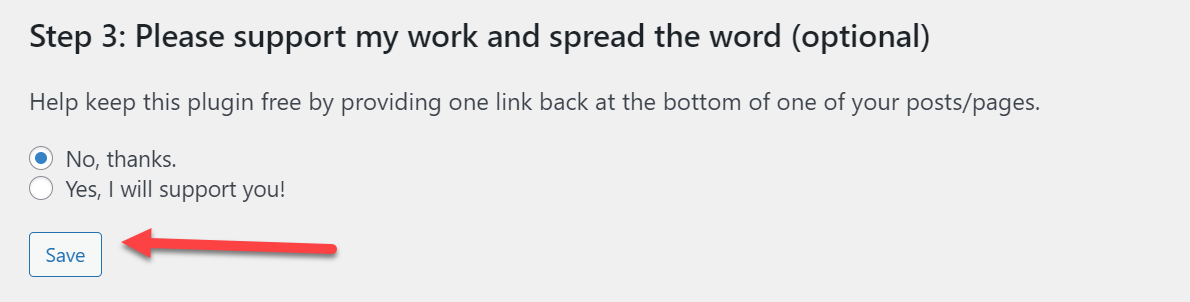
After entering the text, scroll down and click the “Save” button.
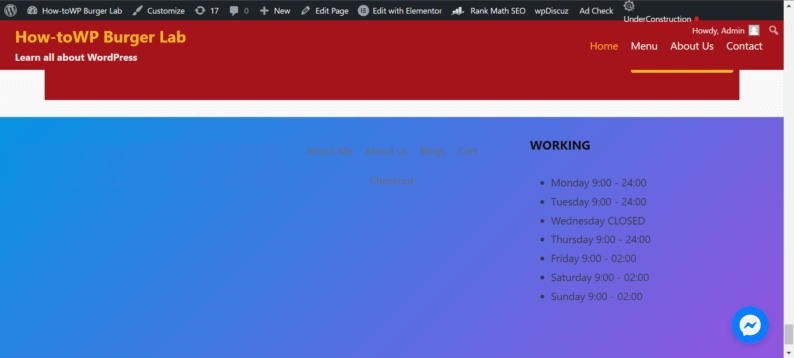
The credits have been removed from the footer.
This method is only used by those people who prefer to avoid as many plugins as possible and have a great grasp of the coding. Manipulating the coding of a website is not a thing that you should take lightly because one wrong move and your entire website can stop working.
Hence, it’s recommended that you always make a backup of the website so that you can restore it if you need to. If you want to learn how to create a backup of your website, then check out my article on “How to Reinstall WordPress Without Losing Data.”
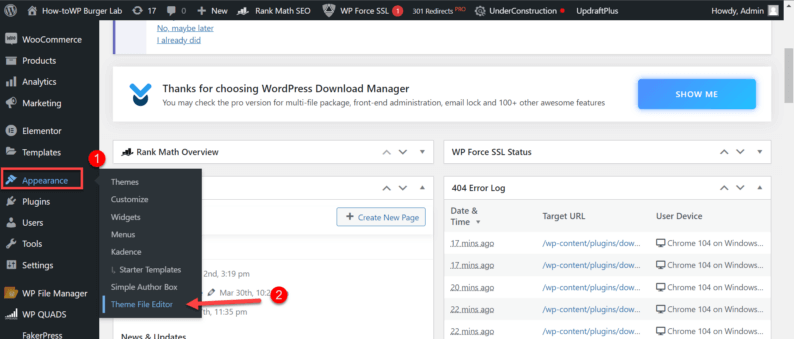
To edit the footer coding, go to the “Appearance” section and click the “Theme File Editor” option.
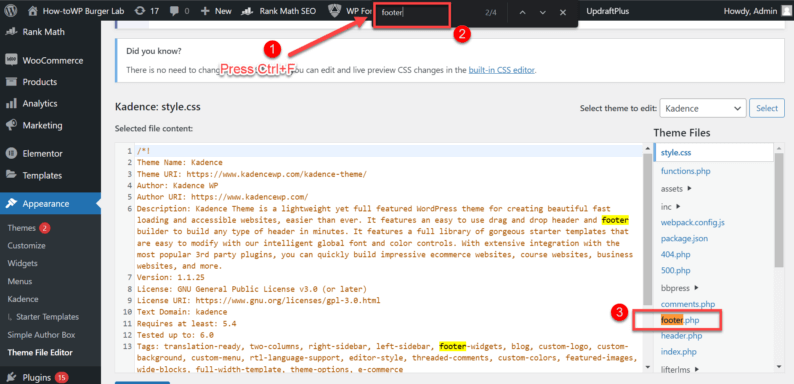
You’ll be taken to a page where all the coding of the website is available. Here, you’ll need to find the “footer.php” file, which contains the footer coding.
Press the “Ctrl+F” key on your keyboard (Cmd+F if you’re using a MacBook). A box will appear in which you’ll type in “footer” or “footer.php” because it’ll highlight the file.
After locating the file, click on “footer.php” to open the code.
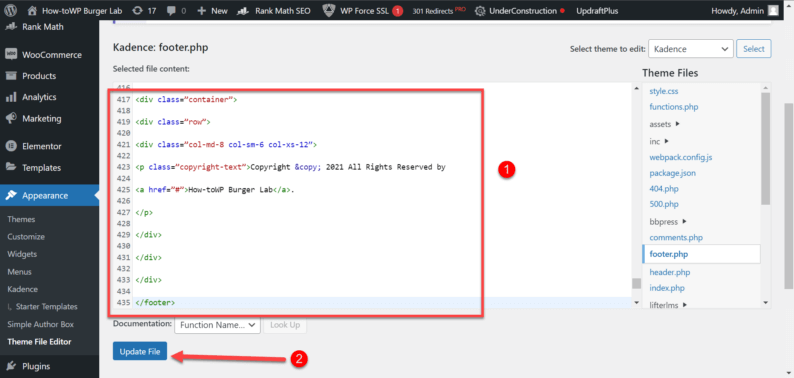
From here, you change whatever aspect of the footer you want to change, but if for some reason you want to completely change the look of your footer, then paste the following lines of code in the “footer.php” file:
<style>
.site-footer
{
background-color:#26272b;
padding:45px 0 20px;
font-size:15px;
line-height:24px;
color:#737373;
}
.site-footer hr
{
border-top-color:#bbb;
opacity:0.5
}
.site-footer hr.small
{
margin:20px 0
}
.site-footer h6
{
color:#fff;
font-size:16px;
text-transform:uppercase;
margin-top:5px;
letter-spacing:2px
}
.site-footer a
{
color:#737373;
}
.site-footer a:hover
{
color:#3366cc;
text-decoration:none;
}
.footer-links
{
padding-left:0;
list-style:none
}
.footer-links li
{
display:block
}
.footer-links a
{
color:#737373
}
.footer-links a:active,.footer-links a:focus,.footer-links a:hover
{
color:#3366cc;
text-decoration:none;
}
.footer-links.inline li
{
display:inline-block
}
.site-footer .social-icons
{
text-align:right
}
.site-footer .social-icons a
{
width:40px;
height:40px;
line-height:40px;
margin-left:6px;
margin-right:0;
border-radius:100%;
background-color:#33353d
}
.copyright-text
{
margin:0
}
@media (max-width:991px)
{
.site-footer [class^=col-]
{
margin-bottom:30px
}
}
@media (max-width:767px)
{
.site-footer
{
padding-bottom:0
}
.site-footer .copyright-text,.site-footer .social-icons
{
text-align:center
}
}
.social-icons
{
padding-left:0;
margin-bottom:0;
list-style:none
}
.social-icons li
{
display:inline-block;
margin-bottom:4px
}
.social-icons li.title
{
margin-right:15px;
text-transform:uppercase;
color:#96a2b2;
font-weight:700;
font-size:13px
}
.social-icons a{
background-color:#eceeef;
color:#818a91;
font-size:16px;
display:inline-block;
line-height:44px;
width:44px;
height:44px;
text-align:center;
margin-right:8px;
border-radius:100%;
-webkit-transition:all .2s linear;
-o-transition:all .2s linear;
transition:all .2s linear
}
.social-icons a:active,.social-icons a:focus,.social-icons a:hover
{
color:#fff;
background-color:#29aafe
}
.social-icons.size-sm a
{
line-height:34px;
height:34px;
width:34px;
font-size:14px
}
.social-icons a.facebook:hover
{
background-color:#3b5998
}
.social-icons a.twitter:hover
{
background-color:#00aced
}
.social-icons a.linkedin:hover
{
background-color:#007bb6
}
.social-icons a.dribbble:hover
{
background-color:#ea4c89
}
@media (max-width:767px)
{
.social-icons li.title
{
display:block;
margin-right:0;
font-weight:600
}
}
</style>
<!– Site footer –>
<footer class=”site-footer”>
<div class=”container”>
<div class=”row”>
<div class=”col-sm-12 col-md-6″>
<h6>About</h6>
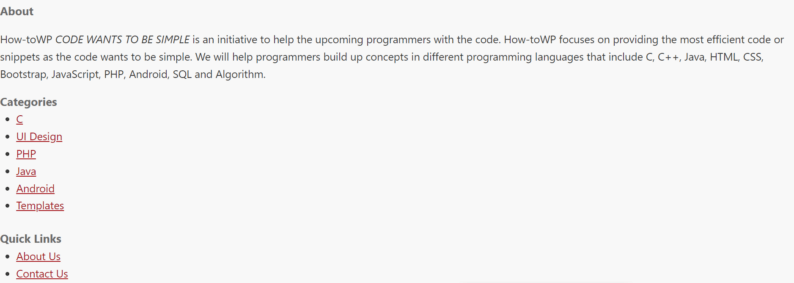
<p class=”text-justify”>How-toWP <i> CODE WANTS TO BE SIMPLE </i> is an initiative to help the upcoming programmers with the code. How-toWP focuses on providing the most efficient code or snippets as the code wants to be simple. We will help programmers build up concepts in different programming languages that include C, C++, Java, HTML, CSS, Bootstrap, JavaScript, PHP, Android, SQL, and Algorithm.</p>
</div>
<div class=”col-xs-6 col-md-3″>
<h6>Categories</h6>
<ul class=”footer-links”>
<li><a href=”https://howtowp.com/category/c-language/”>C</a></li>
<li><a href=”https://howtowp.com/category/front-end-development/”>UI Design</a></li>
<li><a href=”https://howtowp.com/category/back-end-development/”>PHP</a></li>
<li><a href=”https://howtowp.com/category/java-programming-language/”>Java</a></li>
<li><a href=”https://howtowp.com/category/android/”>Android</a></li>
<li><a href=”https://howtowp.com/category/templates/”>Templates</a></li>
</ul>
</div>
<div class=”col-xs-6 col-md-3″>
<h6>Quick Links</h6>
<ul class=”footer-links”>
<li><a href=”https://howtowp.com/about/”>About Us</a></li>
<li><a href=”https://howtowp.com/contact/”>Contact Us</a></li>
<li><a href=”https://howtowp.com/contribute-at-howtowp/”>Contribute</a></li>
<li><a href=”https://howtowp.com/privacy-policy/”>Privacy Policy</a></li>
<li><a href=”https://howtowp.com/sitemap/”>Sitemap</a></li>
</ul>
</div>
</div>
<hr>
</div>
<div class=”container”>
<div class=”row”>
<div class=”col-md-8 col-sm-6 col-xs-12″>
<p class=”copyright-text”>Copyright © 2021 All Rights Reserved by
<a href=”#”>How-toWP Burger Lab</a>.
</p>
</div>
</div>
</div>
</footer>
You can use the code however you like. After pasting the code, click the “Update File” button.
After making the changes, the footer will look completely different.
If you want to add some additional designs, you can simply add additional CSS to the website’s customize section.
A footer in WordPress is the bottom section of a web page. This area typically contains copyright information and contact links. Some themes include social media icons and other helpful links in the footer.
Many people don’t realize optimizing a footer is just as important as the header. Granted that most people are only interested in the header section of the website because from there, they can navigate from one section of the site to another.
However, a footer is also important if someone wants your contact information. Other than that, there are some things that you can’t just add in the header section of your sites, such as copyright information, different policies, and much more.
Furthermore, You can edit the footer in WordPress, meaning that a single style of the theme does not bind you, and you can change the look however you see fit. Even the footer we are currently using for this website is completely customized.
That’s why it’s important for you to get familiarized with the layout of your website and know how to utilize it in such a way that you can add as many things as you want and still look amazing.
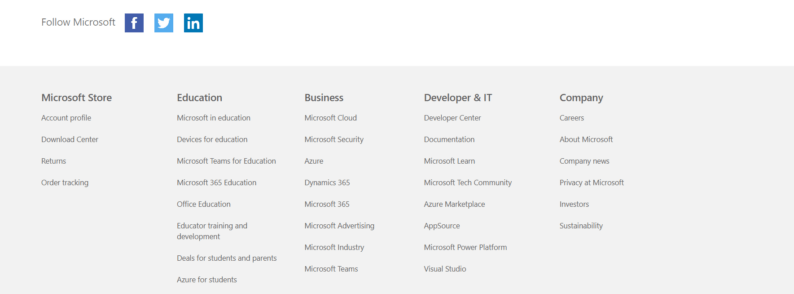
It is easy to use the footers on the websites of many big companies, such as Microsoft and Amazon.
The Microsft footer is neatly organized and shows all the necessary information that one might need from their sight.
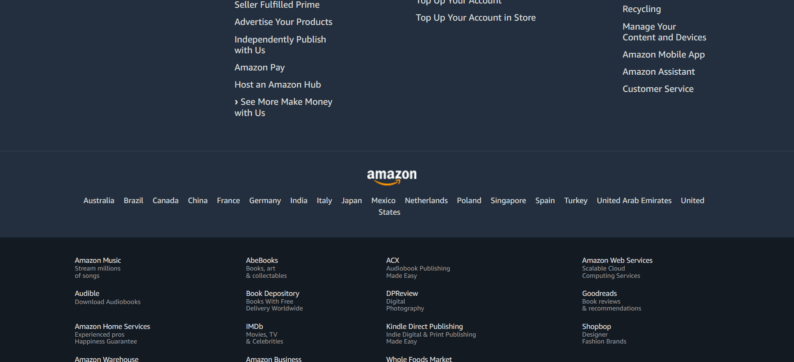
The same is true for the Amazon footer. They’ve basically divided the footer section into two parts and have provided a sort of information for the customer.
Hopefully, this has given you a great idea of what exactly a footer is and how to edit footer in WordPress.
Conclusion
Other than these above-mentioned methods, you can also create a custom footer with the help of Elementor. However, it requires you to buy the pro version to utilize this feature.
When editing the theme’s coding, make sure you create the backup of the file with the help of the “Updraft Backup” plugin. It’s one of the best plugins that you can use for your site without any issues with viruses.
Let me know if these methods worked for you in the comment sections.