How to Hide a Featured Image in a WordPress Post

Featured images are the face of any blog post or article, but sometimes they can do more harm than good. You can either hide or remove a featured image. Today, I’ll be discussing how to hide a featured image in a WordPress post.
You’ll learn about:
- What are featured images
- Why hide a featured image
- How to hide featured image in post
Let’s start with what is a featured image?
Table of Contents
What Are Featured Images

Featured images (also sometimes called post thumbnails) are images that represent an individual blog post, product, or page. Whenever you add a featured image to a post or page, it is typically displayed at the top of your content.
They’re basically the first impression of any post or article. It’s because featured images convey the overarching topic of the article. The more detailed and eye-catching the featured image is, the more reader is inclined to read it. Check out this post on how images affect the human brain.
Furthermore, these images can have a big impact on your readers and can make your content more shareable on social media. That’s why it’s important to choose featured images that are high-quality, relevant, and eye-catching.
Why Hide a Featured Image
It’s true that a good featured image can attract a lot of visitors to your site, but it’s also true that a wrong featured image can put them off. Many people do not know how to choose a good featured image, so they choose an image that can harm their chances of ranking high.
When it comes to hiding a featured image, there are actually quite a few benefits that can come along with it. For starters, doing so can help to keep your website looking clean and organized.
Additionally, it can also help to speed up the load time of your website, as fewer images will need to be loaded in order for the page to display correctly. Finally, hiding a featured image can also help to reduce the overall size of your website, which can be beneficial if you are working with limited storage space.
That’s why in some cases, it’s best to hide the featured images. Here are some additional reasons for hiding featured images:
- The image doesn’t match the topic
- Unprofessional
- Not optimized for phones and tablets
- Causes redundancy of the image in the article
Due to the decrease in traffic due to the featured image, the SEO ranking of the website will also decrease. That’s why it’s important to choose the featured image; if not, then hide it for the time being.
There are two ways to hide a featured image: through the plugin and the other through CSS. I’ll be discussing both of them, so you don’t have to worry about anything.
Let’s start with the plugin method.
How to Hide Featured Image in Post with a Plugin
Many plugins are available for hiding featured image in a WordPress post. Before using the plugin, you’ll need to install it.
Step 1. Installation
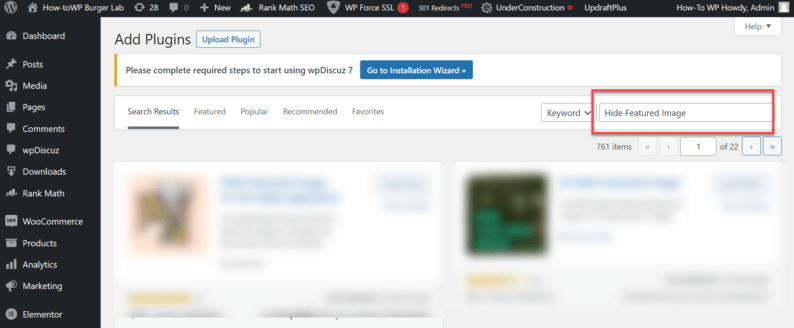
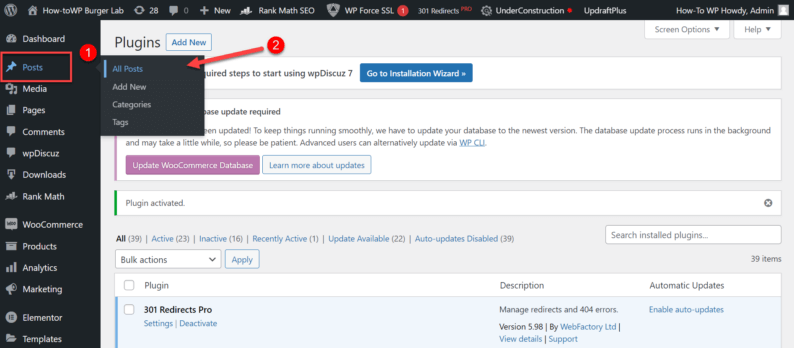
For starters go to the WordPress dashboard of your site. Then, go to the “Plugins” option and click the “Add New” option.

Search for a plugin labeled “Hide Featured Image.” It’s one of the best plugin for featured image support.
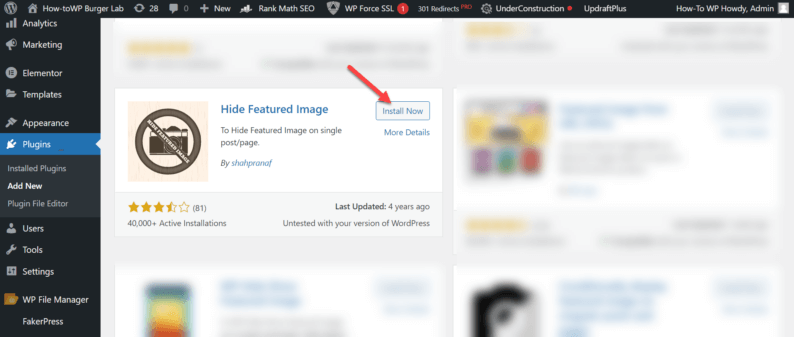
Scroll down a bit and click the “Install” button for the “Hide Featured Image” plugin.
After installing the plugin, you’ll need to click on the “Activate” button.
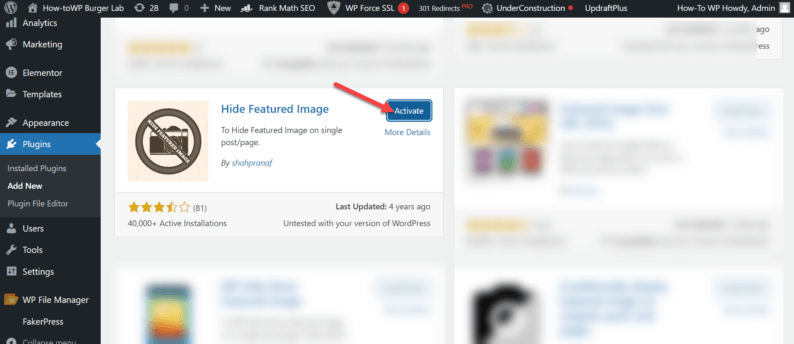
Now the “Hide Featured Image” plugin is available for all posts and pages.
Step 2. Hiding Image
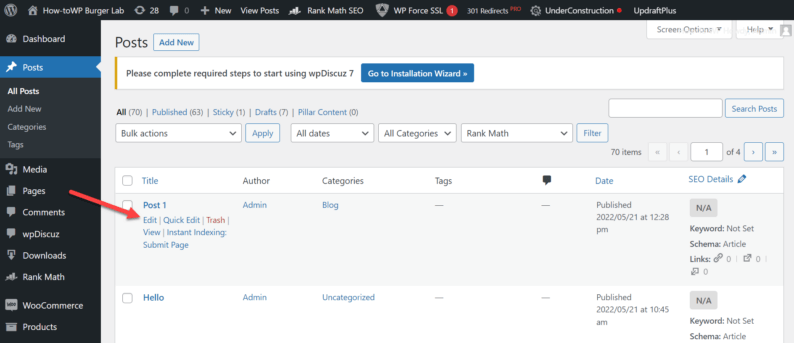
After installing the plugin, go to “Posts” and click on the “All Posts” option.
Hover over the post you wish to modify and select “Edit” from the drop-down menu that appears.
Note: You can also open the editor mode for the post by simply clicking the name of the post.
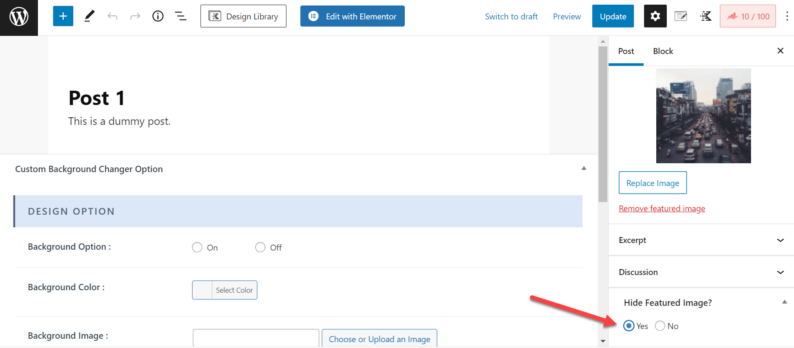
At the right of the screen, you’ll see a drop-down option called “Hide Featured Image?” which you’ll turn to “Yes” if you want to hide it.
All that remains is that you click on the “Update” button on the top of the screen.
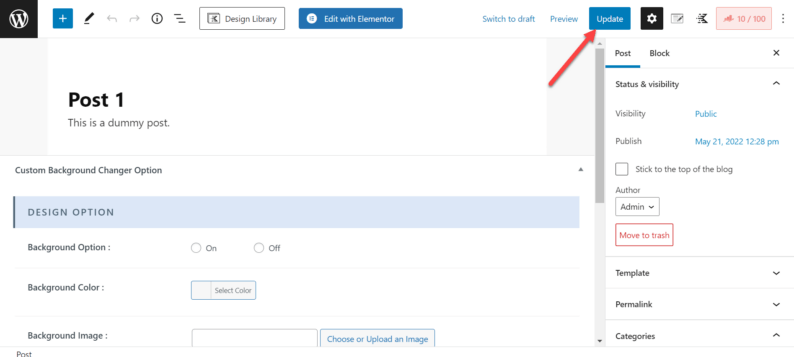
Doing this will hide the featured image of the post, and if you want to make the image visible again, you’ll need to click the “No” option and then the “Update” button.
How to Hide Featured Image in Post with CSS
There are some people who don’t trust random plugins very plugins. The reason for it is that some plugins might contain viruses that can either hack your website or do other irreparable damage.
That’s why for such tasks, they prefer to use CSS coding, which is completely safe, but you’ll need to play safe. It’s recommended that whenever you’re making changes, keep a backup of your website so that if some major error occurs, you can just revert to the previous settings.
You just need a bit of coding knowledge so that you know what you’re doing and how to revert it (if need be).
Step 1. Opening Customization Panel
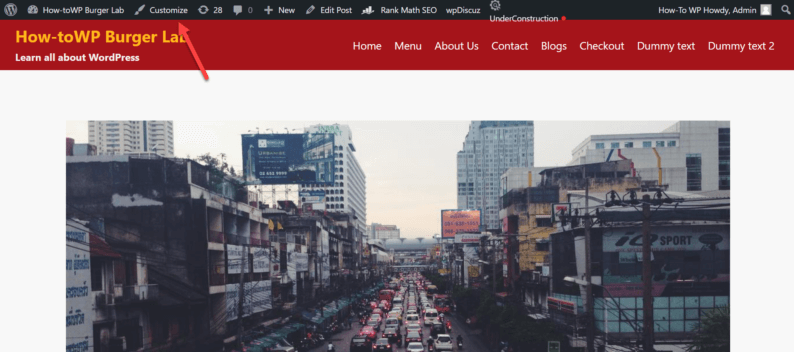
To use CSS, you’ll need to open the customization panel to make changes. Open the blog or the blog section of the website and click on the “Customize” option on the admin bar.
Step 2. Open Additional CSS
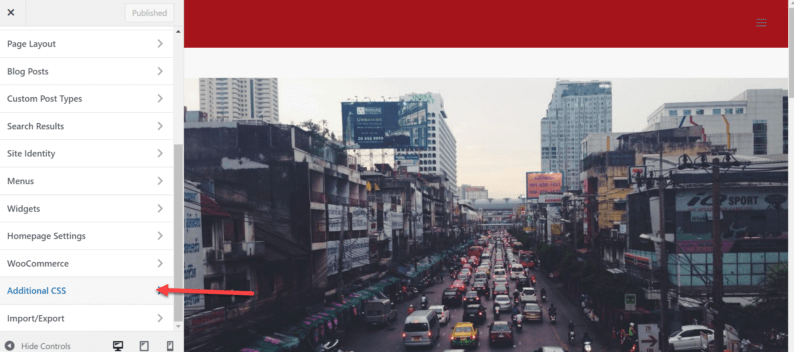
Scroll down and click on the “Additional CSS” option on the left-hand side of the screen.
Note: It’s normally the 2nd last option in the customization panel.
Step 3. Paste the Code
Once in the “Additional CSS” section, paste the code into the coding section on the screen. The coding line is:
.single-post .featured-image {display: none;}The image will at once disappear.
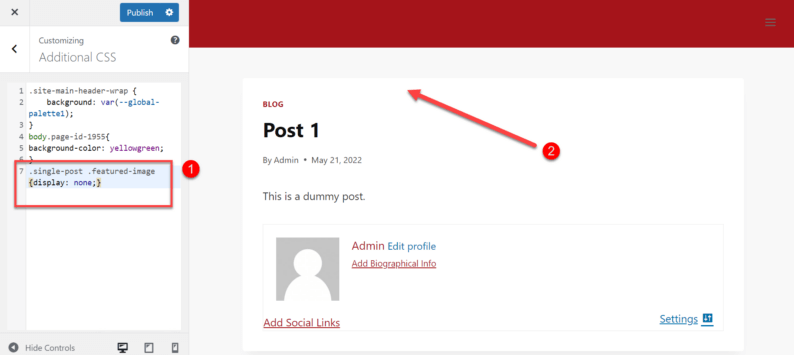
Paste the Code and the Featured Image Will Become Hidden
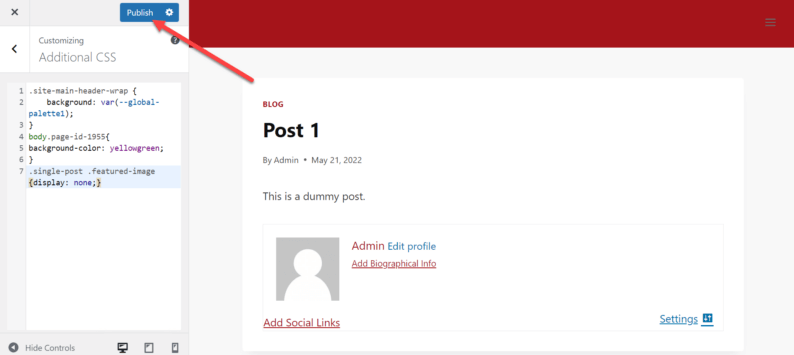
To save the changes made to the featured image, click the “Publish” button.
To make the featured images visible again, just go back to the “Additional CSS” section and remove the line of coding which is hiding it; after that, click the “Publish” button.
Conclusion
As you can see, by following the above-mentioned methods, you can easily hide any featured images you want from the viewers. Just make sure that if any major issue arises, you’ve already made a backup of the site.
Sometimes the CSS coding won’t hide the featured image. In such cases, you have to type “!important” next to the “none;” for it to take effect.
Furthermore, If you don’t like the “Hide Featured Image” plugin, then you can try out other options as well because there are several available in the plugins store. The reason why I choose this plugin is that it works for me.
Let me know if there are any other methods to hide featured images or if you are experiencing any issues in the comments section below.