How to Underline in WordPress [A Complete Guide]

When creating content for your website or blog using WordPress, formatting your text can significantly affect how your audience perceives it.
One of the most effective formatting options is underlining text. Using this technique, you can emphasize certain words or phrases within your content or create headings and titles that stand out.
In this article, you will learn:
- Discover different methods for underlining text in WordPress
- Master the art of underlining with tips and best practices
- Get your questions answered with our frequently asked questions
Whether you’re a beginner or an experienced user, this guide will help you make the most of your WordPress content by effectively underlining text.
Table of Contents
3 Different Methods for Underlining Text in WordPress
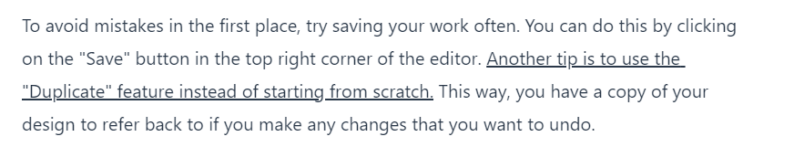
The first method for underlining text in WordPress is to use the built-in underline button in the WordPress editor. Using this method in WordPress makes underlining text easy and works well for small amounts.
Please Note: It’s worth noting that in the latest version of WordPress, known as Gutenberg, the underline button is no longer available in the editor’s toolbar.
If you use WordPress version 5.0 and above, you will not find the underline button in the visual editor. In this version, WordPress has adopted a new block-based editor, and the underline feature is not included as a default option in the block editor.
However, you can still use keyboard shortcuts to underline text in Gutenberg.
Here’s how to do it:
Step 1: Log in to your WordPress website and navigate to the page or post where you want to add underlined text.
Step 2: Click on the Text tab in the editor to switch to the HTML view.
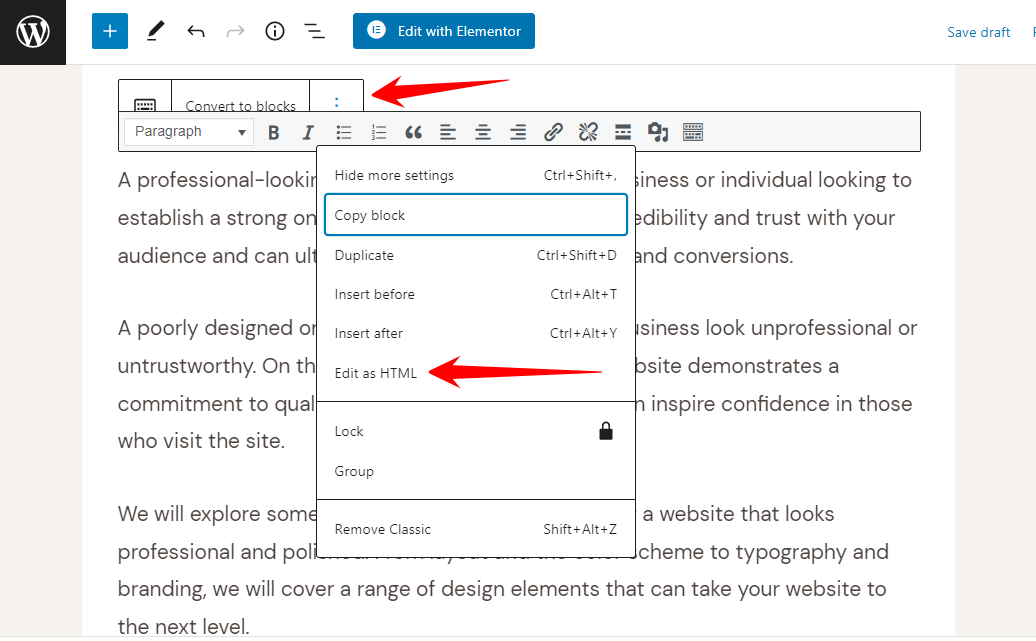
Step 3: You will need to switch the same Text tab to the HTML view once you click on the Text tab in the editor.
Step 4: Highlight the text that you want to underline.
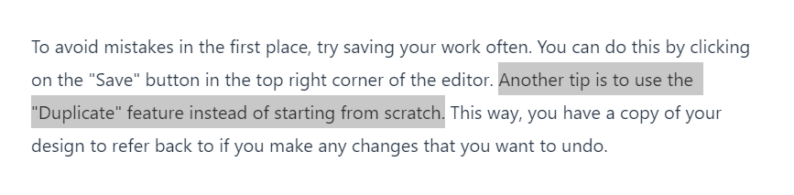
Step 5: Click on the underline button in the “editor toolbar” or use keyboard shortcuts like “Ctrl + U” in Windows or “Command + U” in Mac. You will see underlined text.
Step 6: Preview or publish your post or page to see the underlined text.
Tips for using the underline button and keyboard shortcuts effectively include:
- Use underlining sparingly to add emphasis to certain words or phrases
- Avoid underlining entire paragraphs or sections of text
- Make your text stand out by using underlining along with other formatting options like bold and italic
- Use underlining to improve the overall design and layout of your website.
Method 2: Using HTML and CSS to Underline Text
The second method for underlining WordPress text is HTML and CSS. This method gives you more control over the appearance of the underlined text, and it works well for more significant amounts of text.
Here’s how to do it:
Step 1: To add underlined text to a post or page on your WordPress website, log in to your “WordPress” dashboard and navigate to the post or page.

Step 2: Click on the “Text tab” in the editor to switch to the HTML view.

Step 3: Highlight the text that you want to underline.
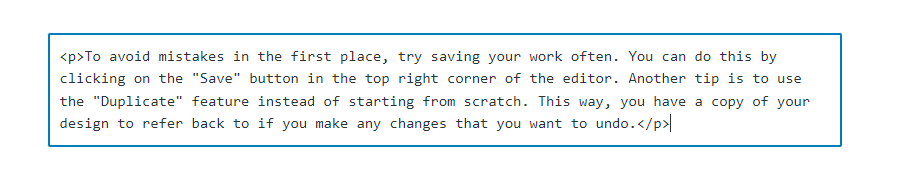
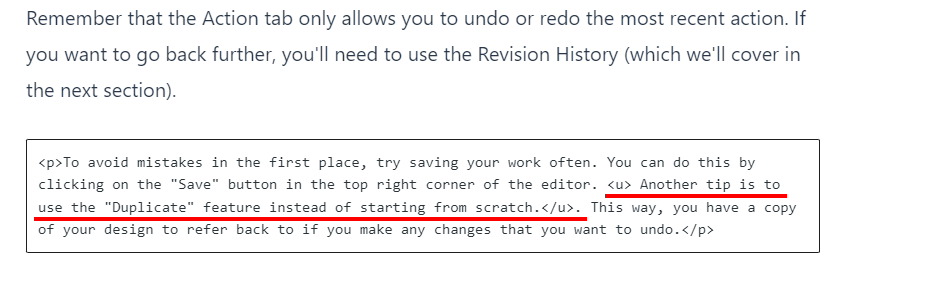
Step 4: Add the <u> tag around the text to underline it. For example: <u>This text will be underlined</u>.
Step 5: You can also use CSS to style the underline. To do this, you need to add a CSS class to the <u> tag, for example: <u class=”underline”>This text will be underlined</u>.
Step 6: Now, you need to add the CSS code in your theme’s stylesheet or in “Additional CSS” in the WordPress customizer.
.underline {
    text-decoration: underline;
}
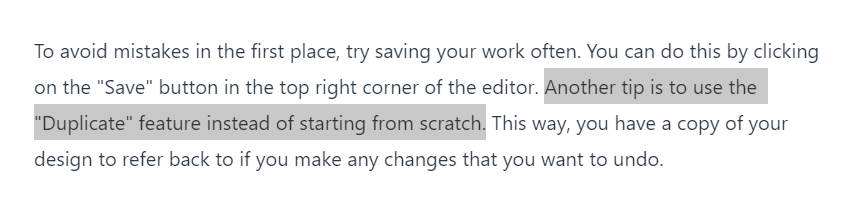
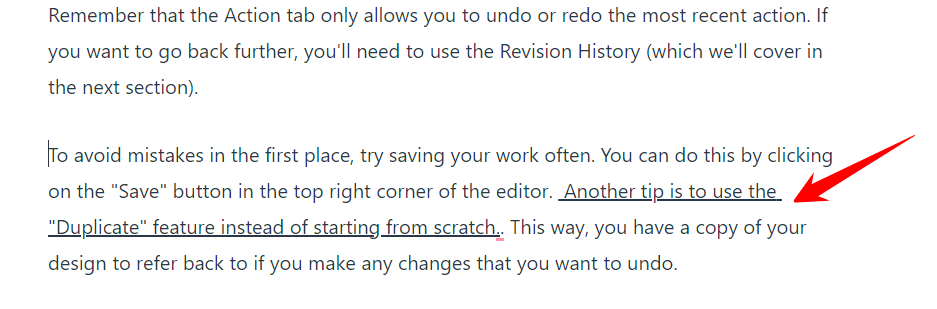
Step 7: Switch to the visual mode by clicking on the “Visual tab.”
Step 8: Preview or publish your post or page to see the underlined text.
When using HTML and CSS to underline text in WordPress, it’s essential to keep in mind that HTML is used to structure the content of your website, while CSS is used to control the layout and design. By using HTML and CSS together, you can create a more consistent and visually appealing website.
Tips for using HTML and CSS to underline text effectively include:
- Use CSS to style your underlines for consistency and control
- Use semantic HTML elements like <em> and <strong> instead of <u>
- Avoid underlining entire paragraphs or sections of text
- Use underlining to improve the overall design and layout of your website.
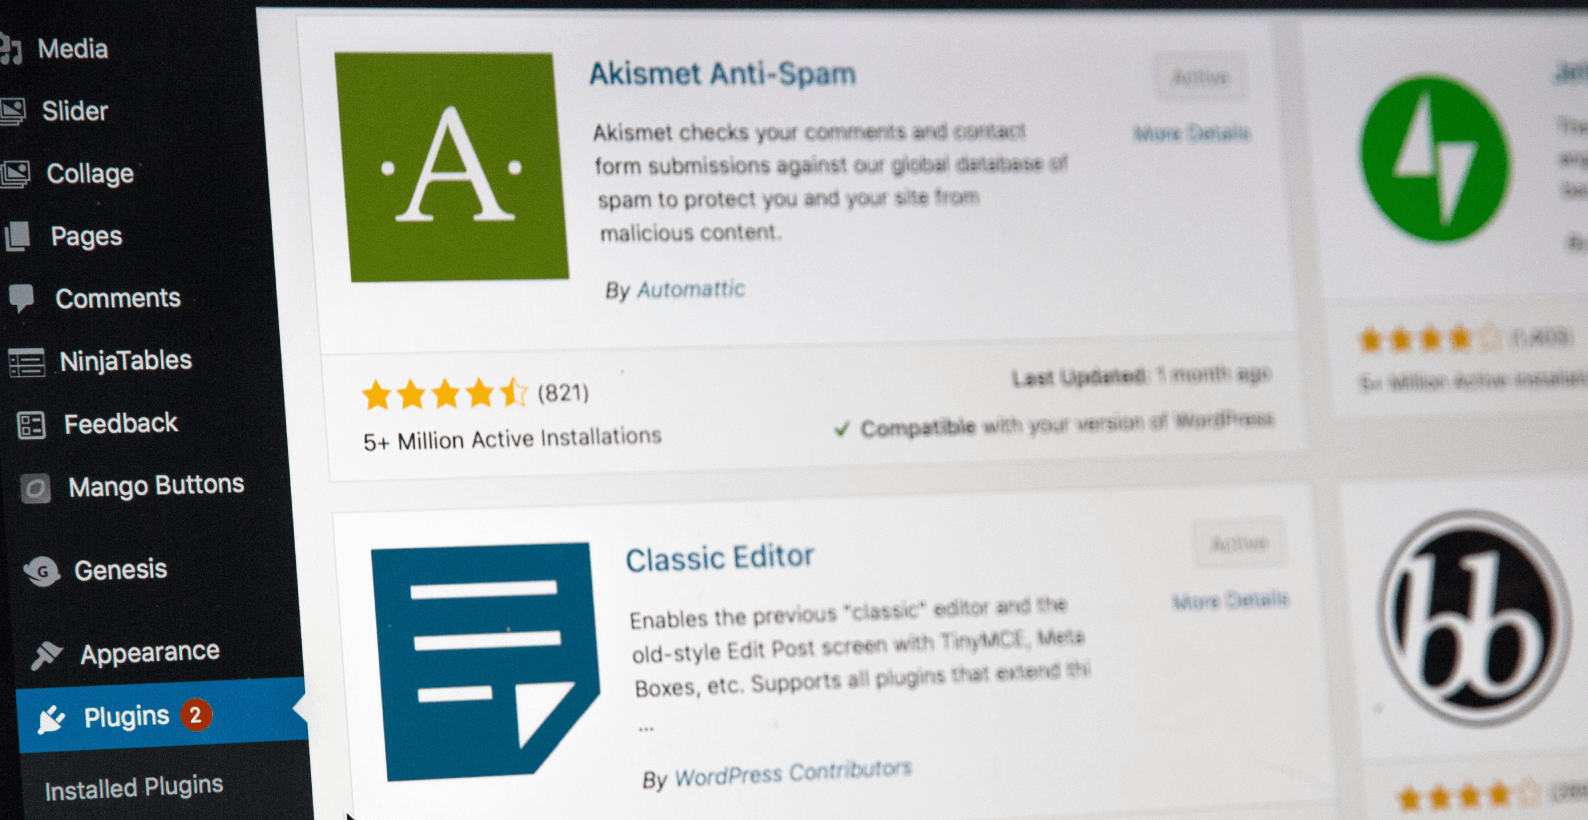
Method 3: Using a Plugin to Underline Text
The third method for underlining text in WordPress is to use a plugin. This method is ideal for people who need to become more familiar with HTML and CSS and want to underline text more visually.
Here’s how to do it:
Step 1: Go to the WordPress dashboard by entering the login credentials.
Step 2: Click on the “Add new plugin” option on the sidebar plugin menu.
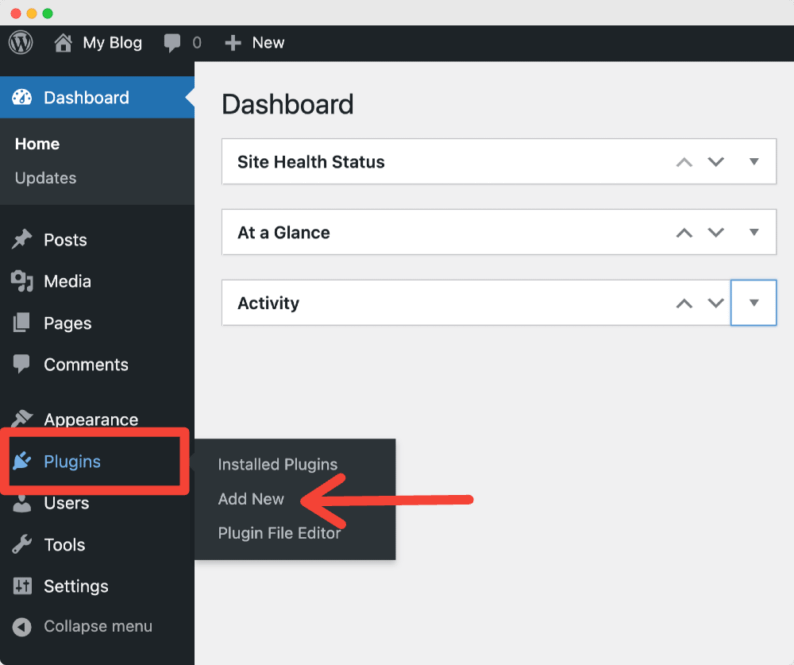
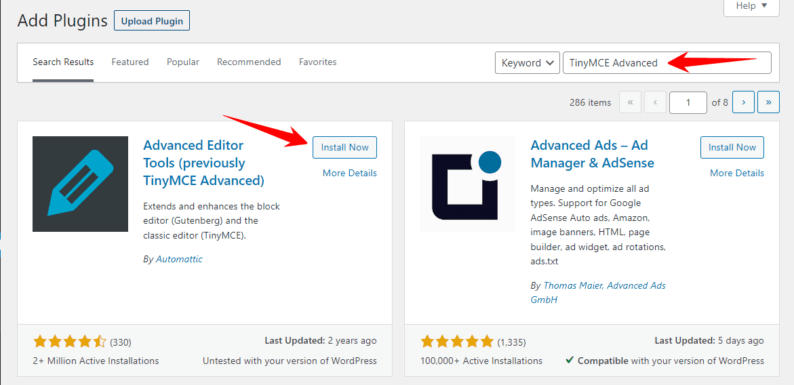
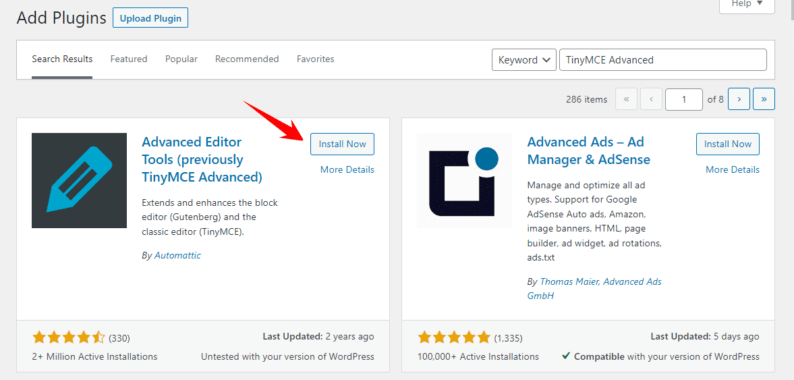
Step 3: Search for “underline text” and click the “Install Now” button to install the plugin.
Step 4: Once the plugin is installed, activate it.
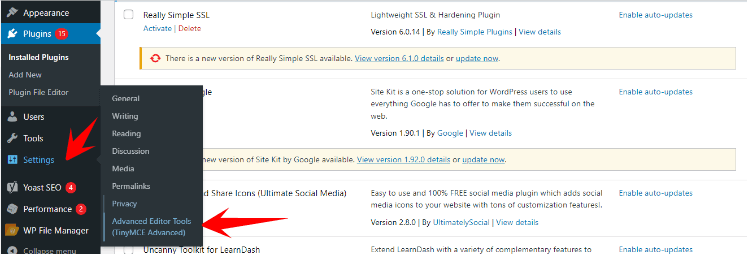
Step 4: Once the plugin is activated, go to the Settings menu in your WordPress dashboard and click on the “TinyMCE Advanced” option. This will take you to the plugin’s settings page.
Step 6: Scroll down to the “Advanced Options” section and find the “Buttons” option. Here, you can select which buttons to appear in the visual editor. Make sure the “Underline” button is selected.
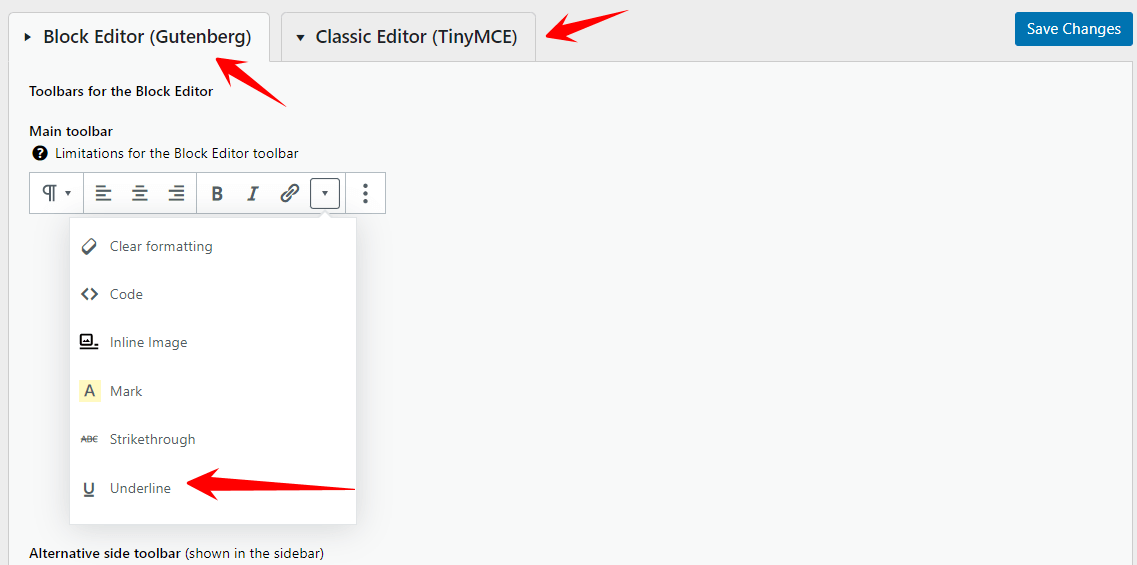
Note: If you are using Gutenberg editor, you need to drag on the underline option and drop it in the list. You will see the change’s when editing the article.
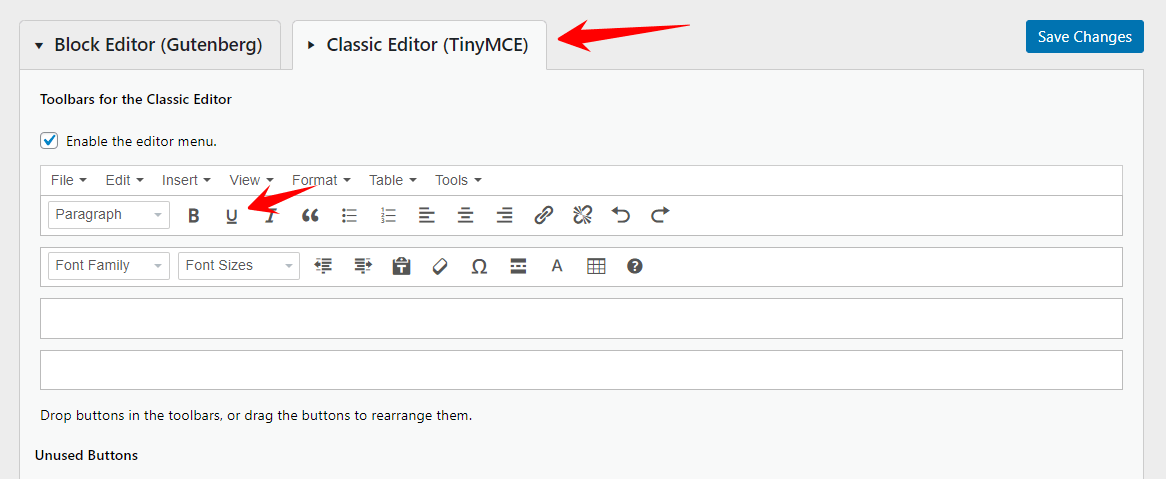
Note: If you’re using the classic editor, you can easily add an underline option by going to the settings, selecting the classic editor option, scrolling down, and dragging the underline option to the classic editor toolbar.
Step 7: You should see the “Underline” button in the visual editor when writing or editing a post or page. Highlight the text you want to underline and click the “Underline” button. The text will now be underlined.
Step 8: To remove the underline, highlight the underlined text and click the “Underline” button again.
Step 9: Save your post or page before leaving the editing screen.
When using a plugin to underline text in WordPress, it’s important to choose a lightweight and well-maintained plugin to avoid any issues with load time or compatibility.
Tips for using a plugin to underline text effectively include:
- Choose a lightweight and well-maintained plugin
- Use the plugin’s settings to customize the underline style
- Avoid underlining entire paragraphs or sections of text
- Use underlining to improve the overall design and layout of your website.
Wrapping Up Thoughts
Underlining text is a helpful tool in WordPress for many reasons. It can draw attention to specific words or phrases, making them more prominent and more manageable for readers to identify.
Furthermore, underlining can serve as a visual hierarchy throughout your content, guiding readers through your text and making it easier for them to follow. Moreover, underlining can improve your website’s overall design and layout, making it more visually appealing and engaging for readers.
By underlining specific text, you can create a sense of emphasis and importance, making your content more effective in conveying your message.
Frequently Asked Questions
How do I put a line under text in WordPress?
In WordPress, you can add a line under text by using the “underline” button in the visual editor when creating or editing a post or page. This button is typically represented by a line with a “T” on top of it. You can also add a line under text by using the HTML tag before the text you want to be underlined and the closing tag after the text. This can be done in the text editor when creating or editing a post or page.
How do you make text underline?
You can use the HTML tag or the CSS text-decoration: underline; property to underline text. For example, to underline a word in HTML, you would use the following code: word. In CSS, you would add the property “text-decoration: underline;” to the relevant selector.
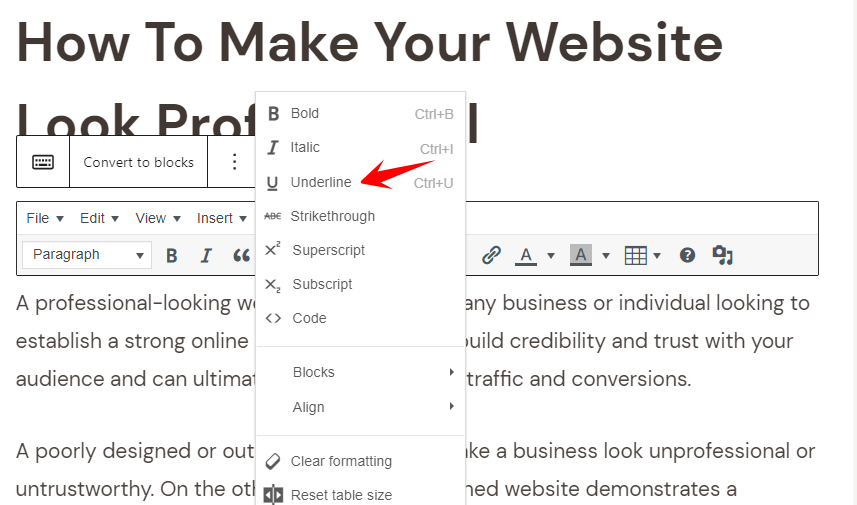
How do you underline text in Gutenberg?
In the Gutenberg editor, you can highlight the text you want to underline and then click on the “U” icon in the formatting toolbar. This will add the HTML tag around the selected text, causing it to be underlined. You can also use the “Advanced” button in the block editor to add a custom class and use CSS to underline your text.
How do you underline text in embed?
To underline text in an embed, you can use the “markdown” formatting option and add an underscore (_) before and after the text you want to underline. For example, text to underline will display as text to underline in the embed. Remember that this method works only in discord and other chat services that support markdown formatting.


Hello,
Thanks for this article. It is a great overview of underlining.
One issue, though, is that since HTML 4, is deprecated, in its sense as denoting “underlining” (but it is not deprecated in its new sense, as the “unarticulated annotation”). And some SEO tools will report pages using under the heading “deprecated HTML” or some such similar phrase, to point out that may be used wrongly (that is, in its old sense).
So if it’s underlining we want, we have to use some other method. And the method most commonly suggested is using in-line CSS with the tag, and using “text-decoration: underline” as the style. And this is what WordPress themselves do, when implementing “underline” in their Gutenberg block editor’s formatting options.
So I’ll give an example from my one of my latest articles on “karma”. So in the sentence “…action sometimes may seem to be a causal factor…” I want to underline the word “seem”. So I select the word “seem” and then choose the “underline” item from the Down-Arrow menu (also called the “More” menu). And I then switch to WordPress’s Code Editor view to see what code they have generated:
“…action sometimes may seem to be a causal factor…”
I think this looks really “clumsy”, in terms of editability. So no longer is it easy to manually add underline in the HTML itself, but the result is also that the core text is much less easy to read, since the formatting tag is so long.
A better way of doing it would be to define a CSS format called “myu” or something:
#myu{text-decoration : underline;}
and then one could use the following, more compact, and more readable, formatting in the text instead:
“…action sometimes may seem to be a causal factor…”
It’s still longer and clumsier than the original tag, but at least it is less “destructive” to the readability of the real text, in my opinion. So that will be my new underline format on my own website.
Have a GREAT day!
Chris Bocay
Hello again,
Well, WordPress *interpreted* my HTML examples above, so you cannot see what my original text said. So let me do it like this instead: I have replaced the “” tags with square brackets instead, to illustrate my code examples. I am hoping that this will show my code as it is.
First, the code used by WordPress’s own Block editor:
“…action sometimes may [span style=”text-decoration: underline;”]seem[/span] to be a causal factor…”
and then using the “myu” format:
“…action sometimes may [span id=”myu”]seem[/span] to be a causal factor…”
Thanks,
Chris Bocay
Hello Chris Bocay,
I understand you were having issues with WordPress interpreting your HTML code examples in a previous communication. To illustrate your code examples, you have replaced the angle brackets with square brackets.
You provided two examples of code, one using WordPress’s Block editor and another using the “myu” format. The code snippets include a span element with different attributes.
In the first example, the span element has a style attribute with a value of “text-decoration: underline;”, which adds an underline to the text within the span element. In the second example, the span element has an id attribute with a value of “myu”.
I hope this answers your question.
Let me know if you have any further queries.
Best Regards
Shakeel
Hello, Shakeel,
Thanks for writing a reply, but I had no question. I understand what the code does (I mean, I am the one who proposed it in the first place!). Thanks anyway! Have a great day! — Chris
Thank you again for your message and explanation of the issues related to underlining in HTML. I comprehend that the traditional HTML tag for underlining text has been deprecated since HTML 4, and using it may cause confusion for some SEO tools.
You suggest using in-line CSS with the “text-decoration: underline” style to achieve underlining. WordPress also implements this method in their Gutenberg block editor’s formatting options.
You provide an example of creating a CSS format called “myu” with the “text-decoration: underline” style, which would allow for more compact and readable formatting in the text.
Thank you for sharing your thoughts on this topic, and I hope you have a great day too!