How to Create An About Me Page on WordPress ( A Complete Guide)

Are you ready to dazzle the world with your unique story? It’s time to create an attention-grabbing About Me page on WordPress that leaves a lasting impression!
In today’s digital age, having a personalized About Me page is essential for making your mark and showcasing your individuality. You can craft a captivating and unforgettable page representing YOU with just a few simple steps.
In this article, you will learn:
- Best methods for about page on WordPress
- Benefits of about us page on WordPress
- Essential info, design tips for impressive about page
So, whether you’re a blogger, entrepreneur, or creative soul, follow along as we unlock the secrets to designing the ultimate About Me page that will leave your audience craving more!
Table of Contents
- 2 Best Methods for Creating an About Me Page on WordPress
- Benefits of Having a Dedicated About Me Page on Your WordPress Site
- Essential Information to Include on Your About Me Page
- Things To Avoid While Creating an About Me Page
- Excellent About Me Page Examples
- Wrapping Up Thought
- Frequently Asked Questions
2 Best Methods for Creating an About Me Page on WordPress
Method 1: Using WordPress Blocks to Create An About Me Page
WordPress blocks, also known as Gutenberg blocks, are the building blocks of your website. Introduced with the release of WordPress 5.0, the Gutenberg editor transformed how users create content, making it more flexible and organized by breaking it into individual components.
The default WordPress blocks include paragraphs, headings, images, lists, and more, allowing you to create rich and varied content without any additional plugins or tools.
Here are the steps you need to take to create an About Me page on WordPress:
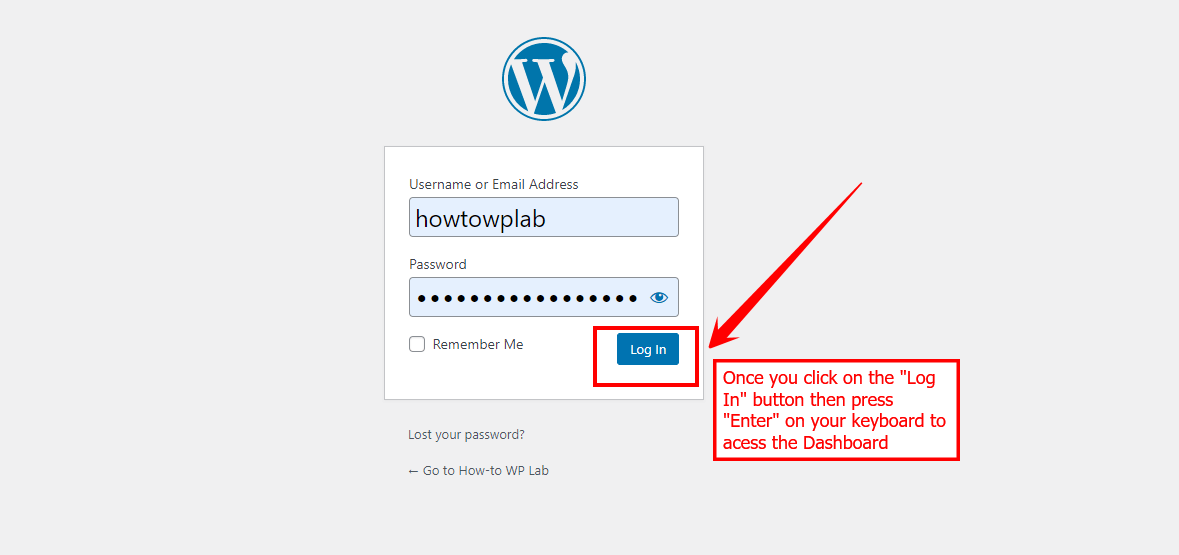
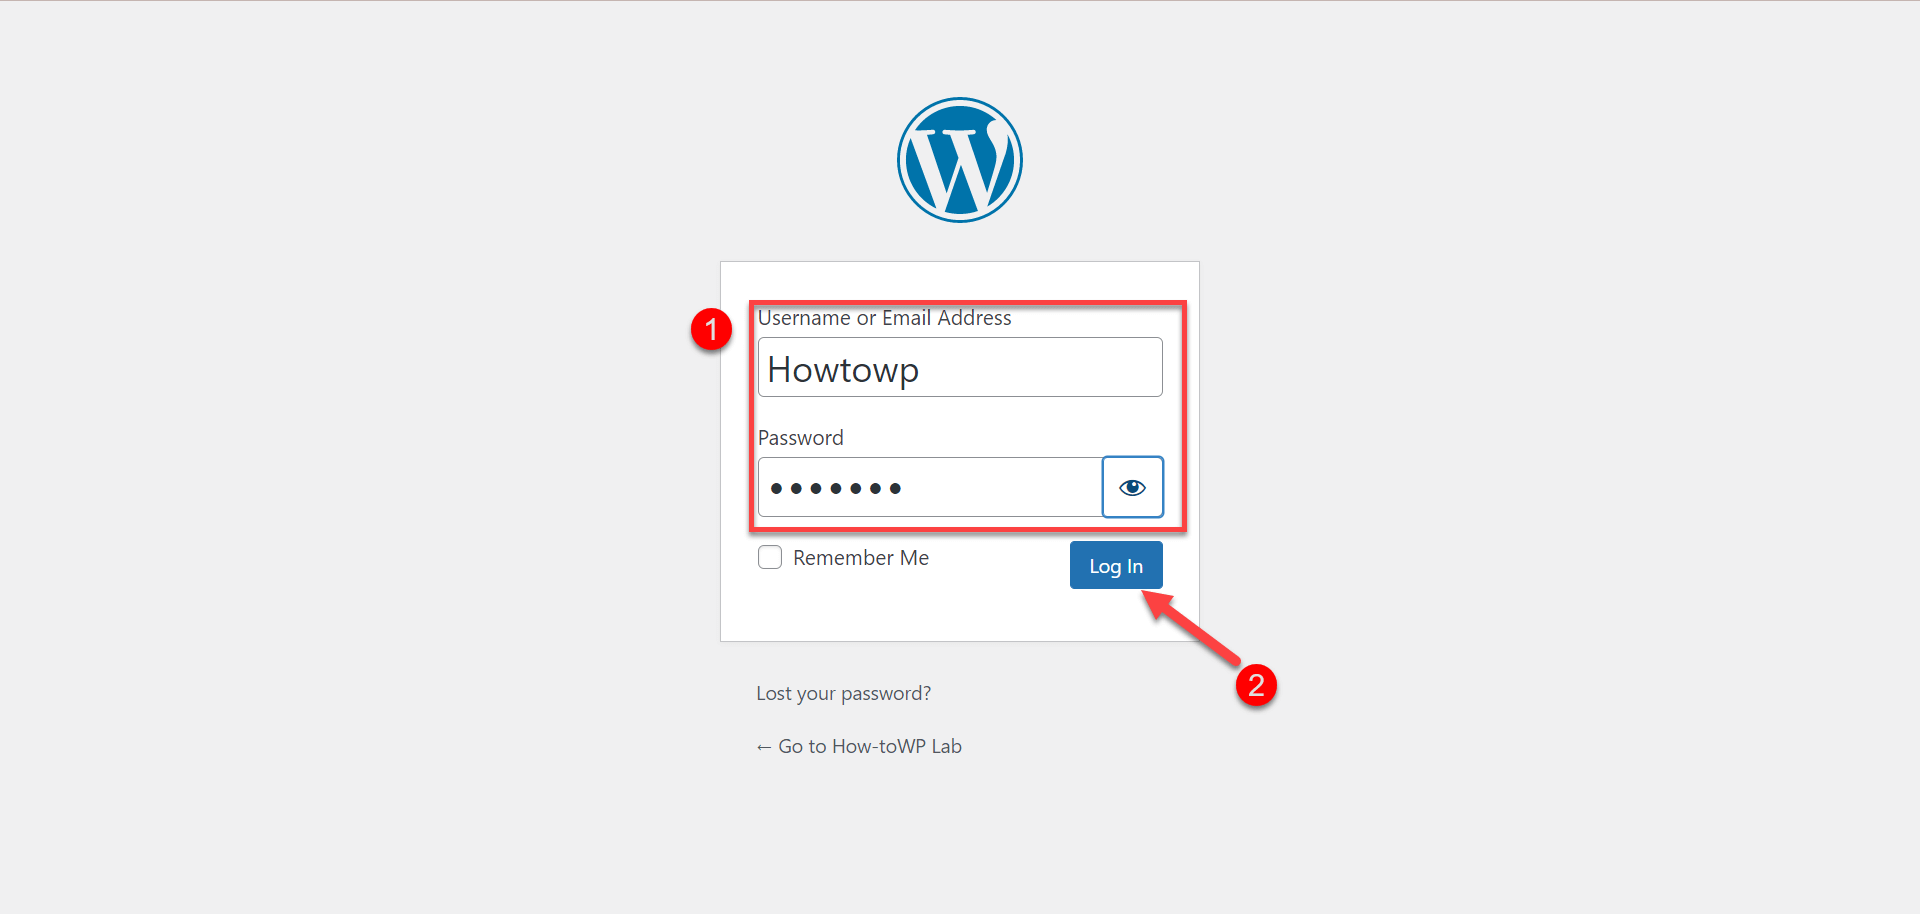
- Go to your “WordPress dashboard” and enter your login credentials (username and password).
- Once logged into the WordPress dashboard, go to the “Pages” section on the left side and click “Add New.”

- You will be taken to the Gutenberg page editor for WordPress when you click the button. Here, you can create your “About Me” page for your website.
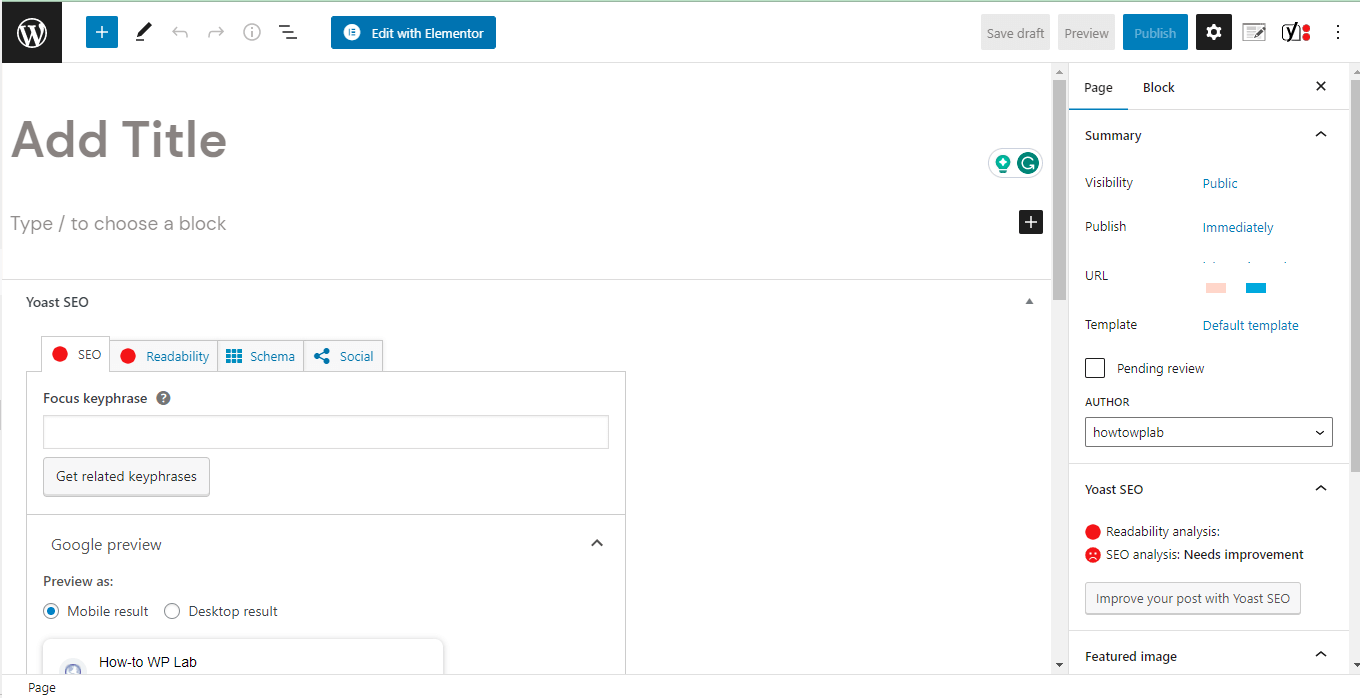
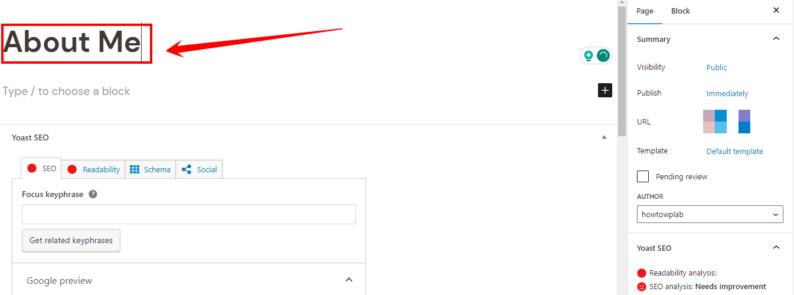
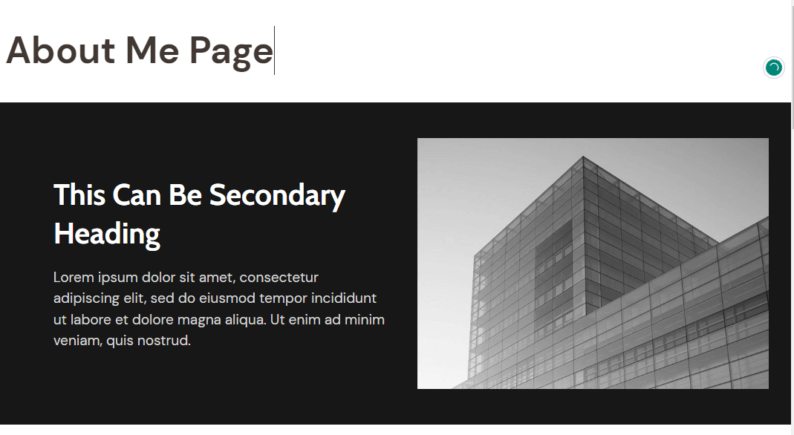
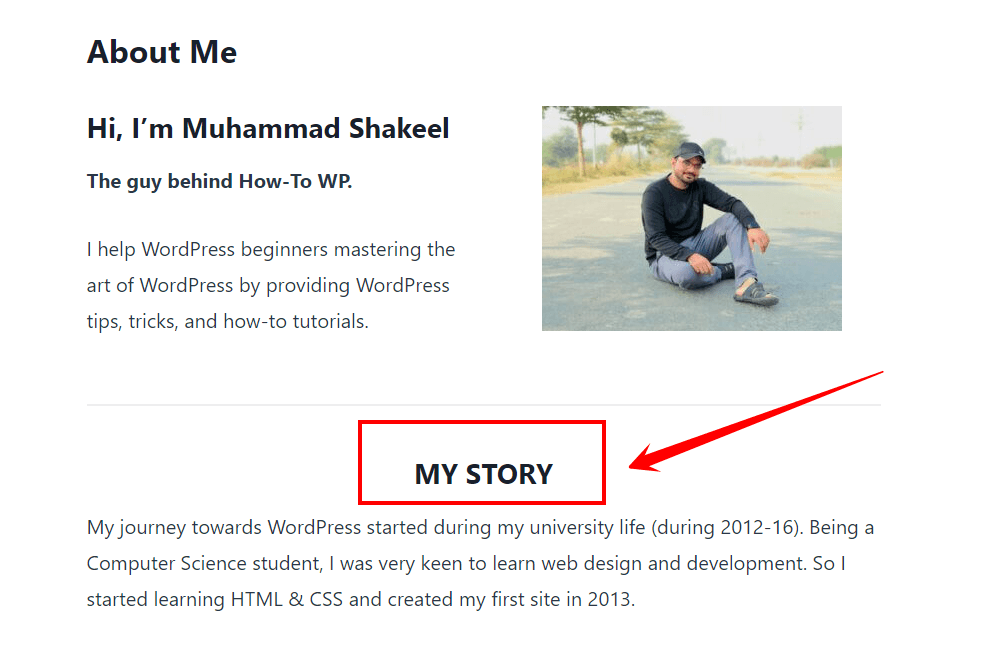
- Enter the title of your page, such as “About Me,” “About Us,” or any other appropriate title that accurately describes its content. As an example, I wrote the title for the “About Me” page.

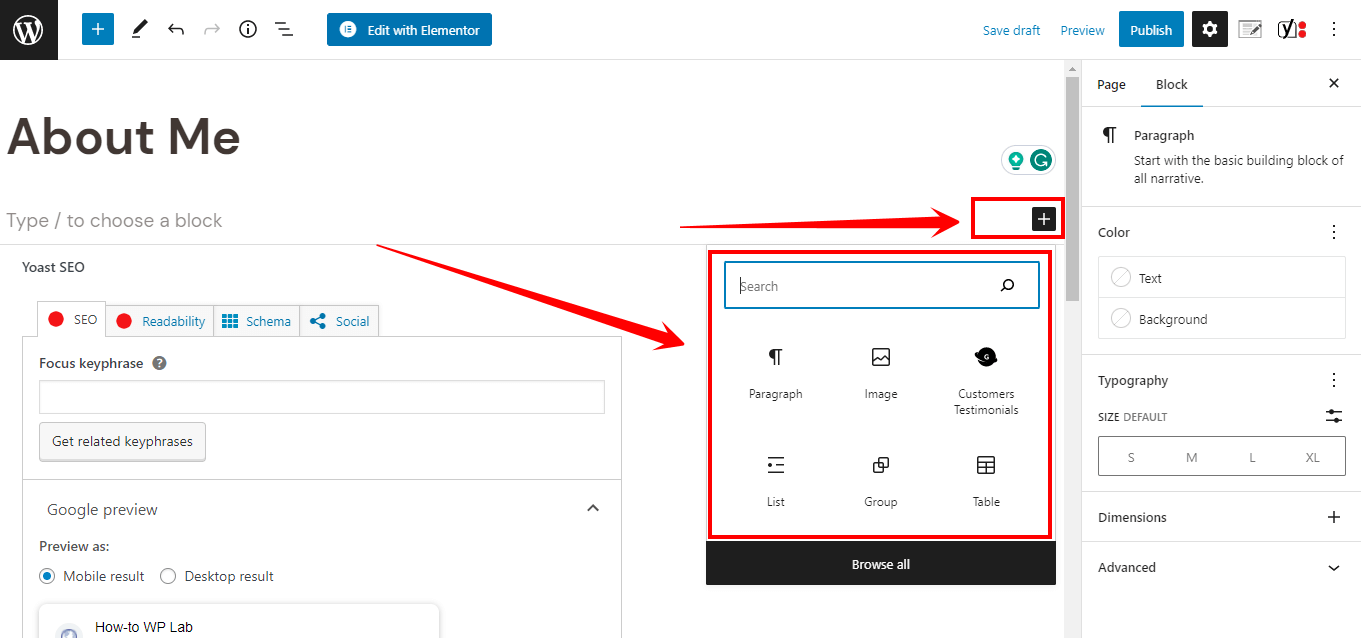
- Click on the “+” icon to add a new block. Select the appropriate block type (e.g., paragraph, heading, list, etc.) and customize the block by editing the text, changing the font, adding links, and more.
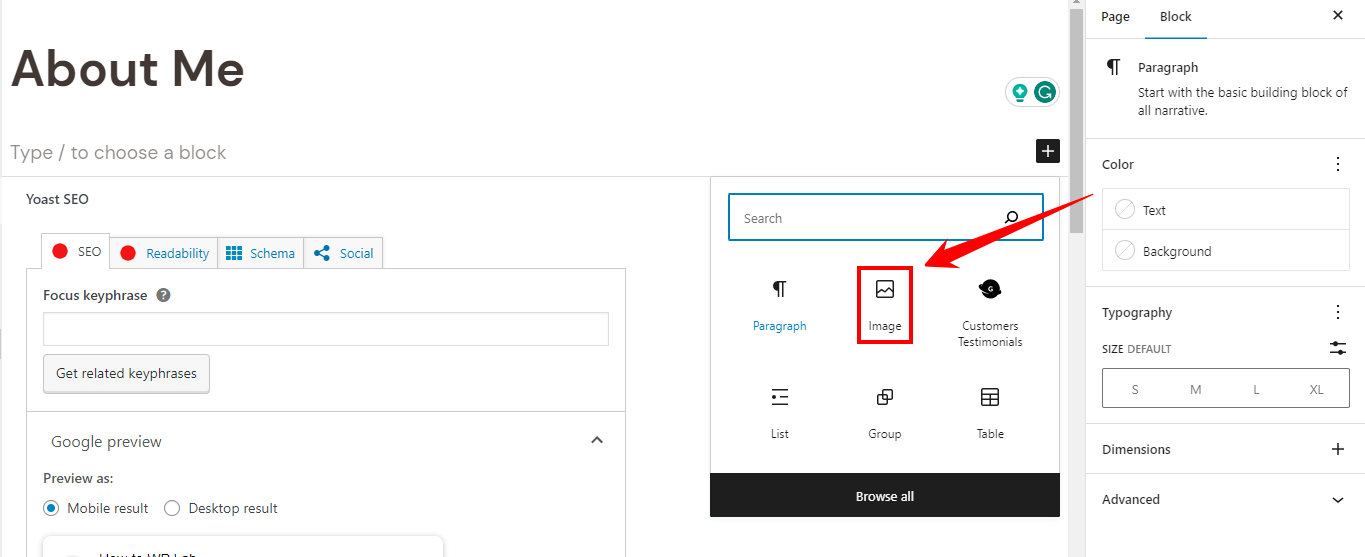
- To incorporate multimedia elements, Click on the “Image” block to include a photo of yourself or other relevant images. Embed videos or audio files using the appropriate blocks.
Note: Before publishing your ‘About Me’ page, previewing it to ensure everything looks suitable and functions as expected is essential. To do this, follow these sub-steps:
- In the Gutenberg editor, locate the “Preview” button at the screen’s bottom-left corner. Click on it to open a new browser window or tab with a live preview of your ‘About Me’ page.
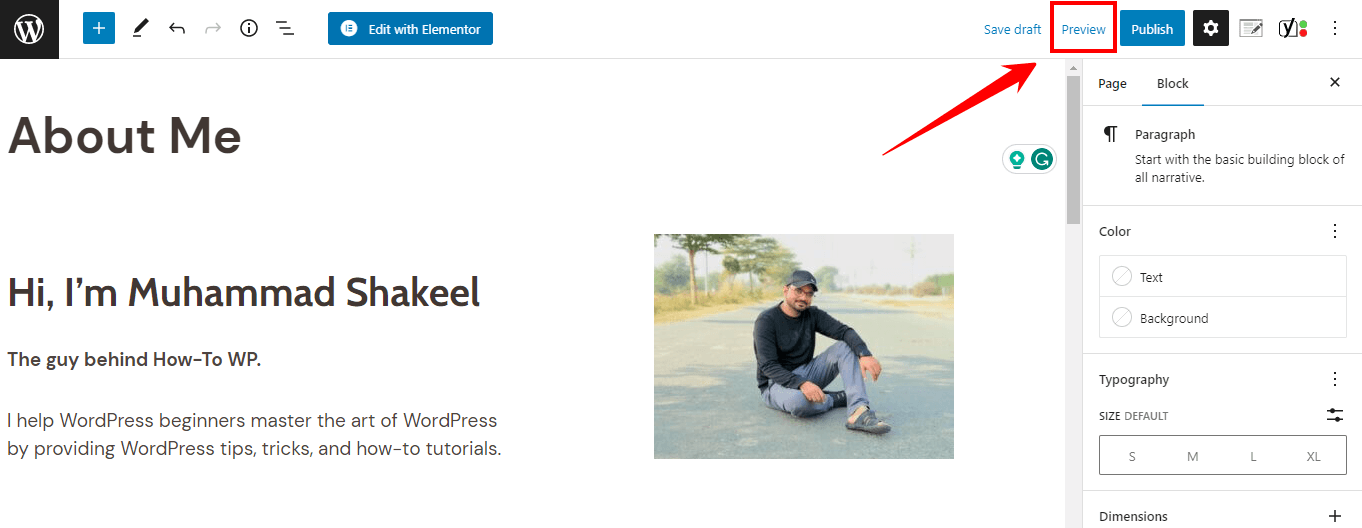
A Pro Tip: Review the page’s layout, design, and content. Make sure all elements are correctly positioned and the formatting is consistent throughout the page.
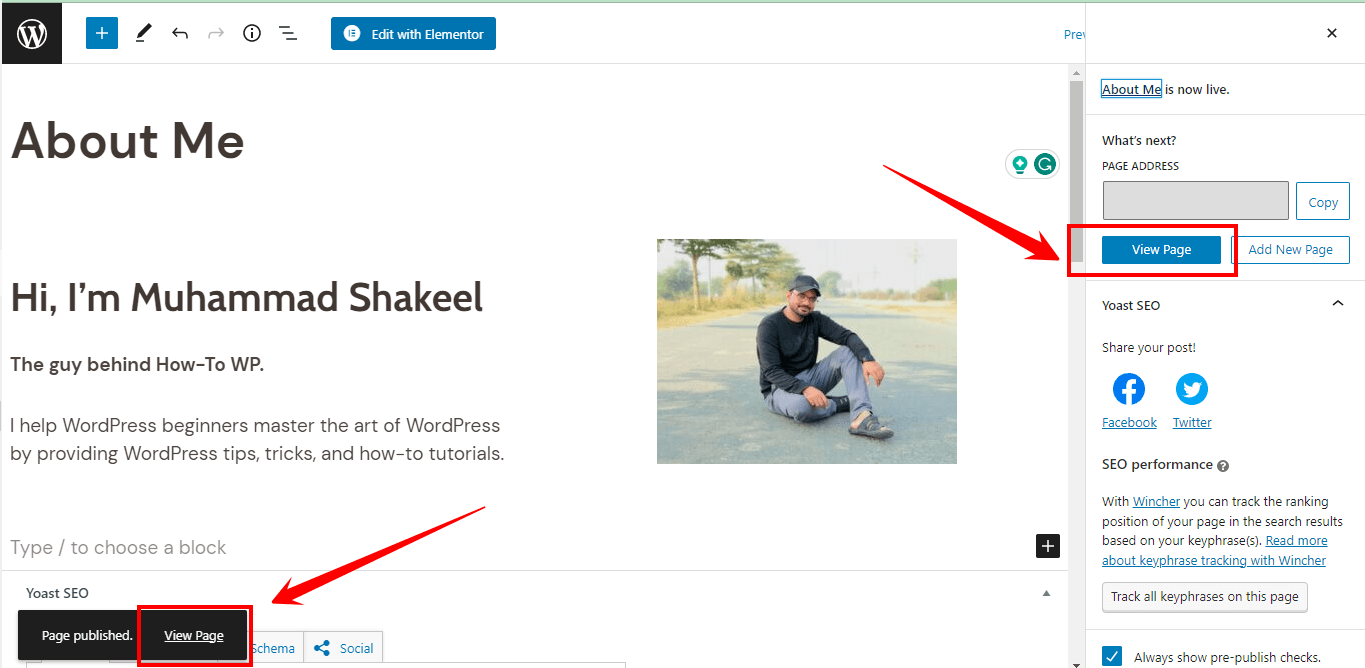
- Once you’re satisfied with the preview of your ‘About Me’ page, it’s time to publish it and make it live on your website. Click on “Publish” to make your ‘About Me’ page live.

- A notification will appear, confirming your “About Me” page is live. You can click on the “View Page” button in the notification to view the published page on your website.
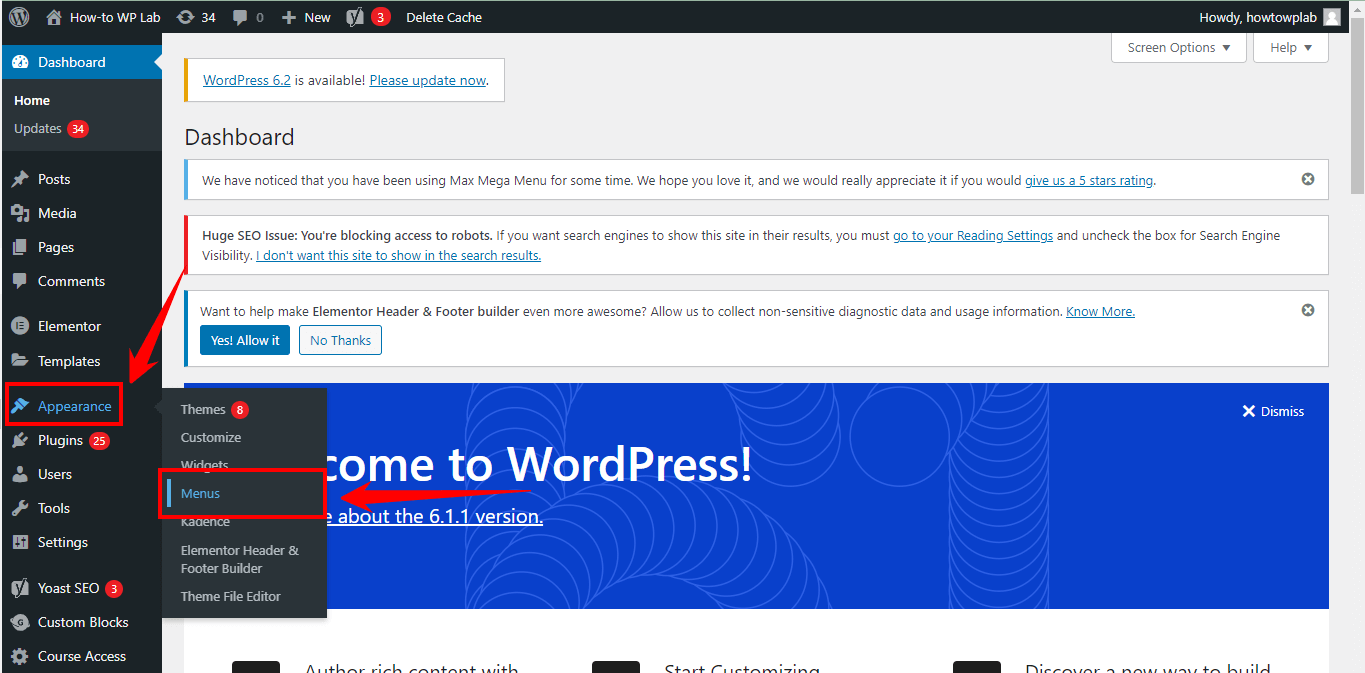
Note: To add your “About Me” page to the menu, follow these sub-steps:
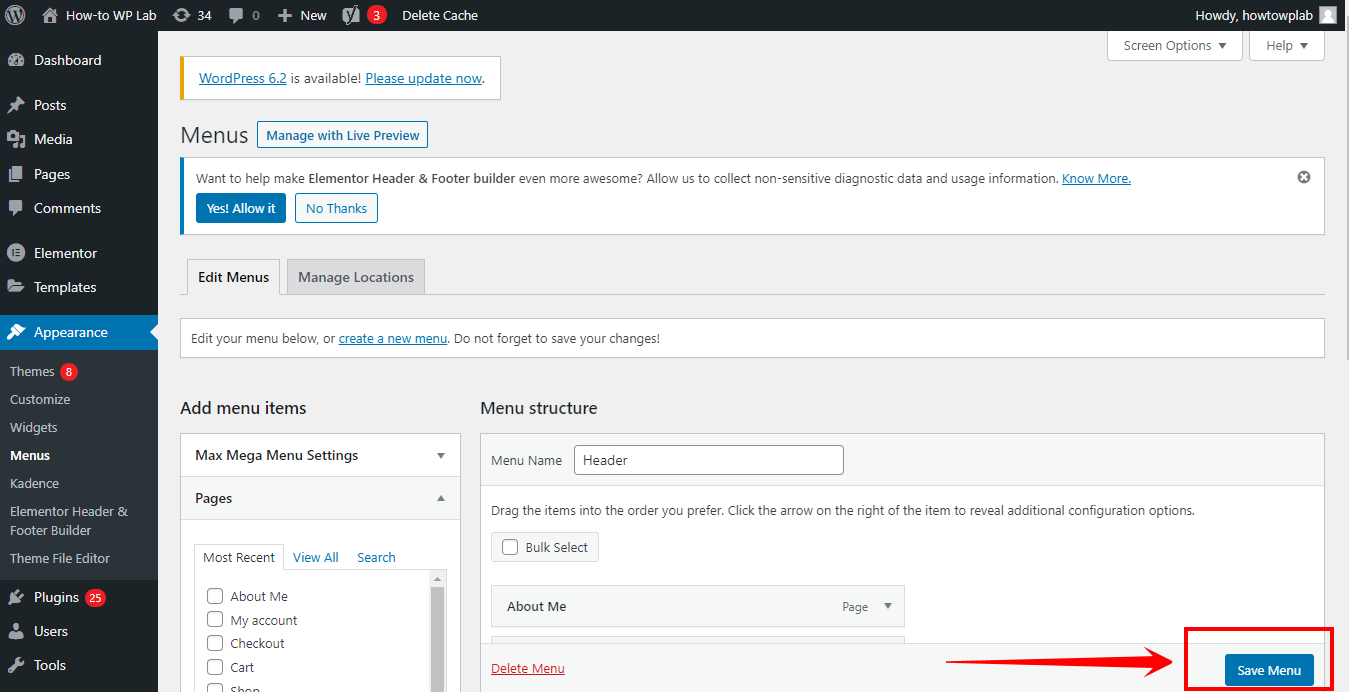
- In the WordPress dashboard, find the “Appearance” tab in the left-hand side menu and click “Menus.” This will take you to the menu management page.
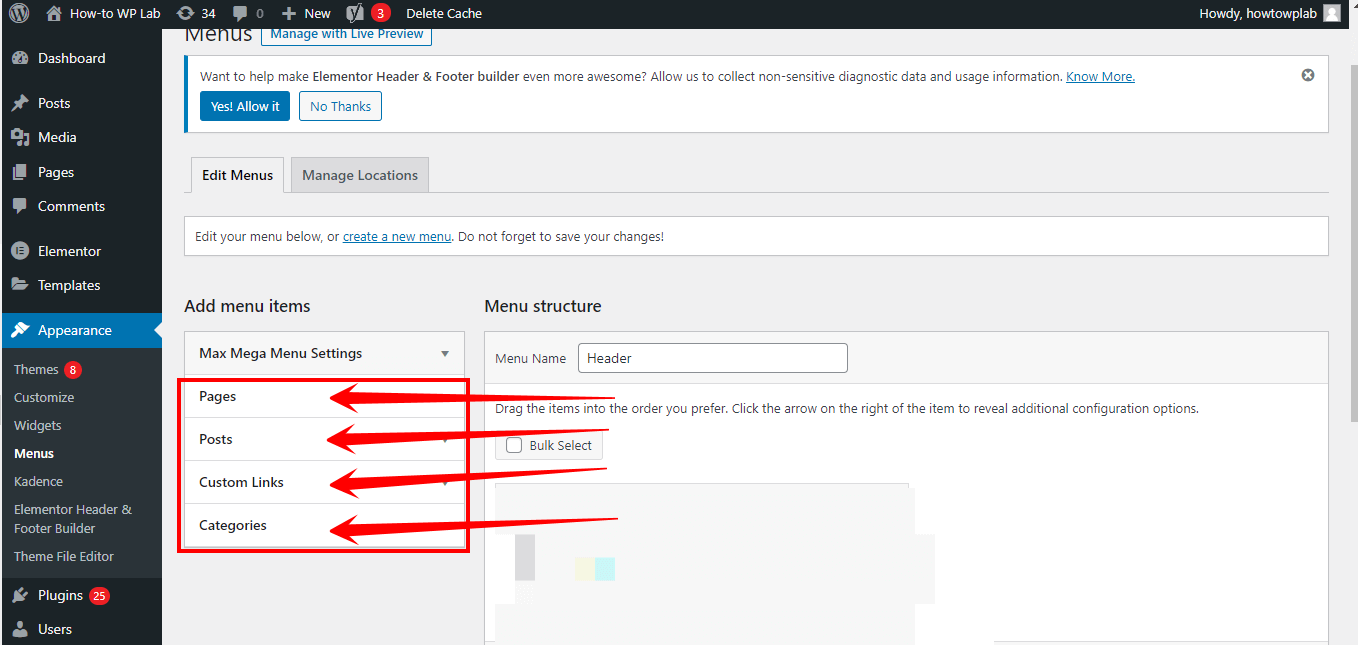
A Pro Tip: If you have multiple menus on your site, you’ll see a dropdown list titled “Select a menu to edit.” Choose the menu where you want to add the ‘About Me’ page and click “Select.” If you have only one menu, it will be selected by default.
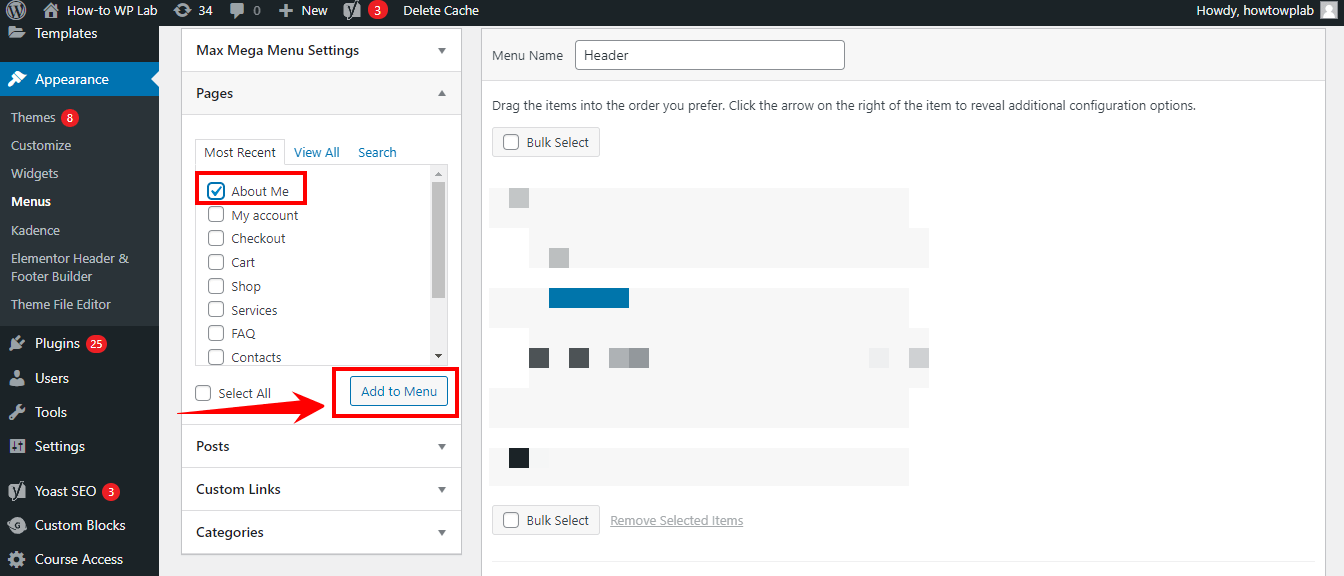
- On the left side of the menu management page, you’ll find a section called “Add menu items.” Here, you can add various items like pages, posts, custom links, or categories to your menu. Click on the “Pages” tab to expand the list of available pages.
- Locate the ‘About Me’ page in the list and click on the checkbox next to it. Then, click the “Add to Menu” button. The ‘About Me’ page will now appear as a new item in the menu structure on the right side of the page.
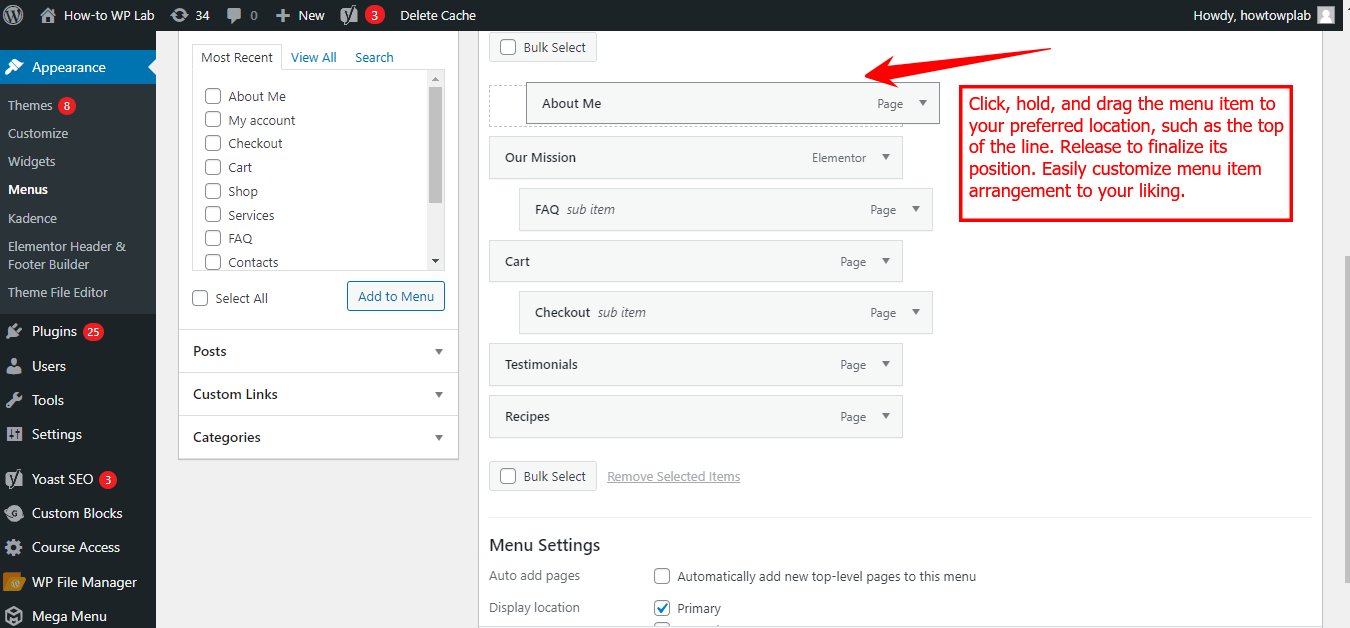
- To position the ‘About Me’ page in the menu, click and hold the menu item, then drag and drop it to the desired location within the menu structure. You can also create sub-menus by dragging items to the right, creating a nested hierarchy.
- After arranging the menu items, click the “Save Menu” button at the top or bottom of the menu structure. This will save your changes and update your site’s navigation with the new ‘About Me’ page.
Pros:
- Easy to use, even for beginners
- No additional plugins or tools required
- Faster loading times due to the absence of external resources
- Compatible with most WordPress themes
- Direct support from the WordPress team for updates and improvements
Cons:
- Limited customization options compared to page builder plugins
- It may not be as visually appealing as other methods
Method 2: Using Starter Template to Create An About Me Page
Creating an engaging and visually appealing ‘About Me’ page is essential for establishing a strong online presence and connecting with your website visitors.
Utilizing a starter template can be a game-changer if you’re looking to streamline the process and get a head start on designing your About page.
Starter templates provide pre-designed layouts and sections that you can customize to fit your personal brand and content.
Here is step by step guide about this method:
- Log in to your “WordPress dashboard.” To access it, simply enter your login credentials.
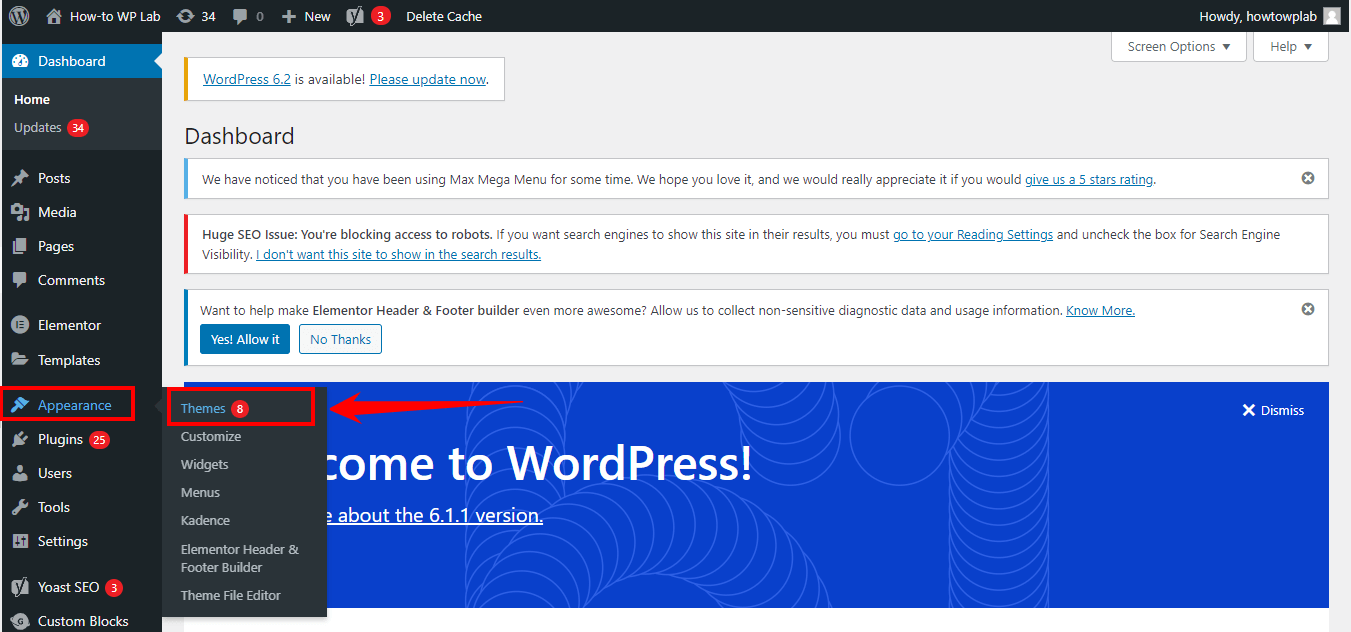
- When logged into your WordPress dashboard, click “Appearance” on the left-hand side menu, then click “Themes,” which will take you to the themes management page.
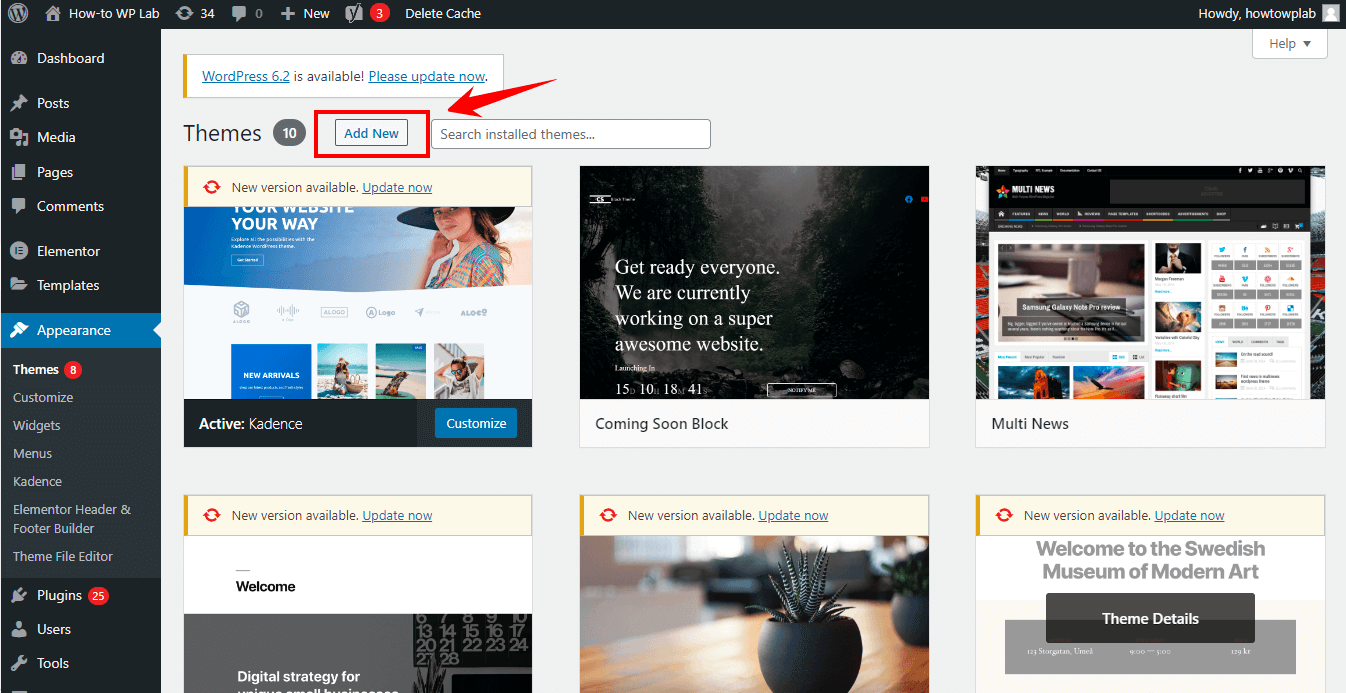
- On the themes management page, click the “Add New” button at the top of the screen. This will open the theme search page.
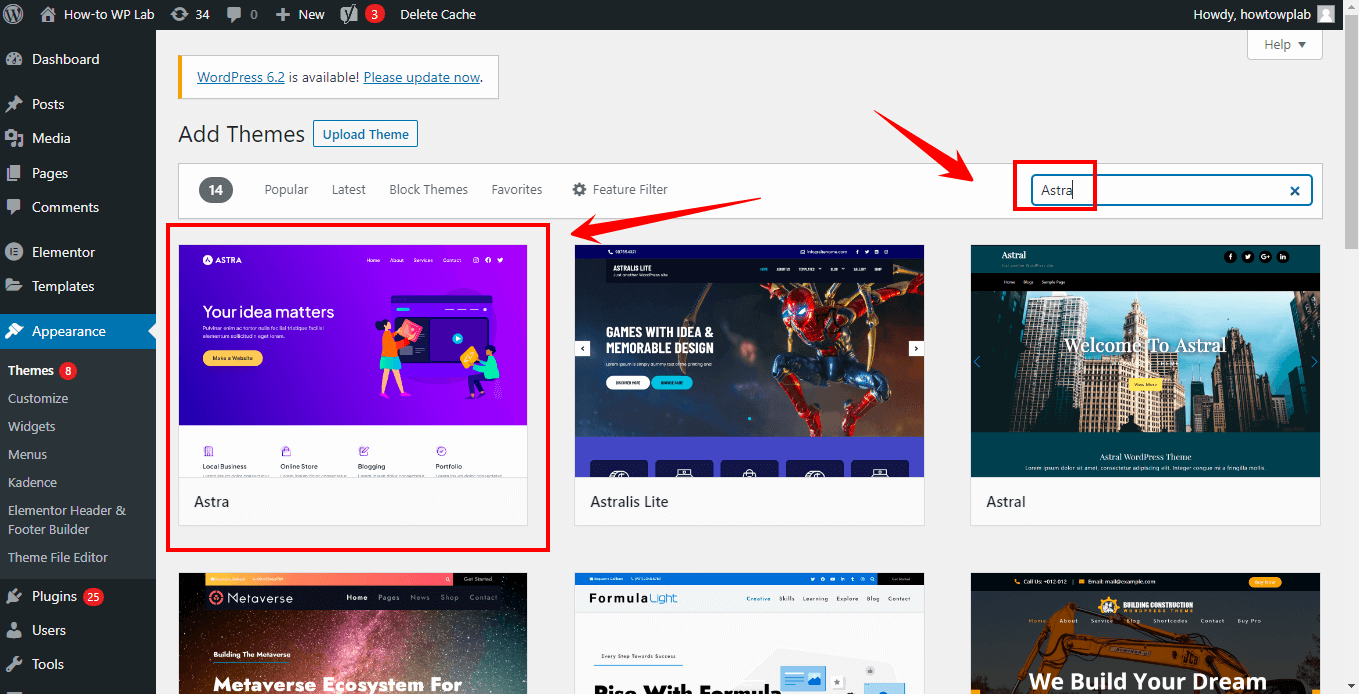
- In the search bar on the right side of the screen, type “Astra” and press Enter. You’ll see the Astra theme appear in the search results.
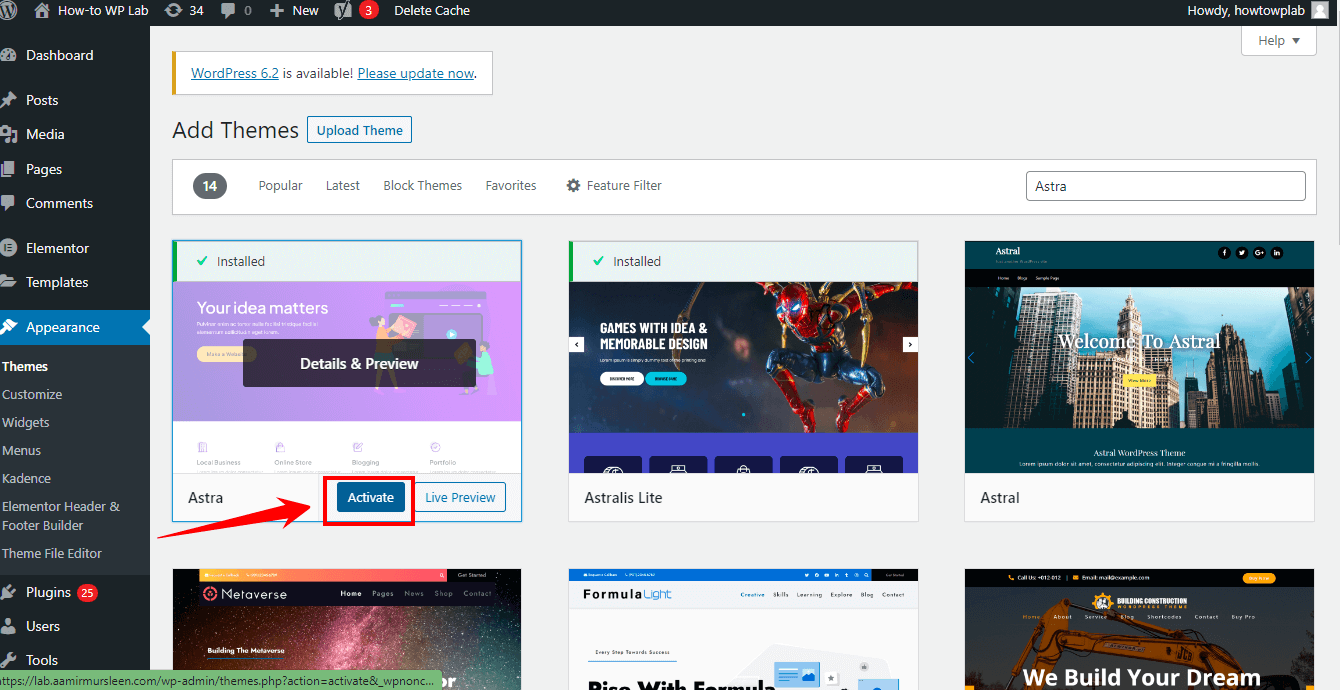
- Hover over the Astra theme card and click the “Install” button that appears. Wait for the installation process to complete.
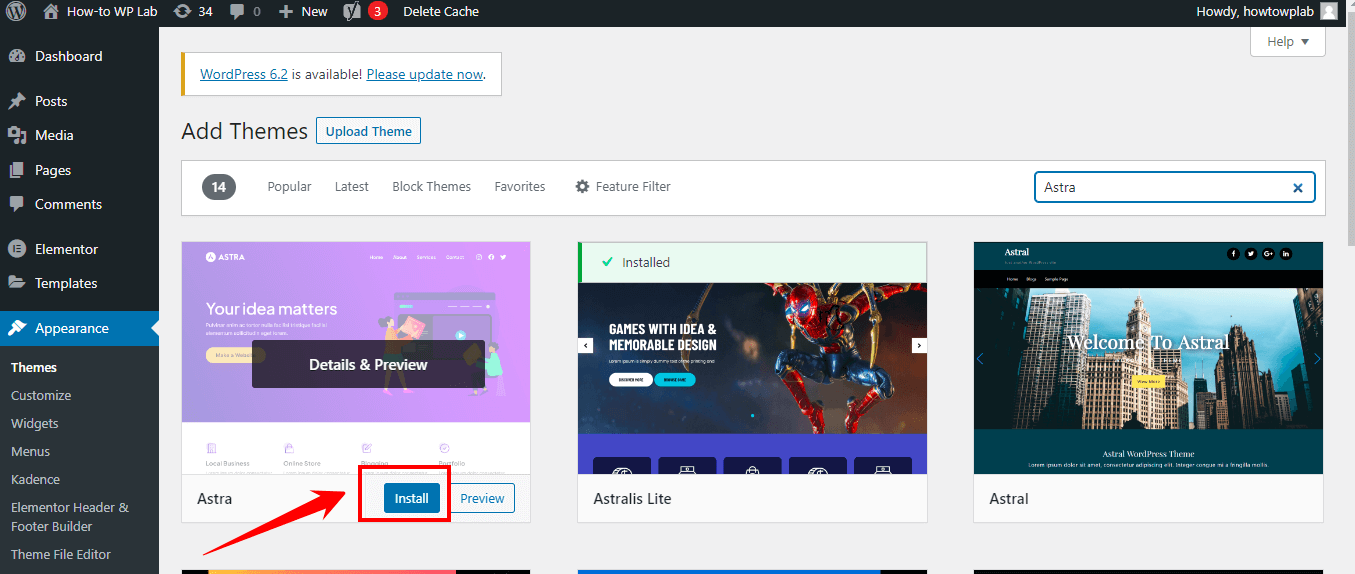
- Once the Astra theme is installed, the “Install” button will be replaced with an “Activate” button. Click “Activate” to start using the Astra theme on your website.
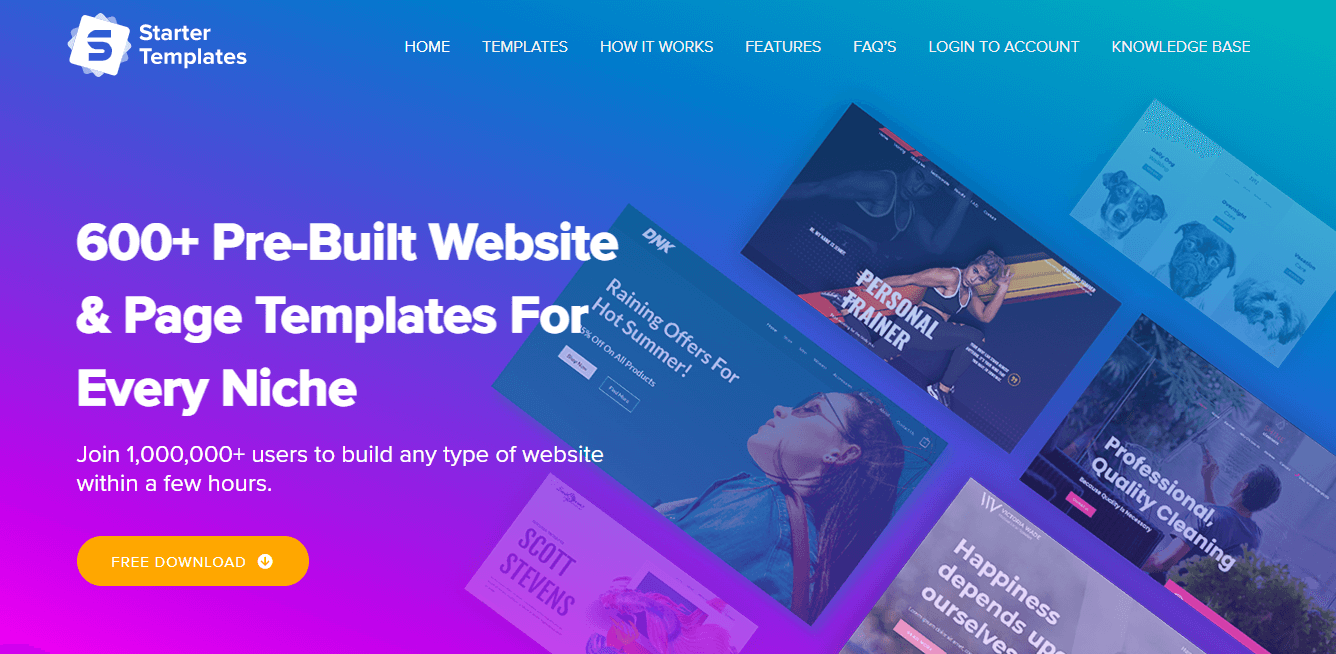
- I’m assuming that you have already installed the “Astra Theme.” Let’s activate the “Starter Template Plugin.” It will provide you with ready-made starter templates to choose from so you can easily customize your design.
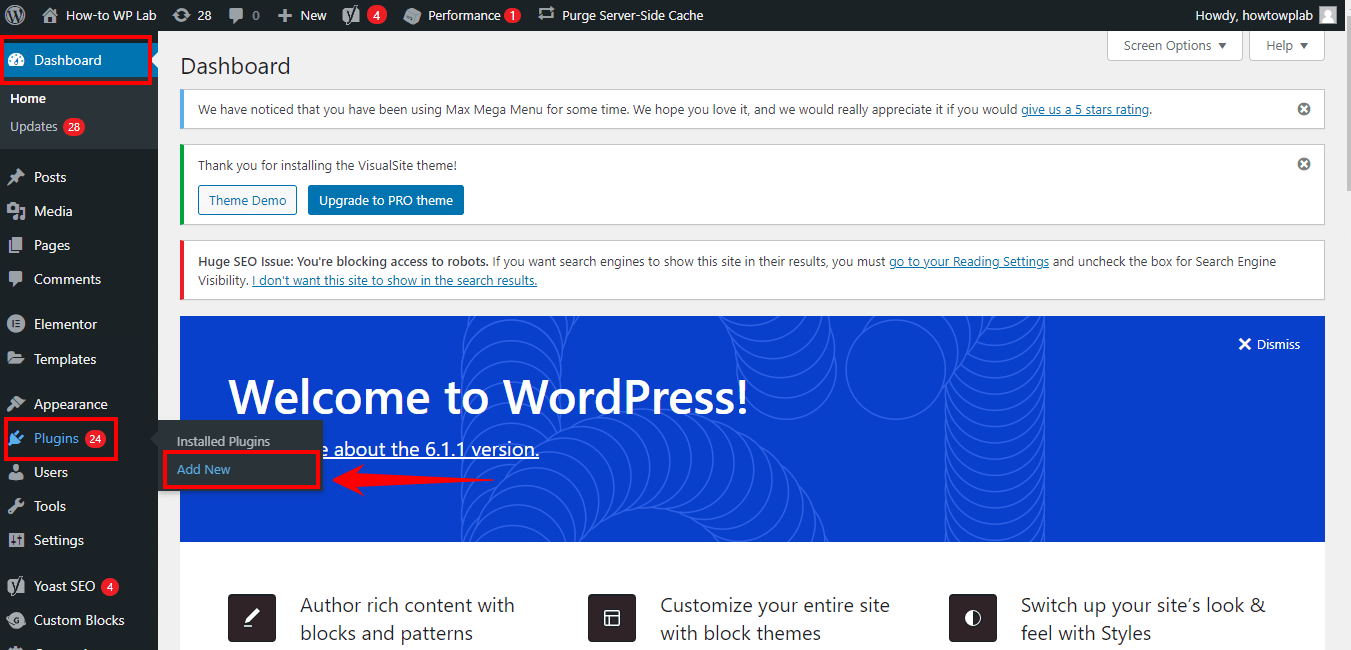
- To install the plugin, go to your WordPress dashboard, locate the “Plugins” tab in the left-hand side menu, and click on “Add New.” This will take you to the plugin management page.
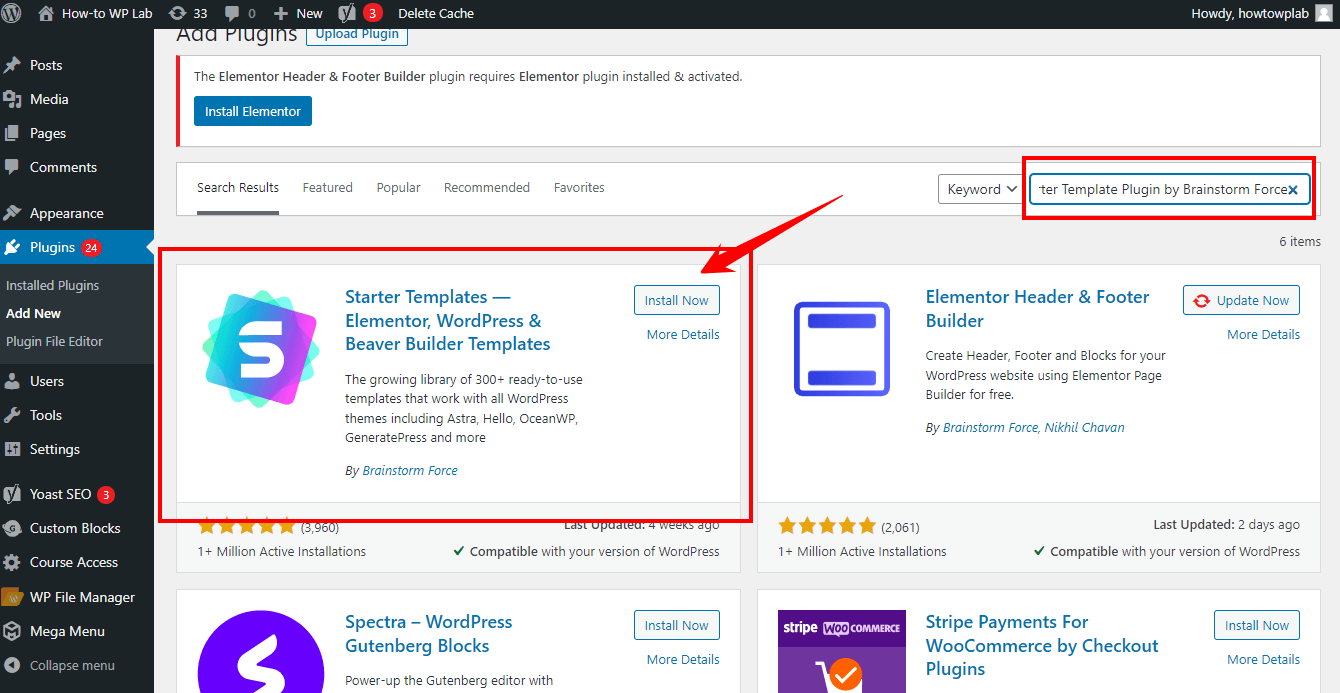
- In the search bar on the right side of the screen, type “Starter Template Plugin by Brainstorm Force” and press Enter. You’ll see the plugin appear in the search results.
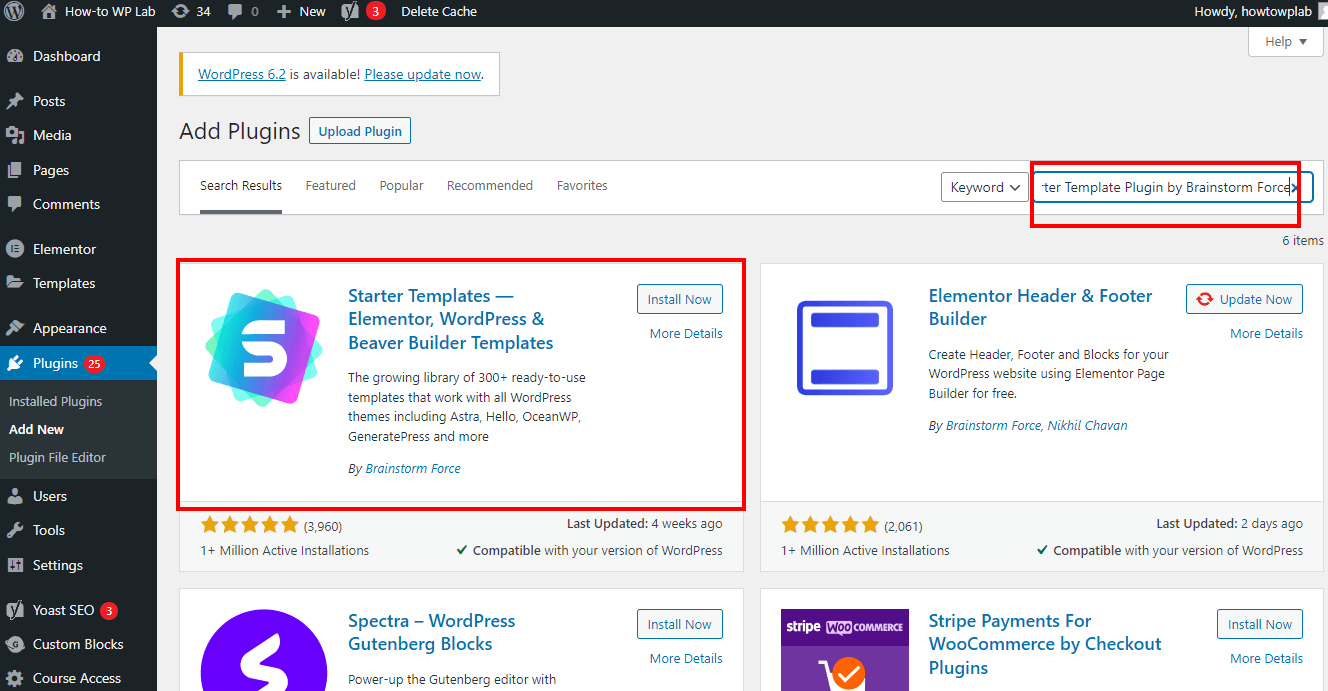
- Click the “Install Now” button next to the plugin. Wait for the installation process to complete.
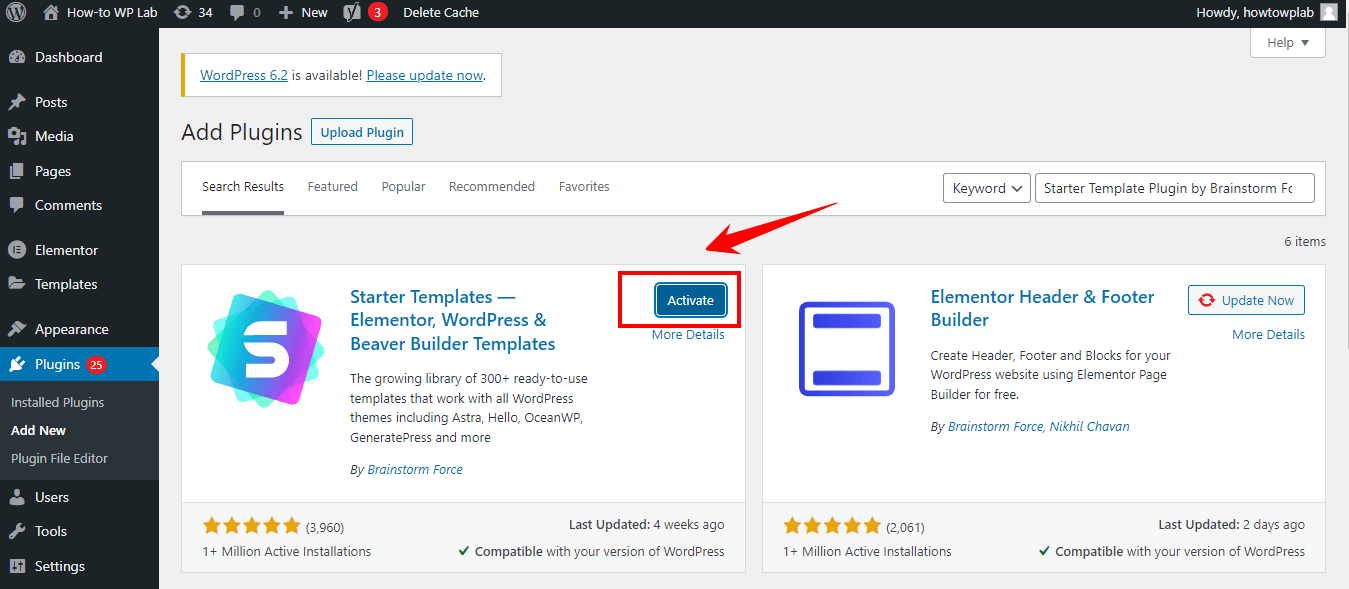
- Once this plugin is installed, the “Install Now” button will be replaced with an “Activate” button. Click “Activate” to use your website’s “Starter Templates” plugin.
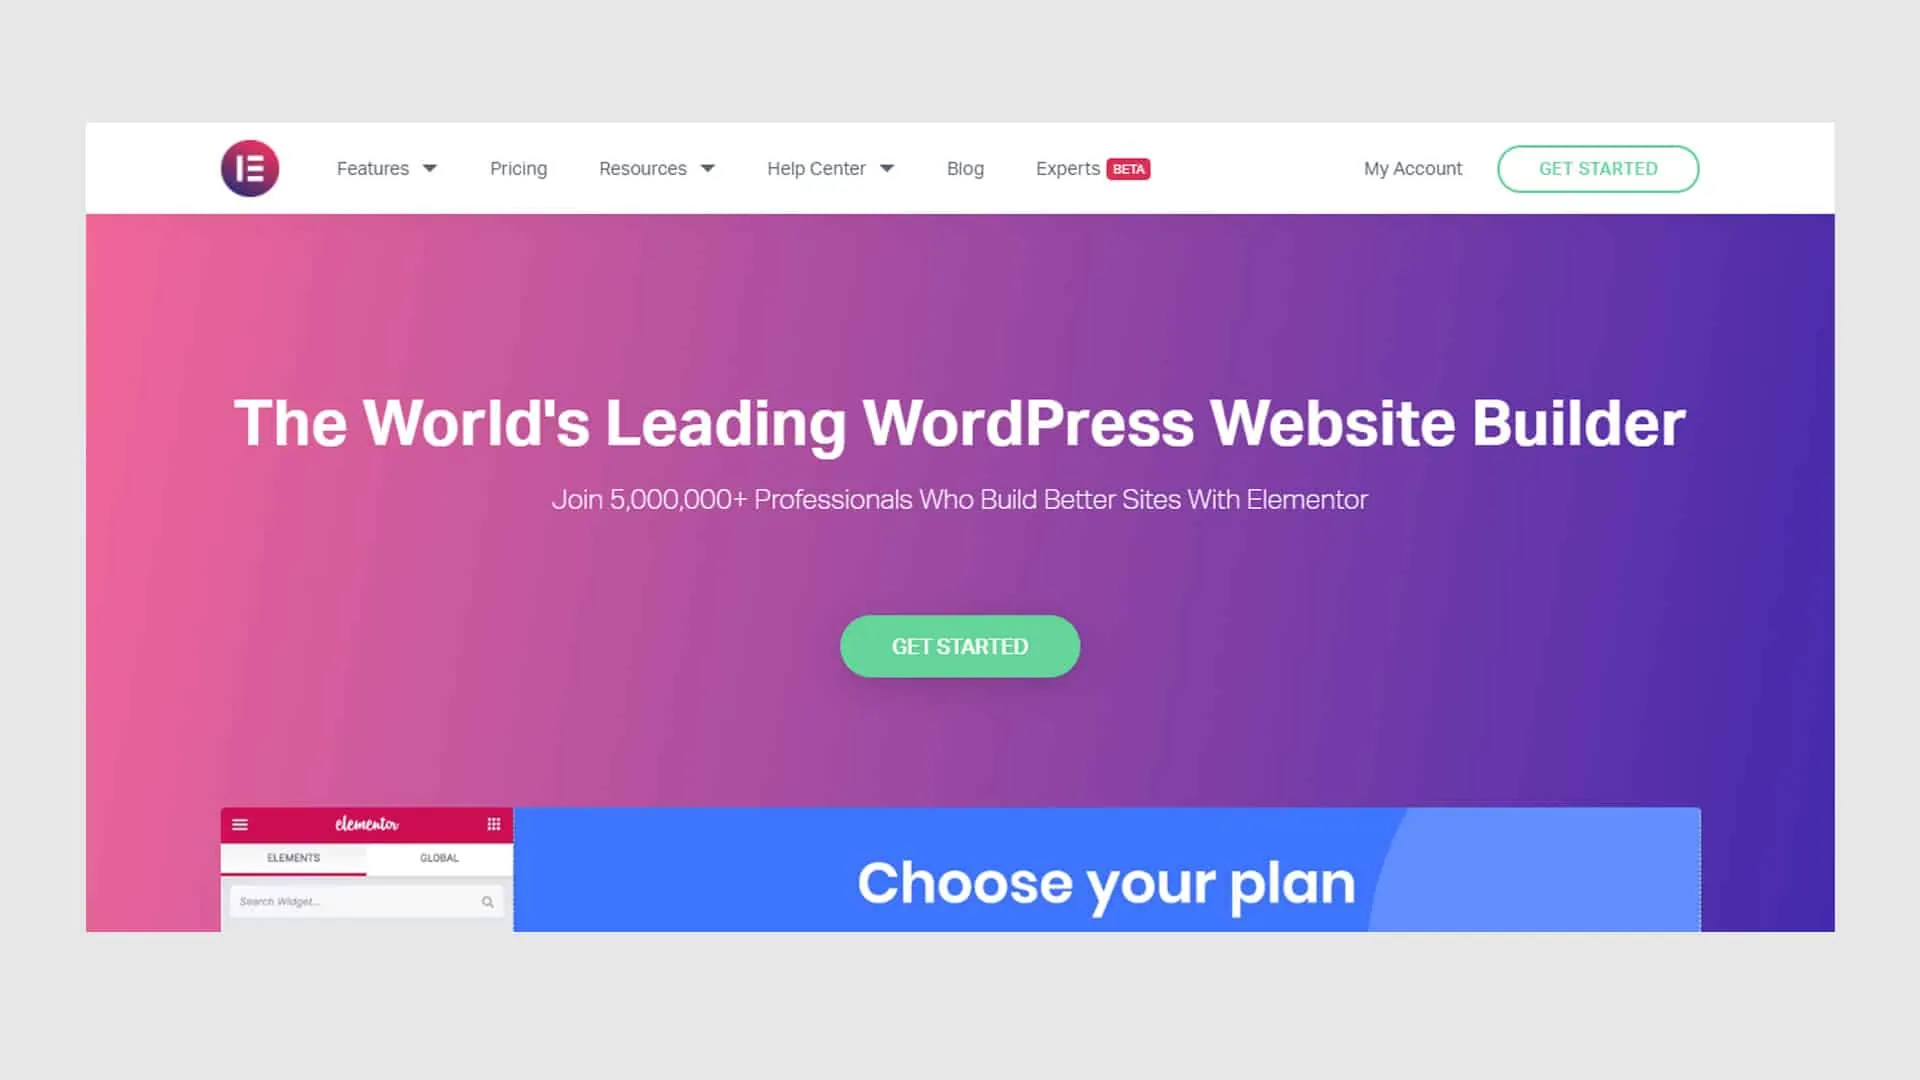
- Now we need the Elementor plugin because we want to make our customization process less time-consuming and easy to do with just drag-and-drop options.
Note: Next, let’s install and activate the Elementor plugin:
- In the WordPress dashboard, navigate to the “Plugins” tab on the left-hand side menu and click on “Add New.”
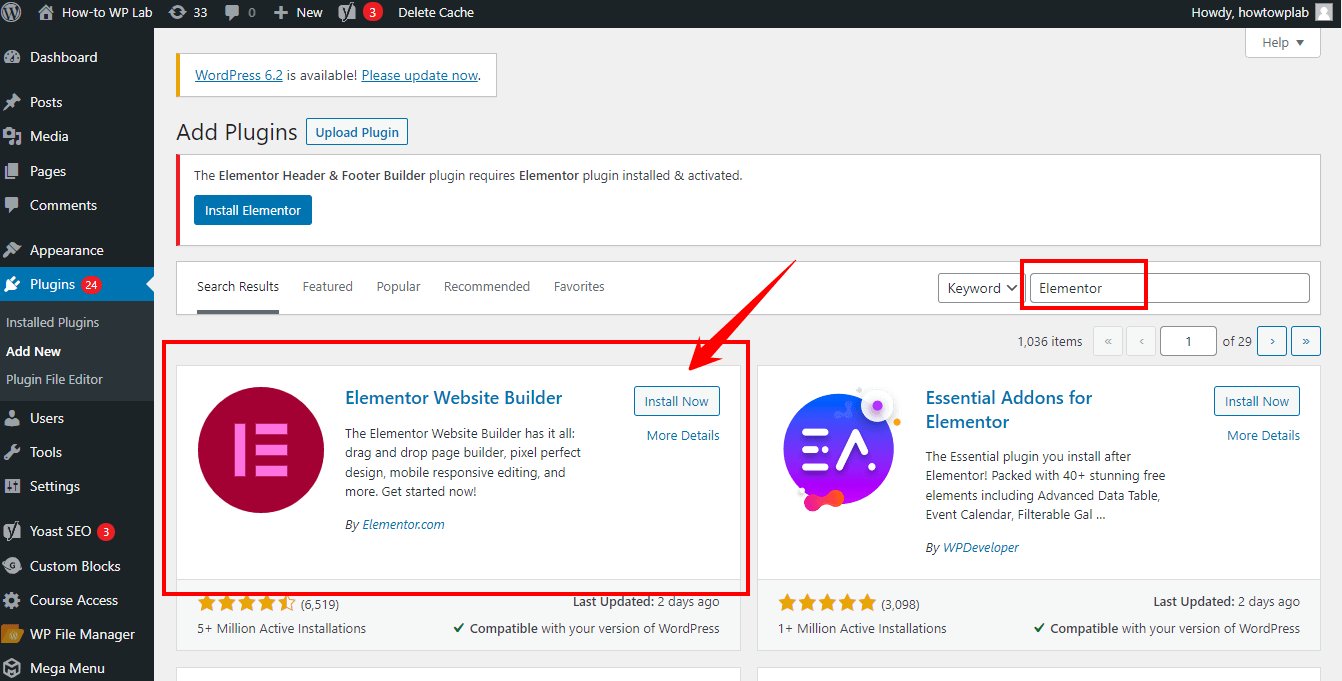
- In the search bar, type “Elementor” and press Enter or click the search icon.
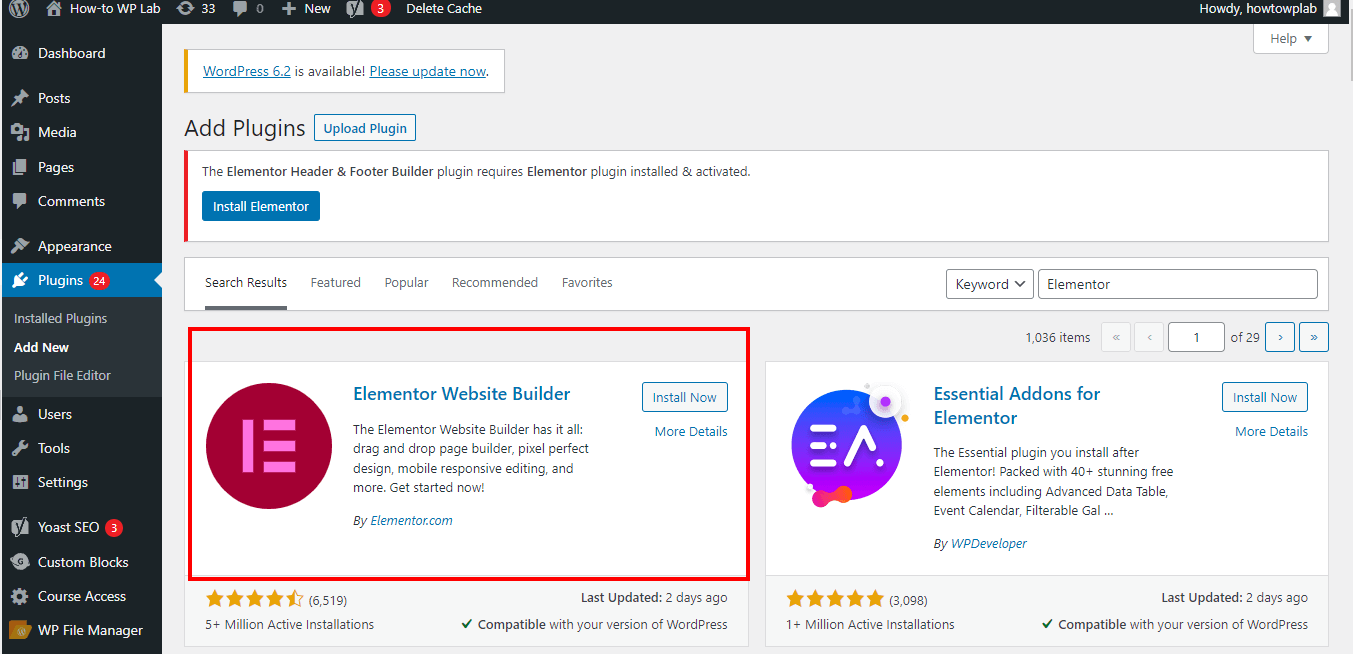
- Locate the Elementor plugin from the search results and click on the “Install” button.
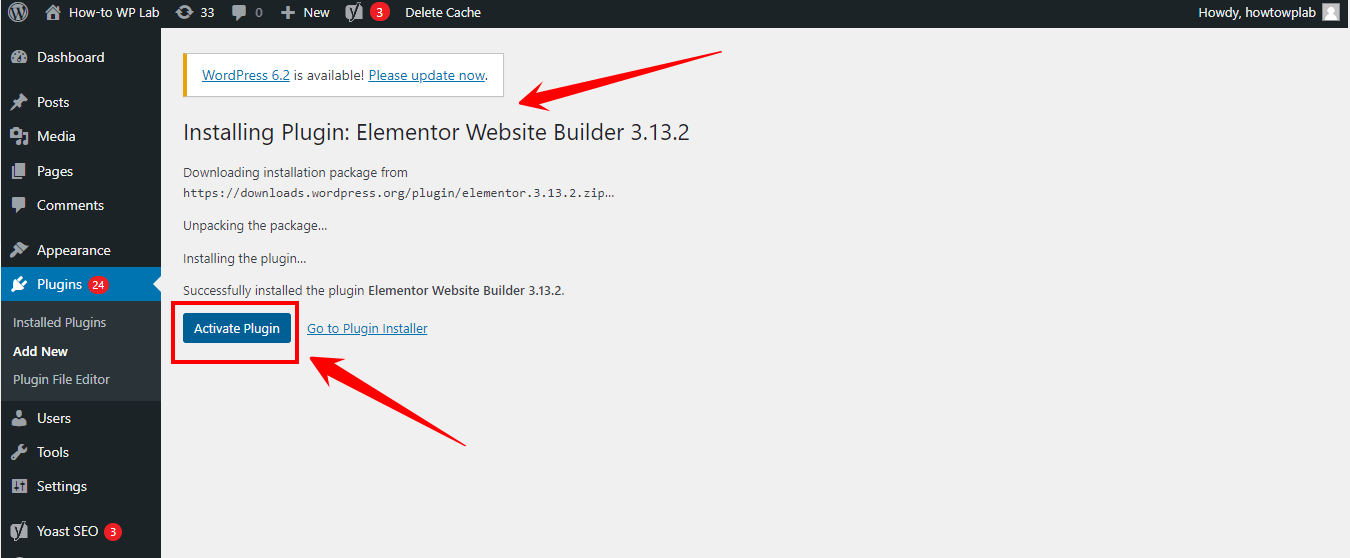
- Once the installation is complete, click on the “Activate” button to activate the Elementor plugin.
Note: I’m assuming you’ve already installed the “Astra Theme,” the “Starter Template’s Plugin,” and the “Elementor Plugin.”
- Create a new page by going to “Pages” > “Add New” in your WordPress dashboard.
- You should specify the title of your page, such as “About Me,” to provide a clear and concise description that accurately describes the page’s content.
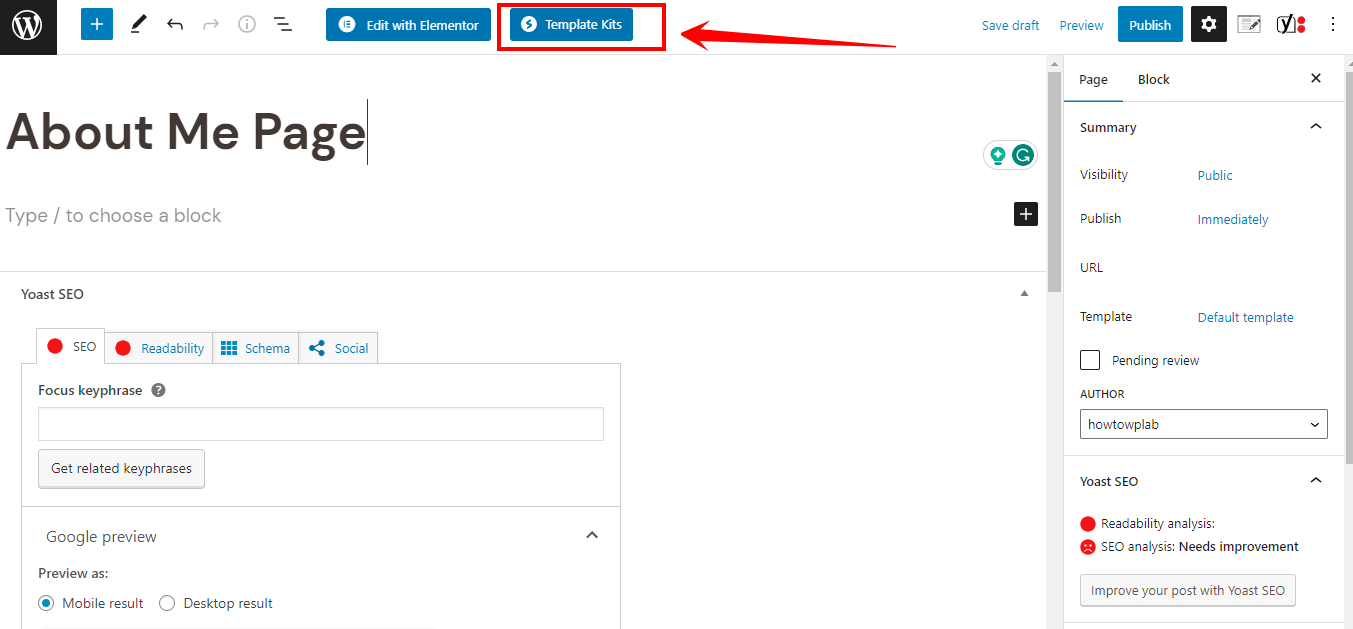
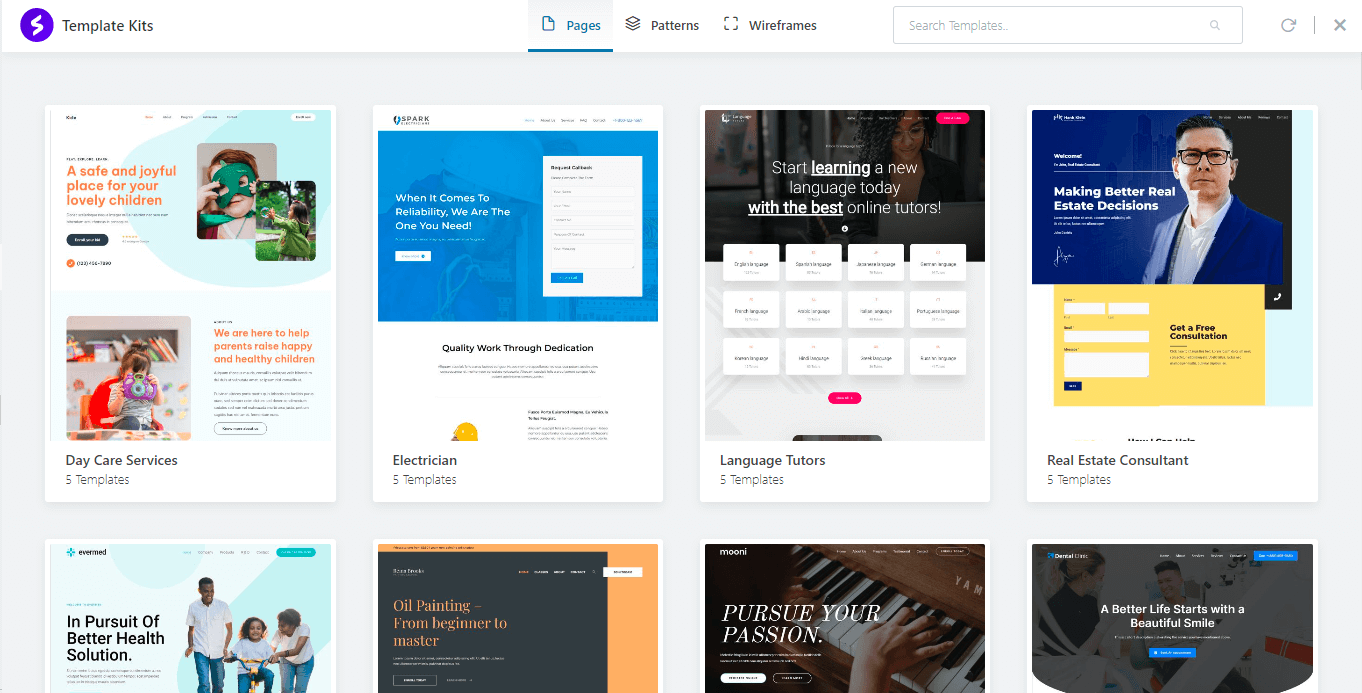
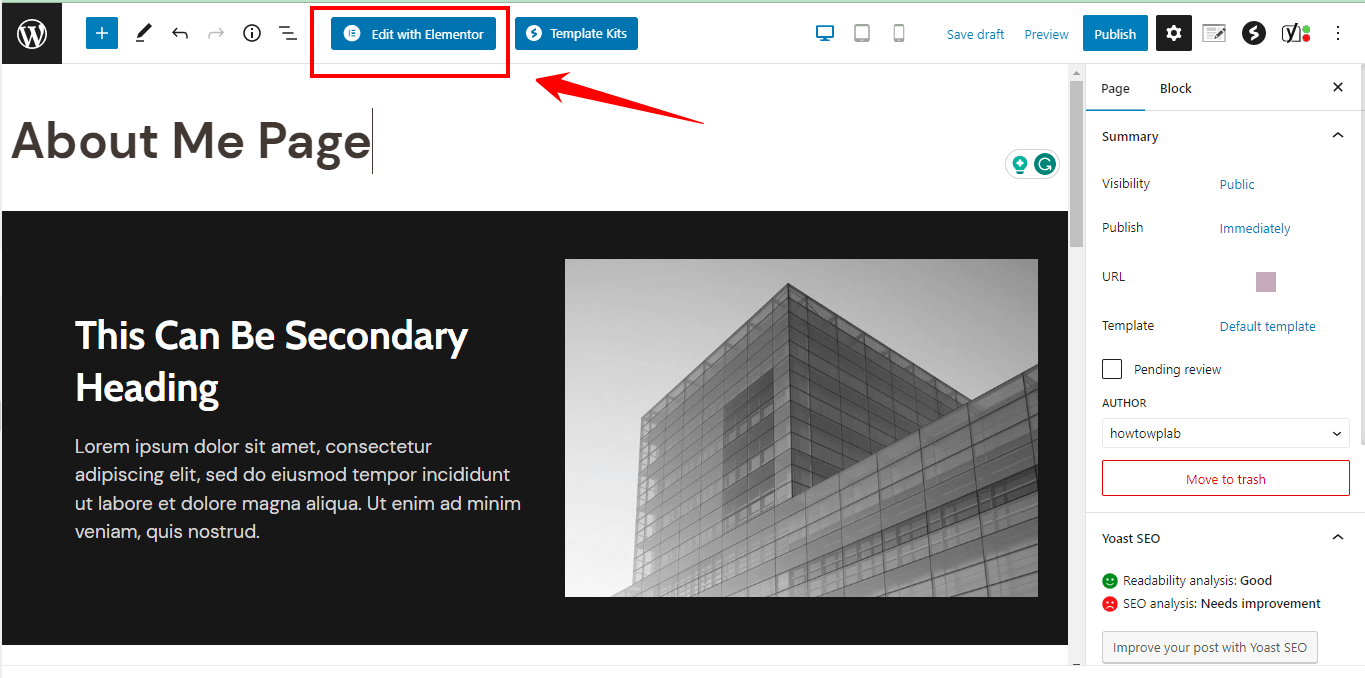
- Once you have opened the page editor, you will see options such as “Edit with Elementor” and “Templates Kits.” You need to click on the second option. Because as I mentioned earlier that it would provide you with more than 300 ready-to-use templates and allow you to save time.
- Clicking the starter template will redirect you to the “Starter Templates kits.” Choose any template that suits your needs.
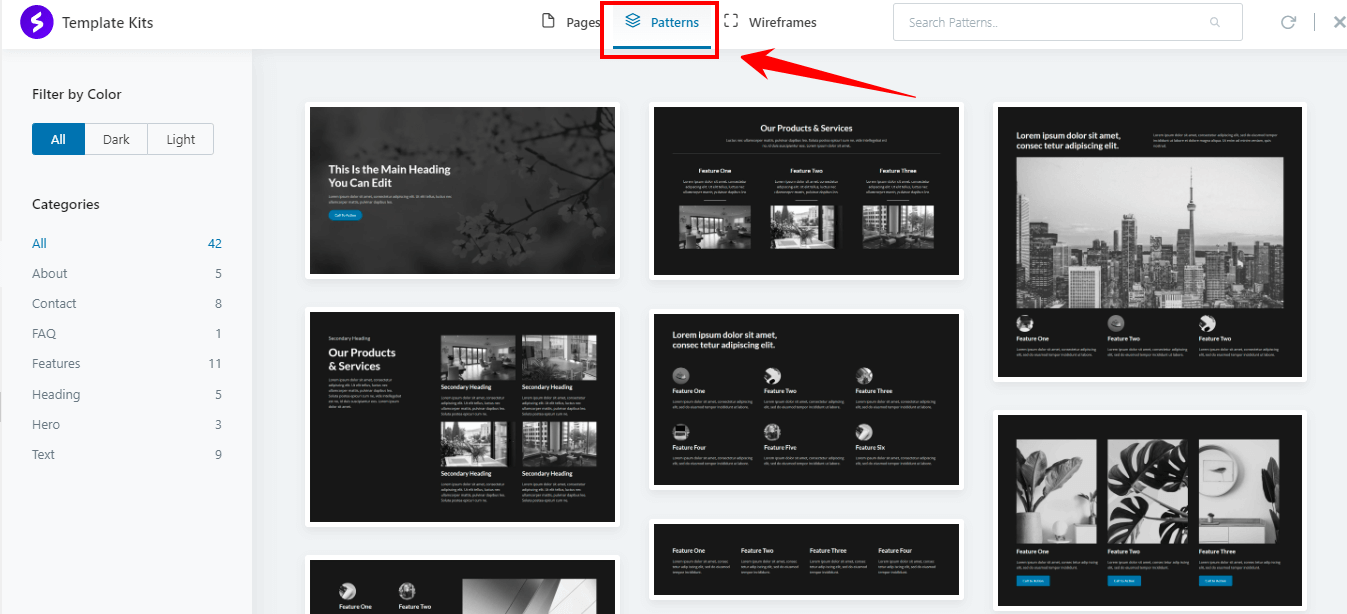
- As we are only creating an awesome about me page, we need a ready-to-use about me template. Click on the Patterns tab in the top menu to get this template.
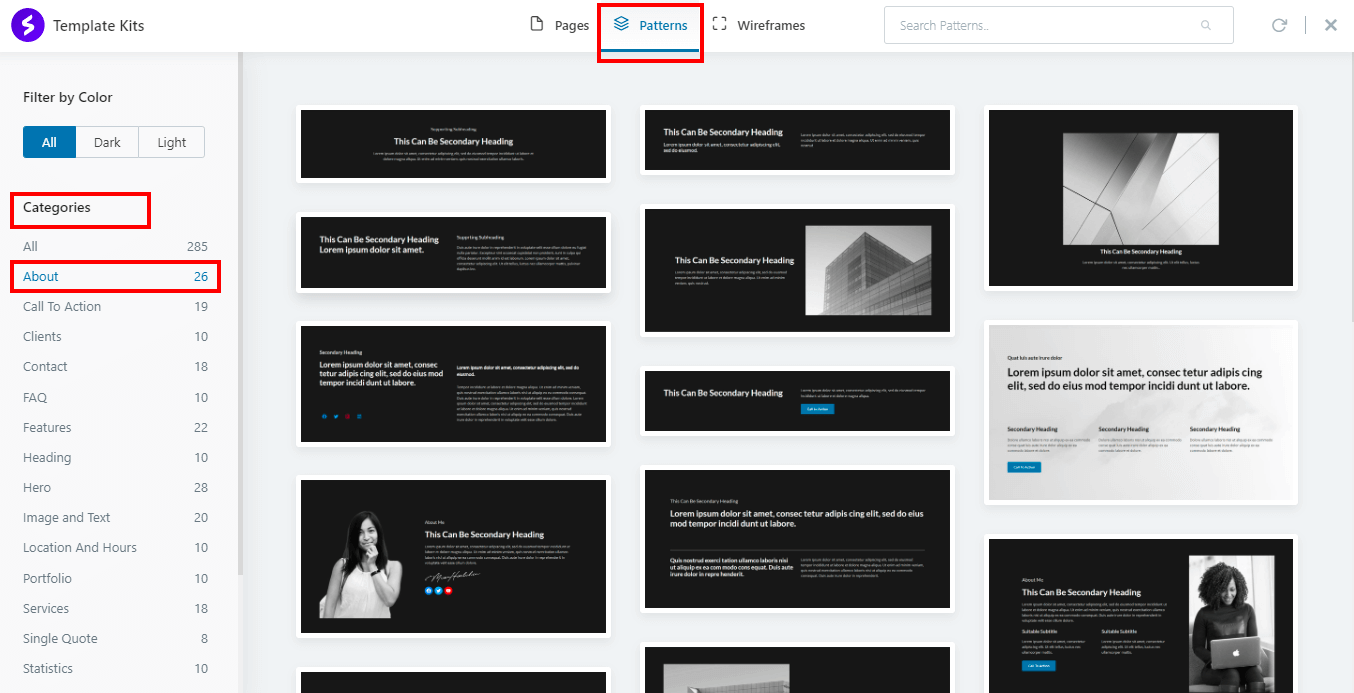
- After selecting the “About” category, you’ll find over 25+ pre-built About page templates in the sidebar.
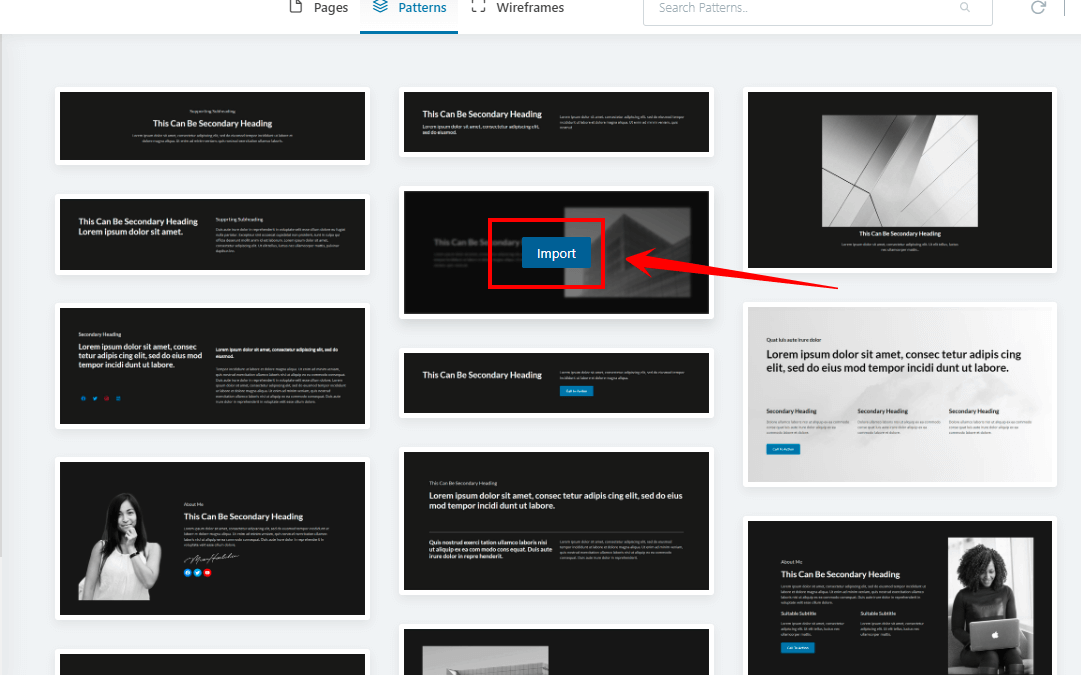
- Just hover on one of the templates you would like to import and choose the “Import Option.”
- Once you import any template according to your preference, it’s time to customize the ready-made template according to your needs.
Note: The pre-made template’s already customized. You just need to add your content (Scroll down to see which info you should include in your about me page because I have covered your needs in this topic).
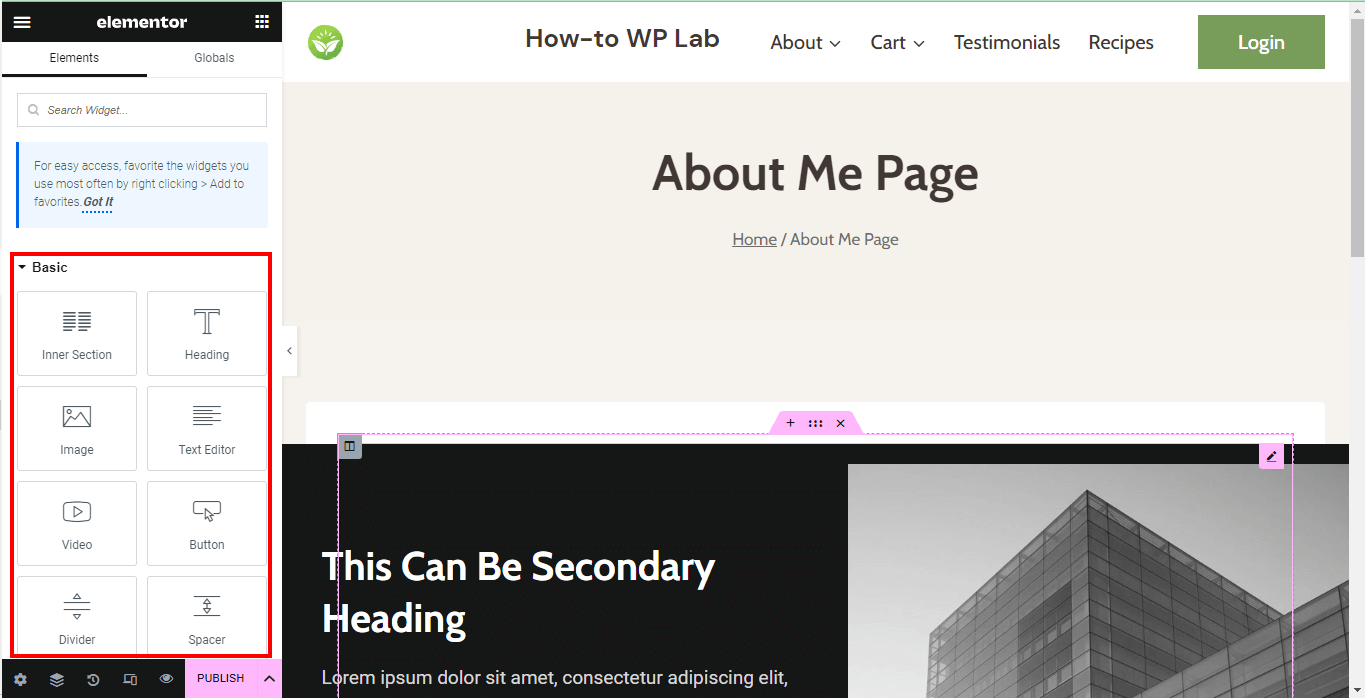
- We need Elementor’s help to customize the template. At the top, you will notice an option that says “Edit with Elementor.” Just click it to begin.
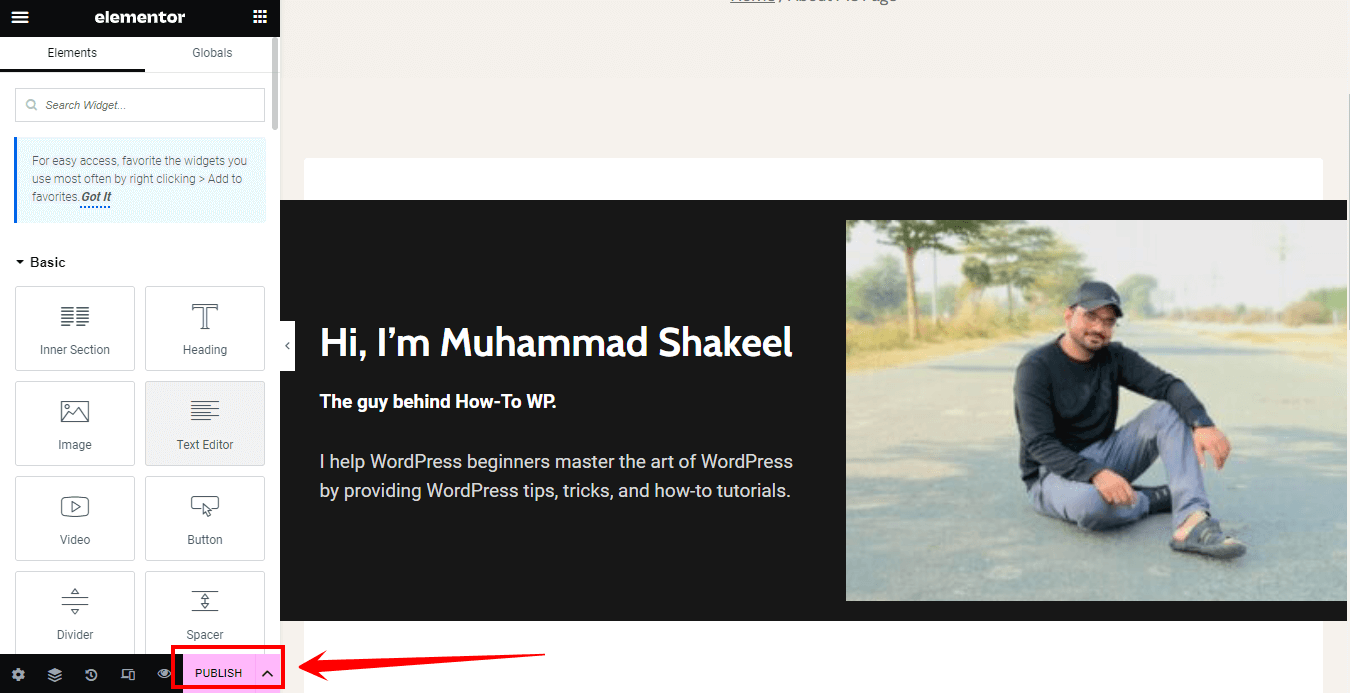
- Start building your “About Me” page using Elementor’s drag-and-drop interface. You can add various elements, such as headings, paragraphs, images, videos, and more, by selecting them from the Elementor widget panel on the left side of the screen and dragging them onto your page.
Note: Customize the appearance and layout of your page using the Elementor editor. You can modify the design of individual elements, adjust column widths, and create responsive designs for different devices.
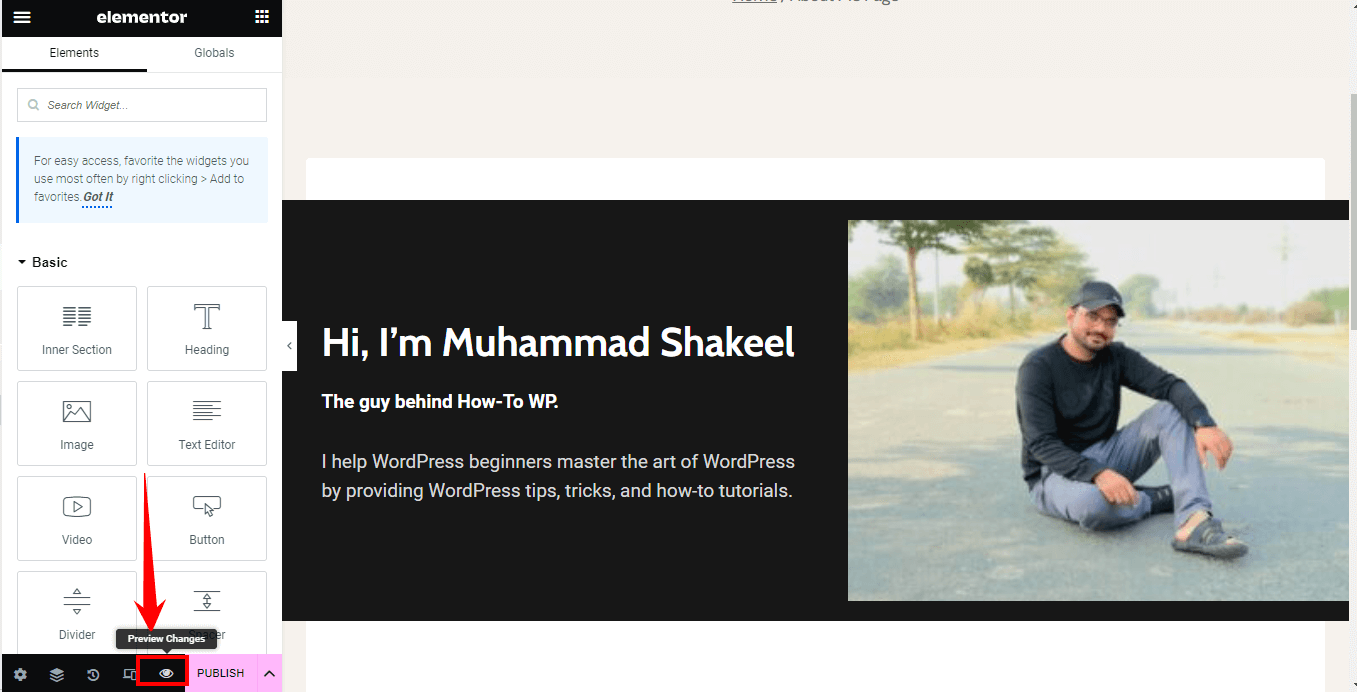
- Preview your ‘About Me’ page to ensure it looks as expected.
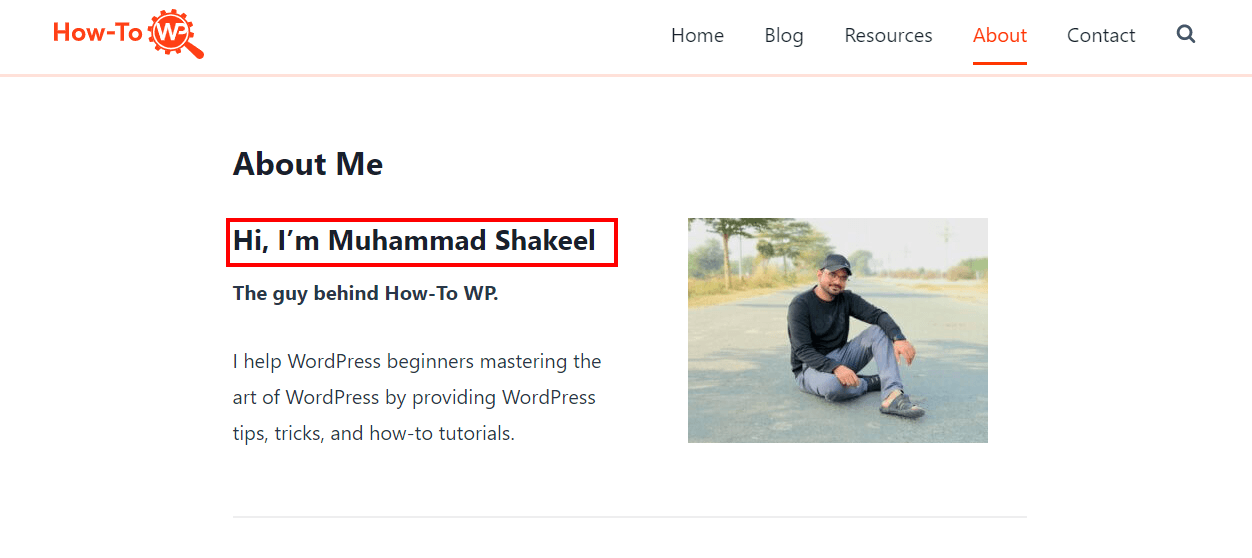
- Once you are satisfied with the final layout and content of your “About Me” page, it is time to make it live and accessible to your website visitors. To do this, locate the “Publish” button at the bottom of the Elementor editor interface.
Pros:
- Highly customizable and visually appealing designs
- User-friendly drag-and-drop interface
- A wide range of pre-built templates and design elements
- Responsive design for various devices
- Compatible with various WordPress themes, including Astra
Cons:
- It may require more time to learn and master
- Additional plugins and tools may affect site performance and loading times
Benefits of Having a Dedicated About Me Page on Your WordPress Site
Having a dedicated “About Me” page on your WordPress site offers numerous benefits that can greatly enhance your online presence and connect with your audience. Let’s explore the key advantages of having an informative and engaging “About Us” page:
- Building Trust with Your Audience: An “About Me” page lets you introduce yourself, your team, or your organization to your website visitors. It lets them understand who you are and why they should trust your content or services. You can establish credibility and build trust with your audience by sharing relevant information about your background, experience, and expertise.
- Showcasing Your Personal Brand: Your “About Me” page is ideal for expressing your unique personality and brand identity. You can share your story, values, and mission, giving visitors a deeper understanding of your purpose and what sets you apart. This helps create a memorable impression and foster a personal connection with your audience.
- Providing an Overview of Your Content: A compelling “About Me” page can be a gateway to your website’s content. Visitors can quickly grasp the scope and value of your offerings by providing a summary or highlighting key areas of your expertise or the topics you cover. This overview can encourage them to explore further and engage with your content.
- Enhancing SEO: An optimized “About Me” page can contribute to your website’s search engine optimization (SEO) efforts. By incorporating relevant keywords, meta descriptions, and well-structured content, you increase the visibility of your page in search engine results. This can attract organic traffic to your site and improve your overall online presence.

- Encouraging Social Sharing and Networking: When visitors resonate with your “About Us” page, they are more likely to share it with others who might find it valuable. This can increase social media engagement, brand exposure, and potential collaborations or partnerships. A compelling and shareable “About Me” page can act as a catalyst for expanding your network and reaching new audiences.
I mentioned earlier that a dedicated “About Me” page on your WordPress site could enhance SEO, showcase your brand, provide an overview of your content, and encourage social sharing. It is a valuable tool to engage your audience, establish your online presence, and create meaningful connections with visitors to your website.
Essential Information to Include on Your About Me Page
Your “About Me” page on your WordPress site is an opportunity to introduce yourself to your audience and give them a glimpse into your world. To make your “About Me” page engaging and informative, consider including the following essential information:
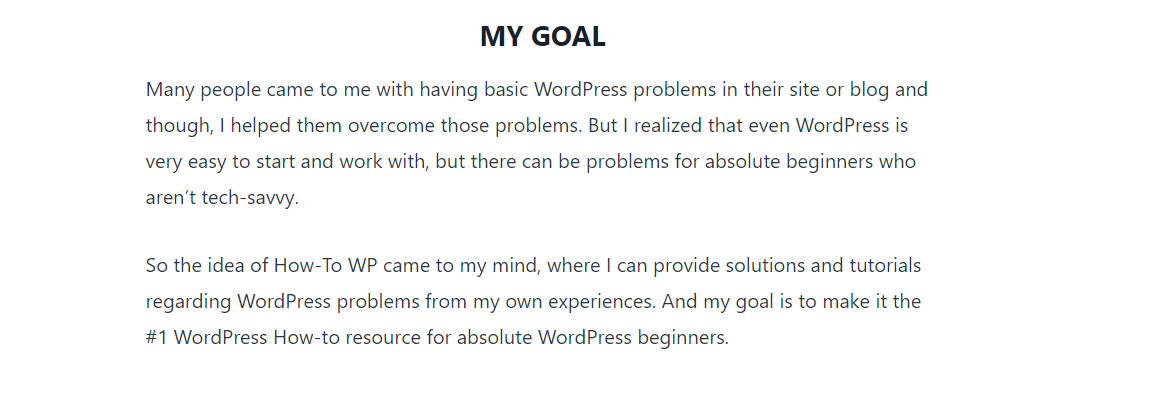
- Introduction: Begin your “About Me” page with an engaging and inviting introduction that captures your readers’ attention. Share a brief overview of who you are, what you do, and why you are passionate about it. This sets the tone for the rest of the page and creates a connection with your audience.
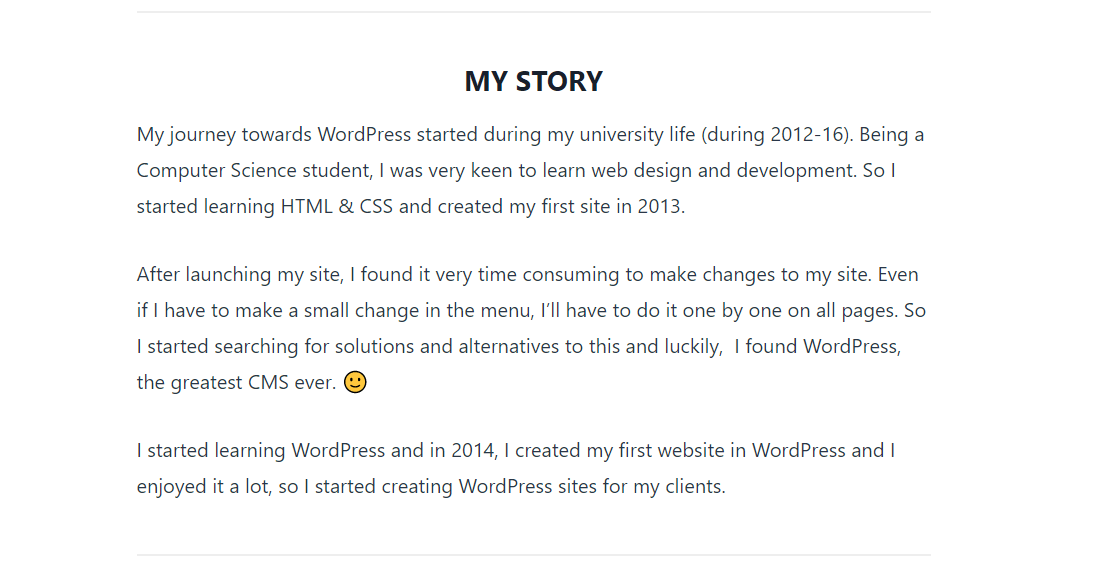
- Personal Story: Share your personal journey and experiences that have shaped who you are today. Discuss significant milestones, challenges, or influential moments that have profoundly impacted your life and career. Include personal anecdotes or stories that provide insight into your character and values. This helps your audience relate to you on a deeper level and understand the context of your expertise.
- Areas of Expertise: Clearly outline the areas where you excel and specialize. Identify the subjects or industries where you have extensive knowledge and experience. Highlight specific skills or qualifications that make you an authority in your field. This establishes credibility and positions you as a trusted resource for your audience, showcasing your unique value.
- Achievements and Accolades: Showcase any notable achievements, awards, or recognition you have received throughout your professional journey. Highlighting these accomplishments demonstrates your commitment to excellence and reinforces your credibility and expertise. Include certifications, degrees, or licenses that showcase your expertise.
- Philosophy and Values: Share your core values and the guiding principles that drive your work. Explain how these values influence your approach, decision-making, and interactions with your audience. By expressing your philosophy, you establish a sense of authenticity and transparency. This helps your audience align with your values and fosters trust.
- Testimonials and Social Proof: Include testimonials, reviews, or endorsements from satisfied clients, customers, or colleagues. These testimonials provide social proof and add credibility to your claims. Displaying logos or mentions of well-known brands or media outlets you have been featured in can also contribute to your reputation and further establish your authority in your field.
- Call to Action: Provide a clear call to action that encourages your audience to take the next step. This could be inviting them to subscribe to your newsletter, follow you on social media, contact you for collaboration or consultation, or explore your products or services. By providing a direct call to action, you make it easy for your audience to engage further with you and deepen their connection with your personal brand.
Remember to use engaging storytelling, concise bullet points, and visually appealing design elements to create a compelling “About Me” page that captivates your audience and leaves a lasting impression.
By including these essential elements on your “About Me” page, you can effectively communicate your personal brand, establish trust with your audience, and encourage meaningful connections and interactions.
Things To Avoid While Creating an About Me Page
When creating your “About Me” page on your WordPress site, it’s essential to remember certain pitfalls to ensure that you create a compelling and effective page.
Here are some things to avoid to make sure your “About Me” page is engaging and impactful:
- Avoid Excessive Self-Promotion: While it’s important to highlight your accomplishments and expertise, avoid coming across as overly self-promotional. Instead of simply listing your achievements, focus on sharing the value you can provide your readers. Show them how your experiences and insights can benefit and address their needs.
- Don’t Make it All About You: Although it’s called an “About Me” page, remember that it’s ultimately about your audience. Only consider how your story and expertise can connect with your readers. Share personal anecdotes or experiences that can resonate with them and offer valuable insights.
- Steer Clear of Irrelevant Information: Keep your “About Me” page focused and concise. Avoid including irrelevant or excessive details that may distract or confuse your readers. Stick to information that directly relates to your personal brand, expertise, and the purpose of your website. Highlight the aspects that align with your readers’ interests and needs.
- Avoid Using Jargon or Technical Language: Ensure that your content is accessible and easily understood by a wide range of readers. Use plain language to communicate effectively. Avoid using complex jargon or technical language that may alienate or confuse your audience. Instead, aim for clear and concise language that can be easily comprehended by anyone visiting your page.
- Don’t Forget to Update Regularly: Your “About Me” page should reflect your current status, achievements, and goals. Make sure to leave accurate information on your page. Make it a habit to periodically review and update your “About Me” page to ensure it remains relevant and up to date. Keep your readers informed about your latest accomplishments and endeavors.
- Avoid Neglecting Visual Appeal: Remember that the design and layout of your “About Me” page play a crucial role in engaging your readers. Avoid cluttered or overwhelming designs that can distract from your message. Opt for a visually appealing and organized layout that enhances readability and captures your audience’s attention. Utilize appropriate fonts, colors, and visuals to create an aesthetically pleasing experience.
- Don’t Underestimate the Importance of Proofreading: Mistakes in grammar, spelling, or punctuation can undermine the professionalism and credibility of your “About Me” page. Only publish your page after thoroughly proofreading it. Take the time to review your content for any errors and ensure it conveys your message clearly and effectively. Double-check your writing to maintain a polished and professional image.
By avoiding these common pitfalls, you can create an “About Me” page that truly resonates with your audience, showcases your expertise, and establishes a meaningful connection with your readers.
Remember to strike a balance between sharing relevant information about yourself and addressing the needs and interests of your audience to create a compelling and impactful page.
Excellent About Me Page Examples
When crafting your own “About Me” page on your WordPress site, drawing inspiration from exceptional examples can be helpful.
Here, we present a collection of excellent “About Me” page examples to guide you in creating a compelling and captivating page:
- Gary Vaynerchuk: Gary Vaynerchuk’s “About Me” page is a shining example of authenticity and storytelling. He shares his personal journey, including his immigrant background and entrepreneurial ventures. Gary’s page is filled with engaging anecdotes and insights, allowing visitors to connect with his experiences and aspirations. He emphasizes the importance of hard work, hustle, and staying true to oneself, inspiring others to pursue their passions and entrepreneurial dreams.

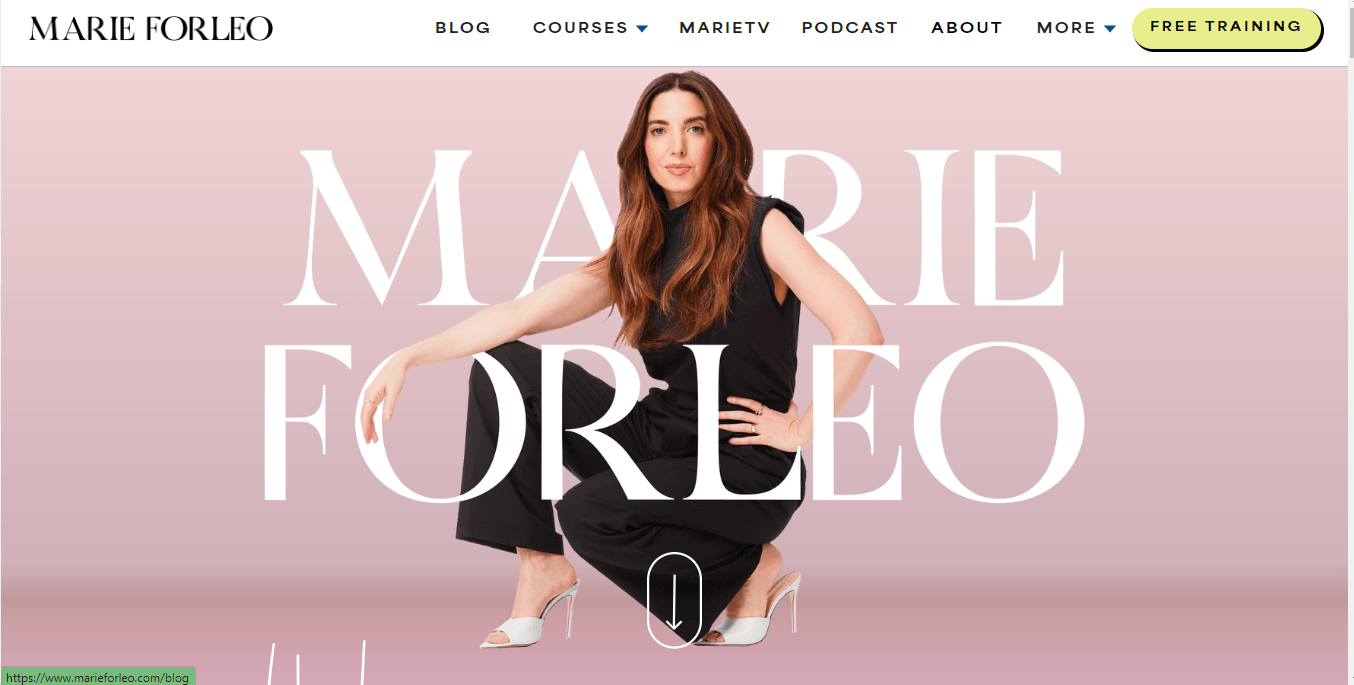
- Marie Forleo: Marie Forleo’s “About Me” page masterfully combines storytelling and empowerment. She shares her personal story of overcoming obstacles and provides insights into her philosophy on life and entrepreneurship. Marie’s page emotionally connects visitors, inspiring them to take action and pursue their passions. She emphasizes the importance of finding clarity, impacting, and living a purposeful life.
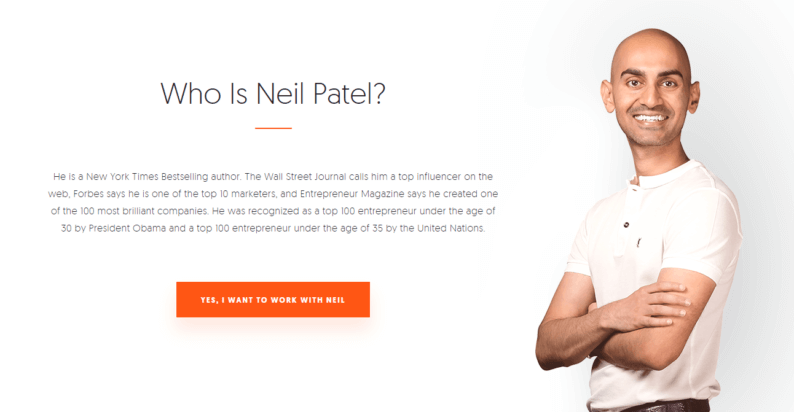
- Neil Patel: Neil Patel’s “About Me” page highlights his expertise and accomplishments. He emphasizes the value of data-driven marketing strategies and shares valuable insights through his blog and educational content. He provides a brief introduction followed by a list of his achievements in the digital marketing industry. Neil’s page also features testimonials from renowned brands, establishing his credibility and authority in the field.
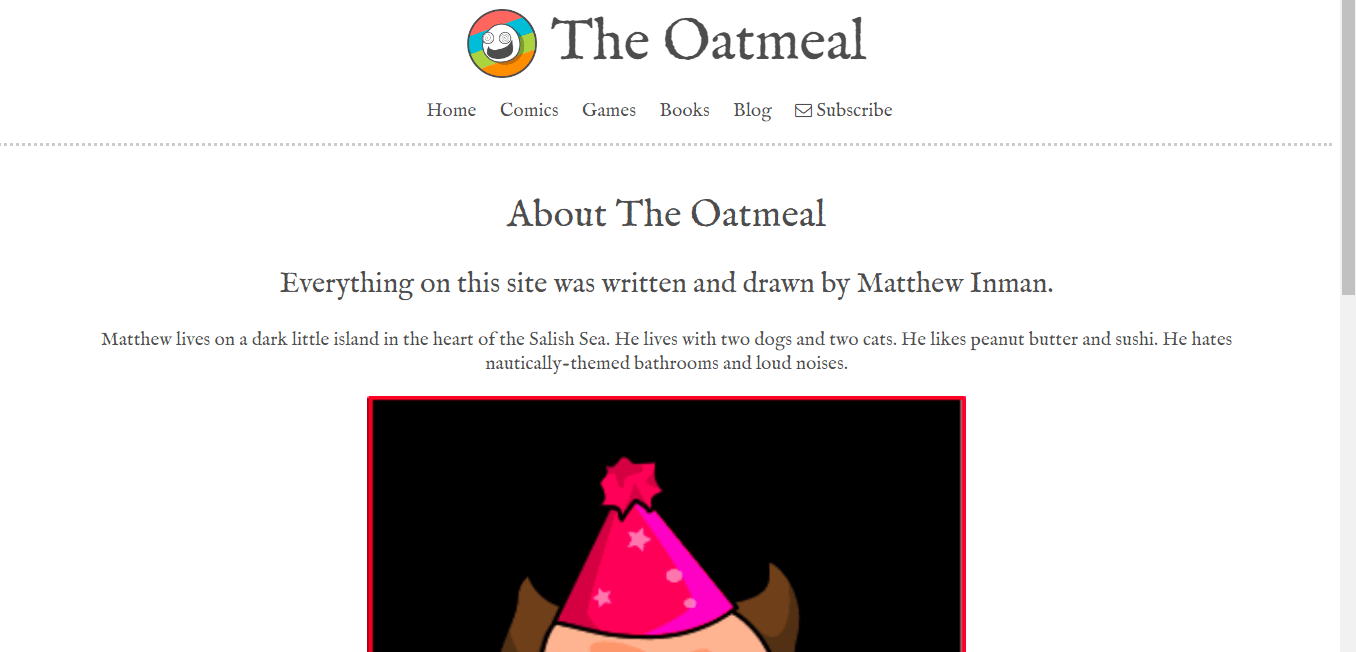
- Matthew Inman: Matthew Inman’s “About Me” page, known as “The Oatmeal,” showcases his unique blend of humor and creativity. He shares his passion for storytelling and uses humor to engage and entertain his audience. Through witty illustrations and humorous anecdotes, he introduces himself to visitors. Matthew’s page stands out for its unconventional approach, leaving a lasting impression on those who encounter it.
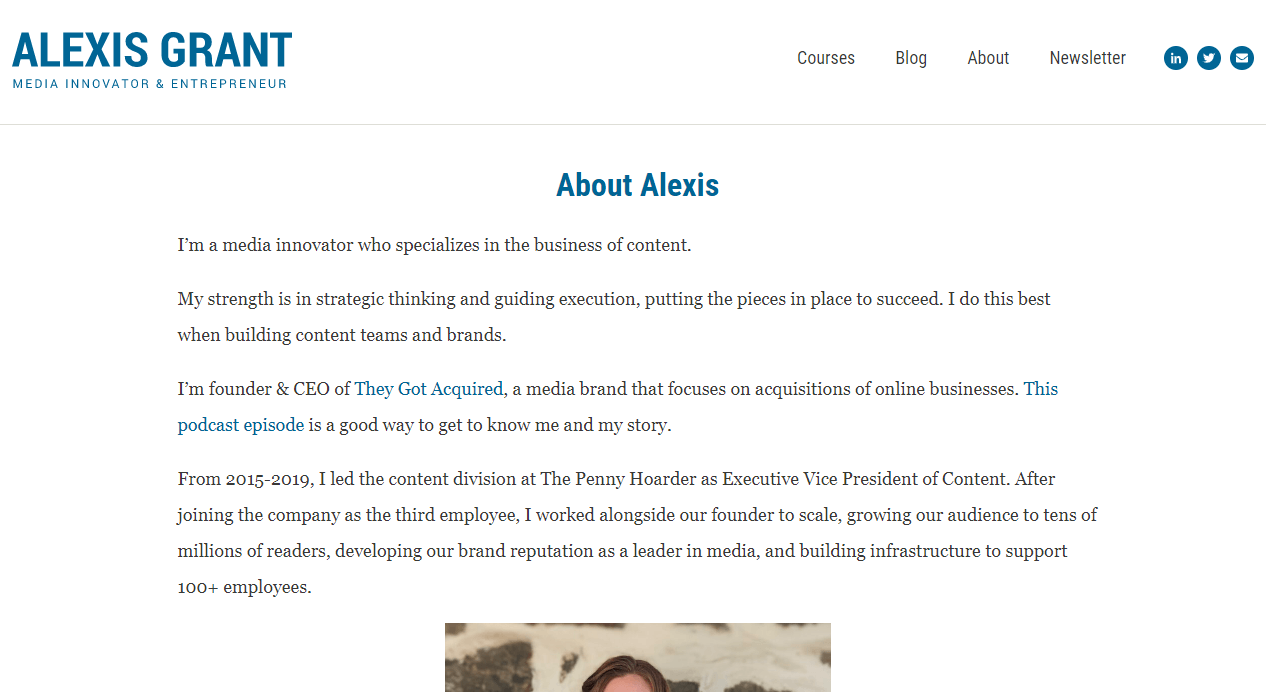
- Alexis Grant: Alexis Grant’s “About Me” page is a notable example of showcasing personal and professional growth. She shares her career journey, from her background as a journalist to becoming a successful entrepreneur. Alexis’s page highlights her expertise in content strategy and building online communities. She emphasizes the importance of authenticity, personal branding, and leveraging digital platforms to create meaningful connections.
These examples demonstrate effective elements that you can incorporate into your own “About Me” page. Pay attention to their use of storytelling, showcasing personality, highlighting expertise, and creating an emotional connection. Adapt these approaches to align with your own brand and target audience.
Remember, while drawing inspiration from these examples, infuse your own unique story and personality into your “About Me” page. Authenticity is critical to engaging your visitors and leaving a lasting impression.
Use these excellent “About Me” page examples as inspiration, adapt their strategies to suit your brand, and craft a compelling and captivating page showcasing your unique story, passions, and expertise.
Wrapping Up Thought
Having an engaging and compelling “About Me” or “About Us” page on your WordPress site is essential for establishing an online presence, creating trust with your audience, and showcasing your expertise.
By drawing inspiration from successful examples, incorporating critical information, and avoiding common pitfalls, you can craft a page that resonates with your visitors, creates a personal connection, and leaves a lasting impression.
So, embrace the power of storytelling, showcase your personality, and infuse authenticity into your page to create a meaningful and memorable experience for your audience. Remember, your “About Me” page is an opportunity to showcase who you are, what you stand for, and the value you bring, so make it count!
Frequently Asked Questions
How do I create an About Us page in WordPress with Elementor?
When writing about yourself in WordPress, consider sharing relevant information that introduces you to your audience and showcases your expertise. Include details such as your background, experiences, skills, and qualifications. You can also discuss your passions, values, and the unique perspective you bring to your field. Remember to balance being professional and personal, allowing your audience to connect with you on a human level.
Where is the About Me section on WordPress?
In WordPress, the “About Me” section is typically created as a standalone page. To access and edit this section, log in to your WordPress dashboard and navigate to “Pages” on the left-hand side menu. Look for the page titled “About Me” or “About” and click on it to make changes to the content, layout, or design of your “About Me” page.
How do I edit my About Us page in WordPress?
To edit your “About Us” page in WordPress, follow these steps:
Step 1: Log in to your WordPress dashboard.
Step 2: Navigate to “Pages” on the left-hand side menu.
Step 3: Locate the “About Us” page and click on it
Step 4: The page will open in the WordPress editor, where you can change the text, images, or formatting.
Step 5: Once you have finished editing, click the “Update” button to save your changes and make them live on your website.
How do I create an About Us page in WordPress with Elementor?
To create an “About Us” page in WordPress using Elementor, follow these steps:
Step 1: Install and activate the Elementor plugin from the WordPress plugin repository.
Step 2: Log in to your WordPress dashboard.
Step 3: Navigate to “Pages” on the left-hand side menu and click on “Add New” to create a new page.
Step 4: Click the “Edit with Elementor” button to open the Elementor editor.
Step 5: In the Elementor editor, drag and drop the desired widgets or elements to design your “About Us” page.
Step 6: Customize your page’s content, layout, and styling using the Elementor interface.
Step 7: Once you are satisfied with the design, click the “Publish” button to make your “About Us” page live on your website.


