How to Make Changes to WordPress Site Without Publishing

Sometimes you want to experiment on your website, but you don’t want to publish anything before everything is finalized. There are several ways you can use it for such a purpose. I’ll show you how you can make changes to the WordPress site without publishing it.
The topics of this blog discussion are:
- Why do you need to make changes
- How to make changes to WordPress sites without publishing
Let’s start with why you need to make changes to your content.
Table of Contents
Why Do You Need to Make Changes
It’s no secret that the content of any website is the driving force of any website. That’s why sometimes changing it can be of utmost importance. Your content can become irrelevant, or it can become outdated, which significantly affects the SEO of your website.
The reason for editing can be anything from removing the dates of your posts to uploading the demo version of your theme, but when you’re doing such changes, your viewers will be able to see it. It presents an unprofessional appearance to your website.
Not to mention, if you upload something that you don’t want your viewers to see, then it can become somewhat of a trouble for you.
How to Make Changes to WordPress Site Without Publishing?
Lucky for us, there are several methods we can use to hold the publishing process. Let’s start with the most common and easiest way to avoid publishing new content.
Method 1: Draft the Post
The draft method is one of the best ways to make changes to WordPress sites without publishing anything. It keeps all your content on hold until or unless you publish it yourself.
It’s the most widely used and easy method that anyone can use. Start by going to “Posts” and clicking on the “Add New” option.
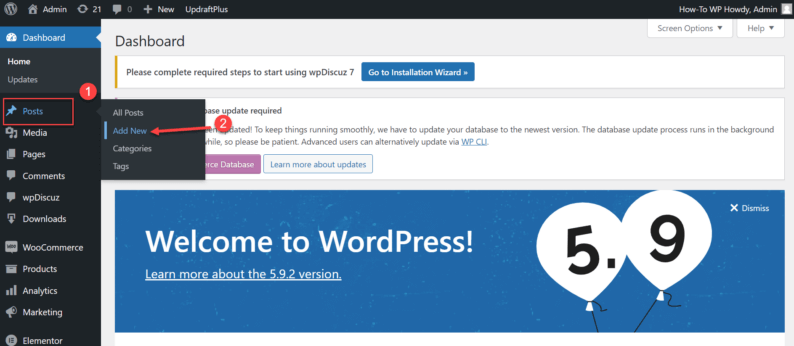
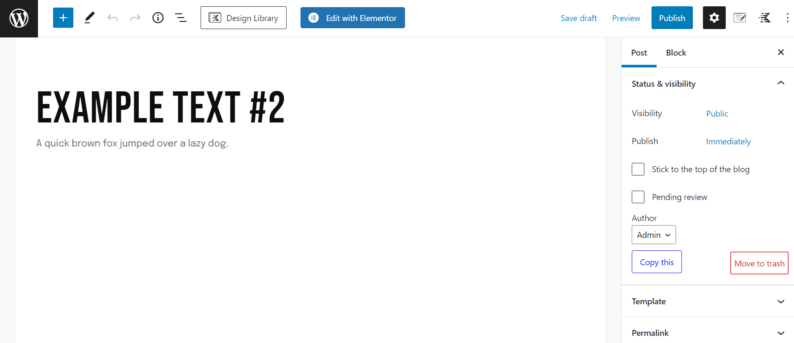
Here, enter all the information you want to provide for a particular post.
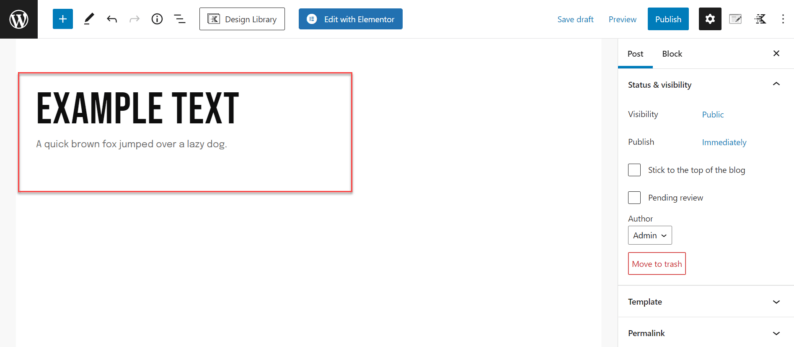
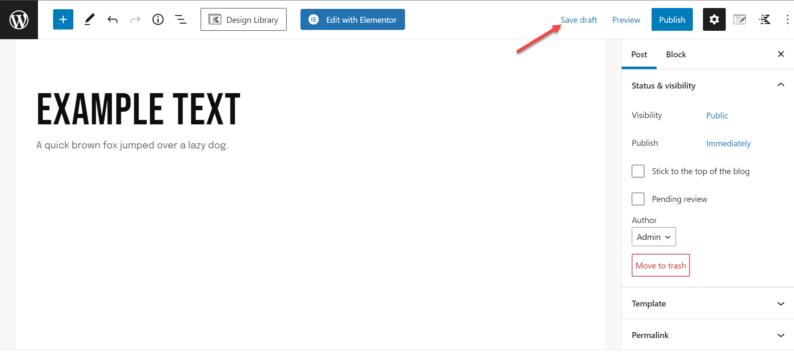
On the top right-hand side, you’ll see an option called “Save draft,” click on it, keep the post in draft and make all the changes required.
To view all the changes made to the post without publishing the post, click the “Preview” option, and after that, click on the “Preview in new tab” option.
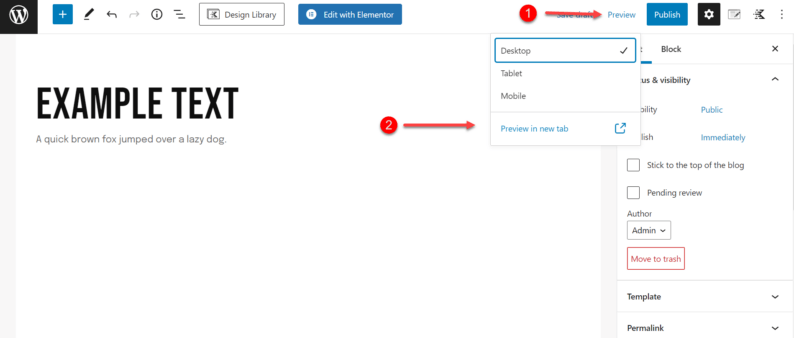
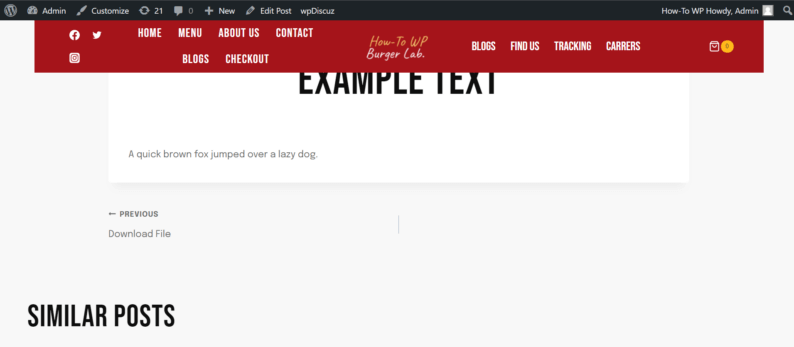
It’ll take you to the new tab to show you the preview of the post.
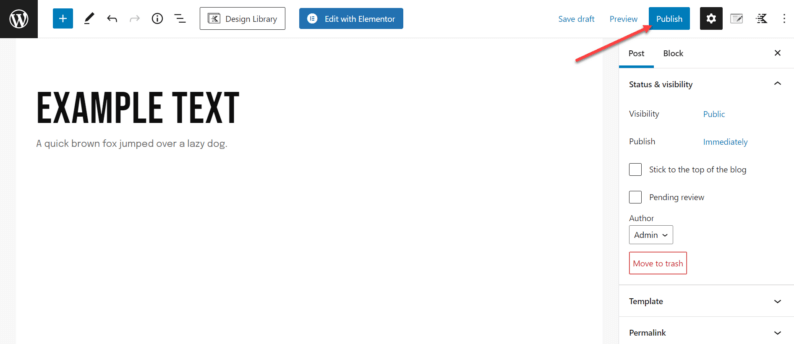
Once you feel that everything is according to your requirements, you can click on the “Publish” option.
Method 2: Using a Plugin (To Block View)
This method is mainly used by those who are currently working on the entire appearance & content of the website. It’s primarily used when a person wants to launch a new website.
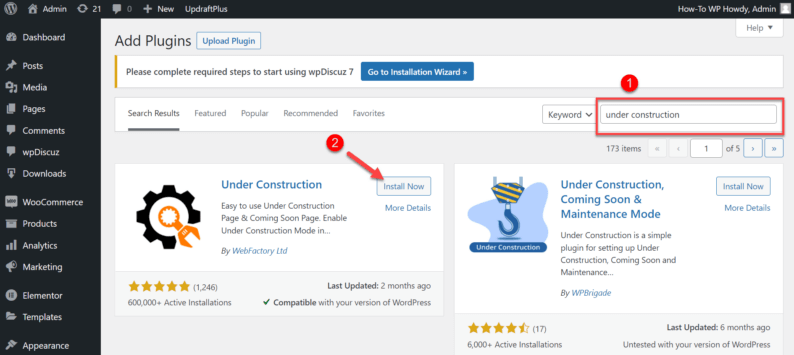
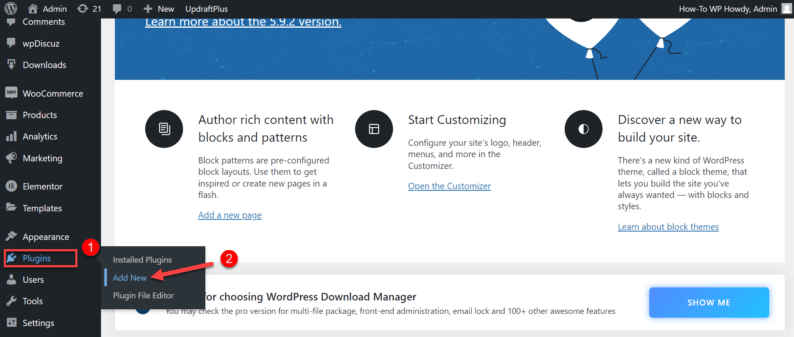
Start by hovering over the “Plugin” option and clicking the “Add New” option.

Now search and install the “under construction” plugin. This plugin helps you create a page for whenever you don’t want to show the content of your website.
Note: You can also use other plugins like coming soon, CMP, WP maintenance mode & minimal coming soon, but I would recommend the under construction plugin.
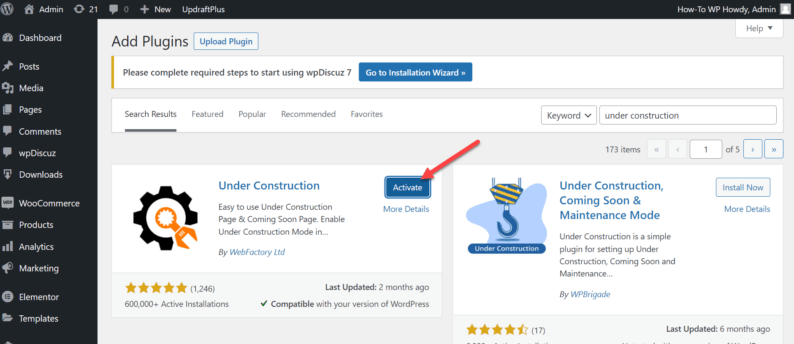
After installing the plugin, stay on the page and activate it.
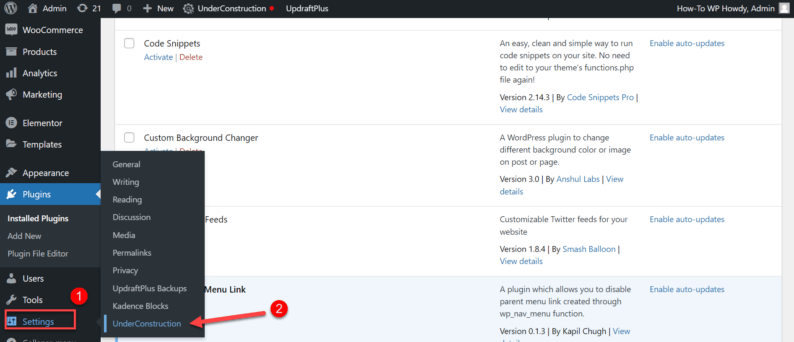
Next, you’ll go to the “Settings” option and click on the “UnderConstruction” option.
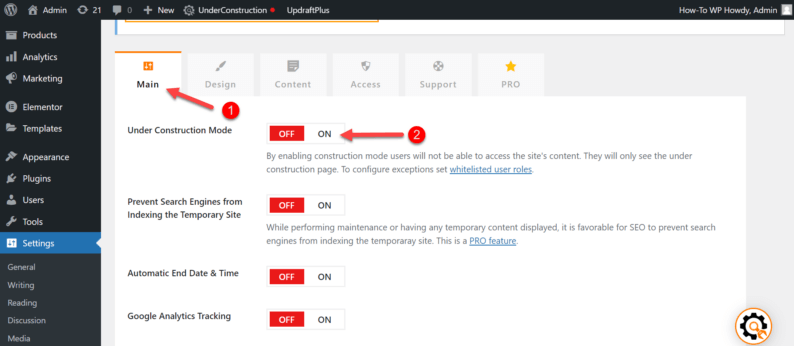
Go to the “Main” section and toggle the switch to turn the plugin on.
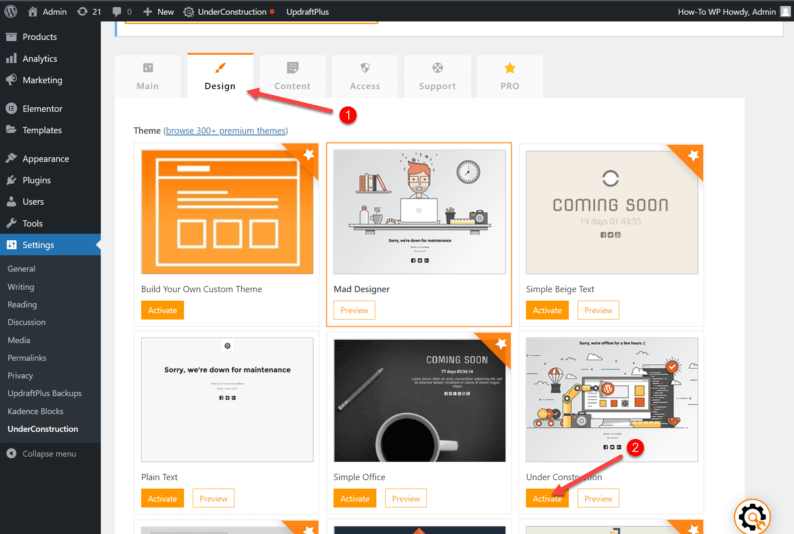
Secondly, go to the “Design” section and select the page’s design. The choice is completely yours. Click the “Activate” button.
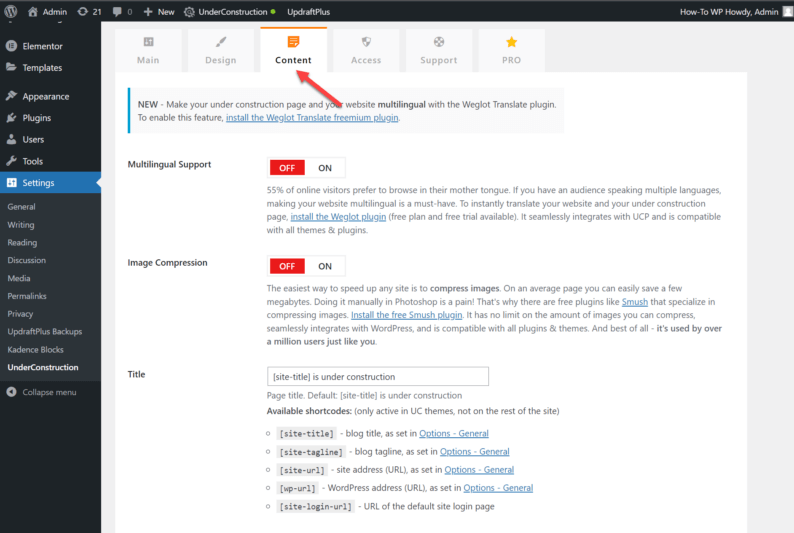
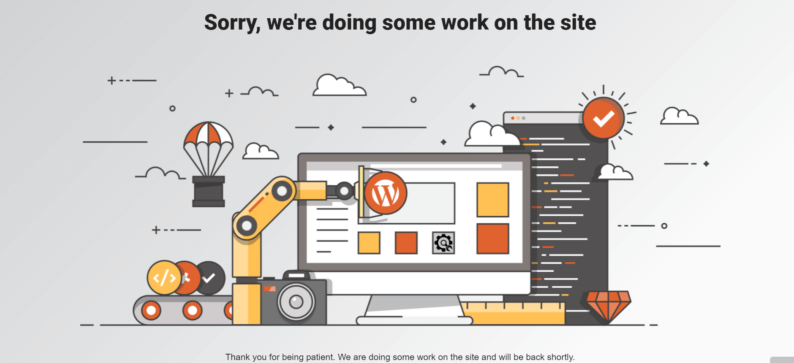
Lastly, go to the “Content” section. Here, you can change the message displayed on the page.
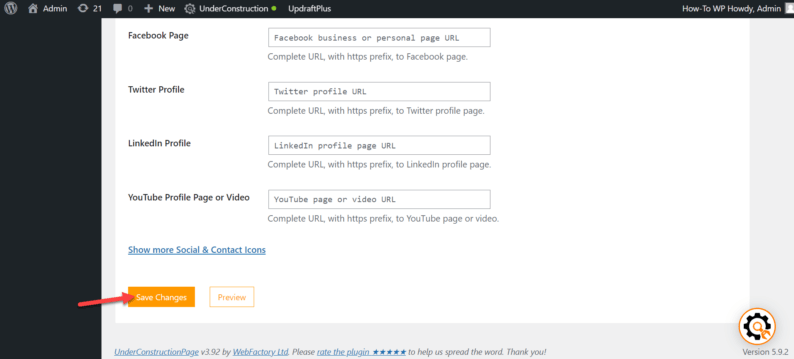
After doing all the changes, scroll to the bottom of the screen and click on the “Save Changes” button.
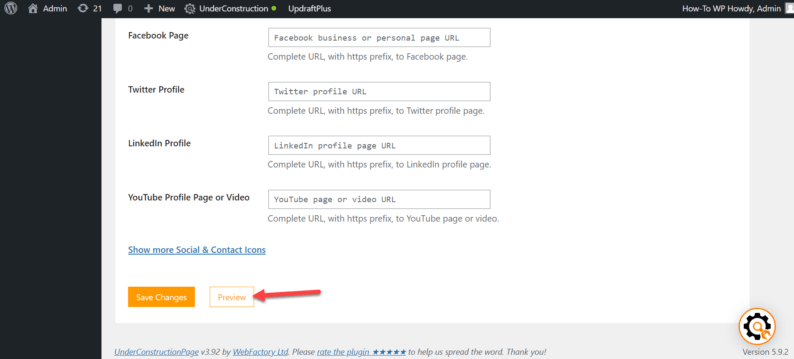
Since you are the admin, the page won’t be visible to you. There are 2 options by which you can confirm whether the page is working or not. The first option is to click the “Preview” button.
The second option is to copy the URL of the website and paste it into the incognito tab.
Note: To open the incognito tab, click (at the same time) on “Ctrl+Shift+N,” and it will open.
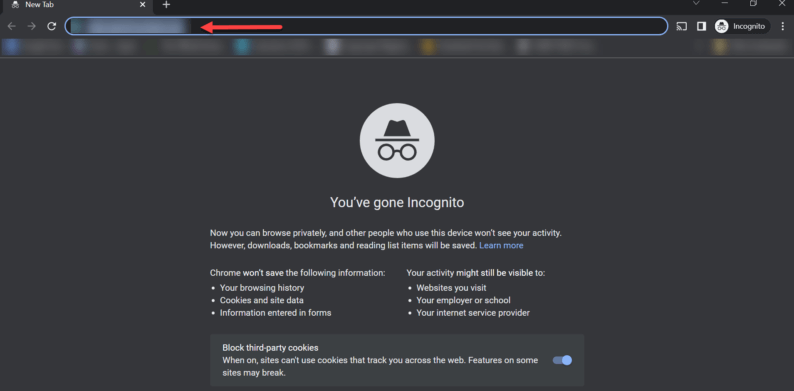
Now click the “Enter” key to visit the website. The custom page will appear.
If you want to make the website visible to everyone, go to the top of the admin bar, hover over the “UnderConstruction,” and toggle the switch off.
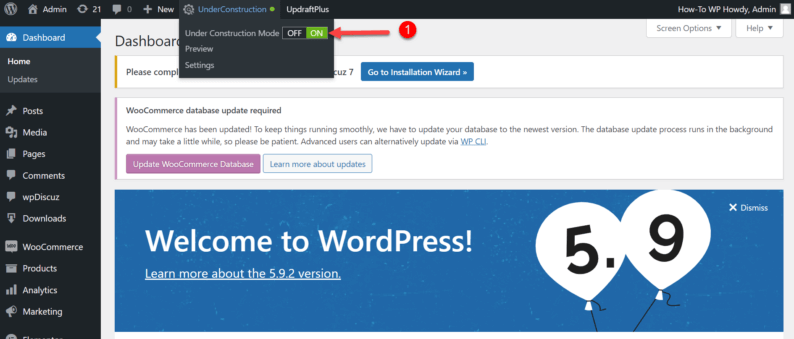
It’s a good option because even if you publish something, no one will see it, and you can change it whenever you want. The main downside to using this plugin is that no one can visit the website while the plugin is on.
Method 3: Cloning the Page
Cloning a page is also a good option for people who want to try out different things. It creates an identical copy of the post to keep the original post and only edit its copy.
Go to “Plugin” and click on the “Add New” option.
Search and install the “Duplicate Copy” plugin.
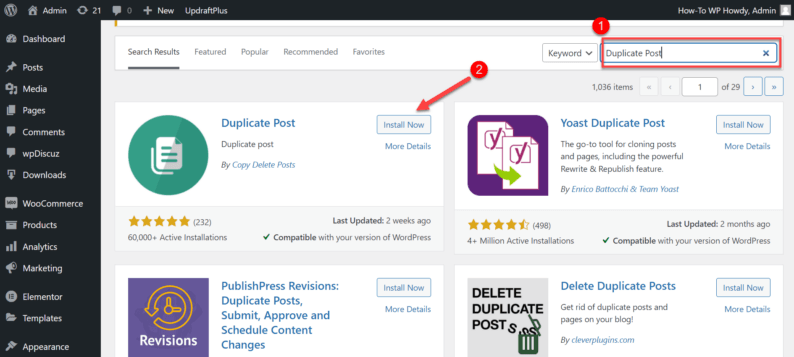
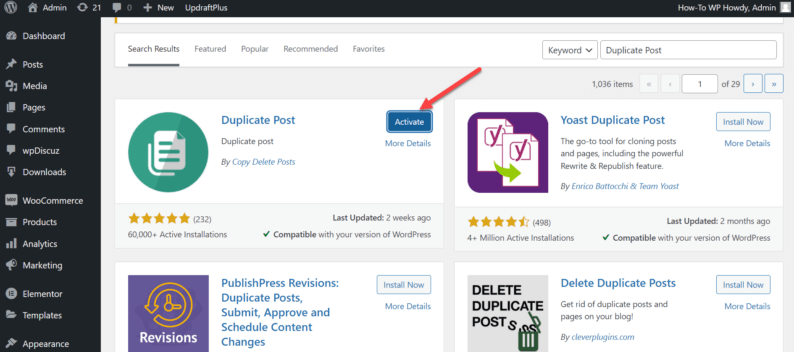
Don’t go anywhere and click on the “Activate” button to turn the plugin on.
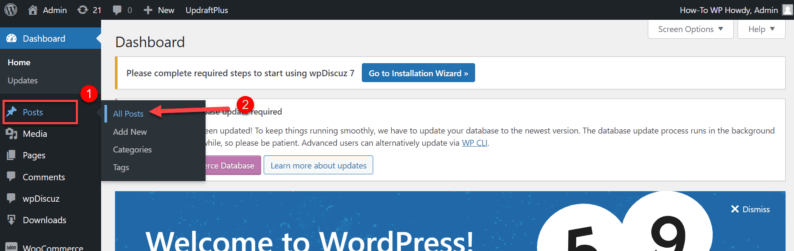
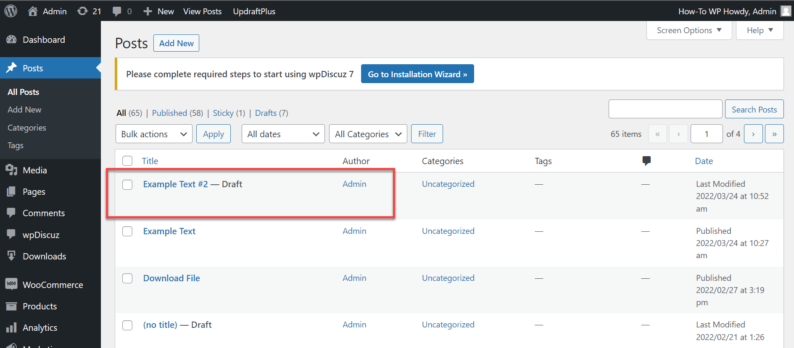
Now go to “Posts” and click on the “All Posts” option.
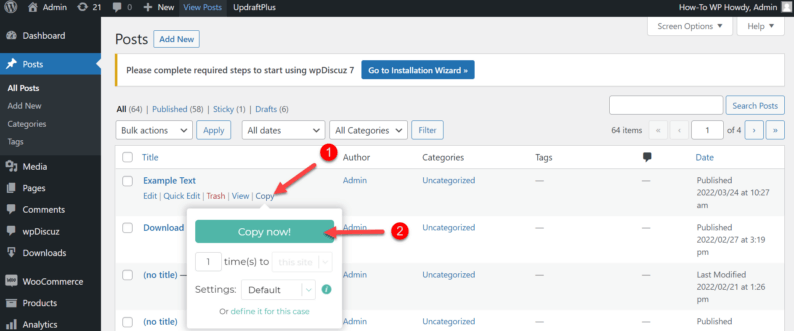
Select the post you want to make a copy of and hover over the copy option. A drop-down option will appear, and click on the “Copy now” button.
A copy will appear at the top of all the posts. Click on the post to open it.
You’ll see that all the content of the post is the same as the original one. Edit all you want on this post, and if you think that the changes are looking good enough, move them to the original one.
Method 4: Theme Switching
It is possible for a person to make a mistake while selecting a theme, or perhaps they wish to modify its appearance. With this plugin, your main theme will display only on your front end, but you can edit your theme without affecting the main theme in the backend.
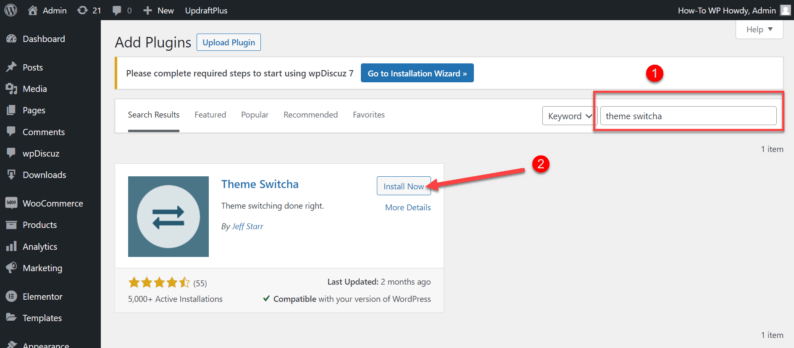
Go to “Plugin” and click on the “Add New” option.

Here you’ll need to search for a plugin called “Theme Switcha” (you’ll only see one plugin). Click on the “Install” button to integrate it into the website.
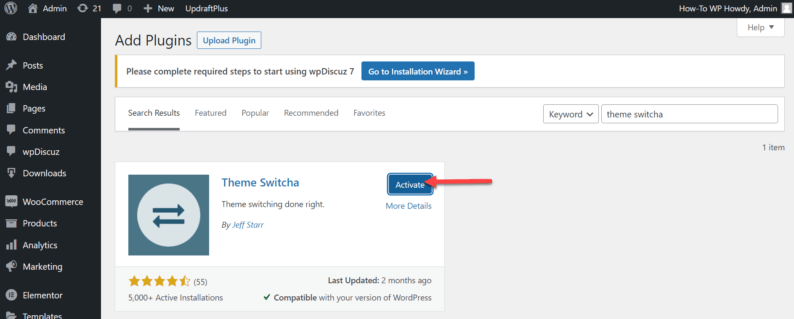
After the installation process is completed, click on the “Activate” button.
Go to the “Settings” option and click on the “Theme Switcha” option.
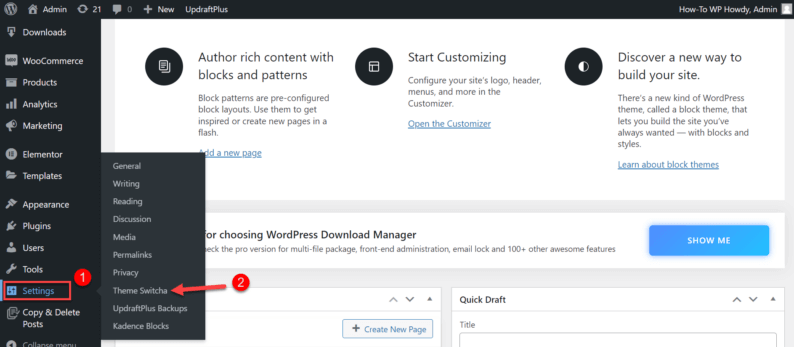
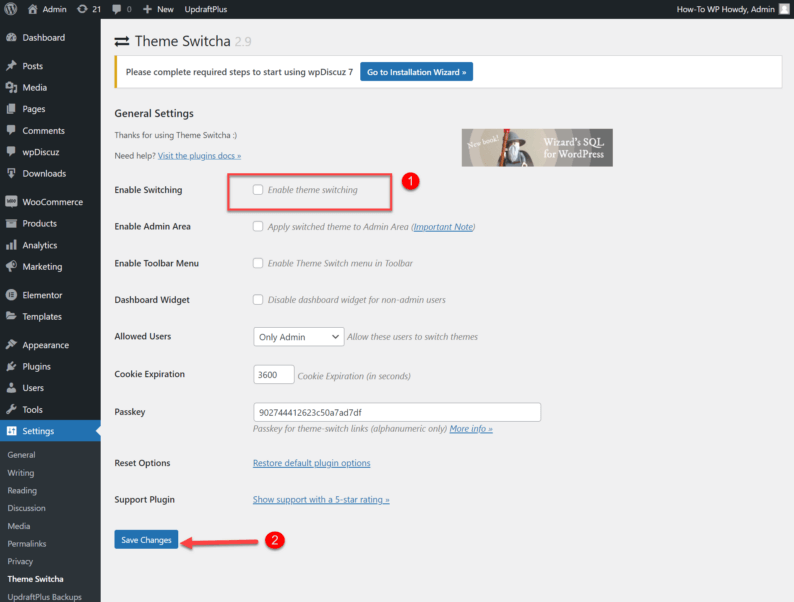
On this page, click on the check-box for “Enable Switching” and scroll down to click on the “Save Changes” button.
After saving all the changes, you’ll see all the installed themes on the website. From here, you can select the theme for the website you want the viewers to see.
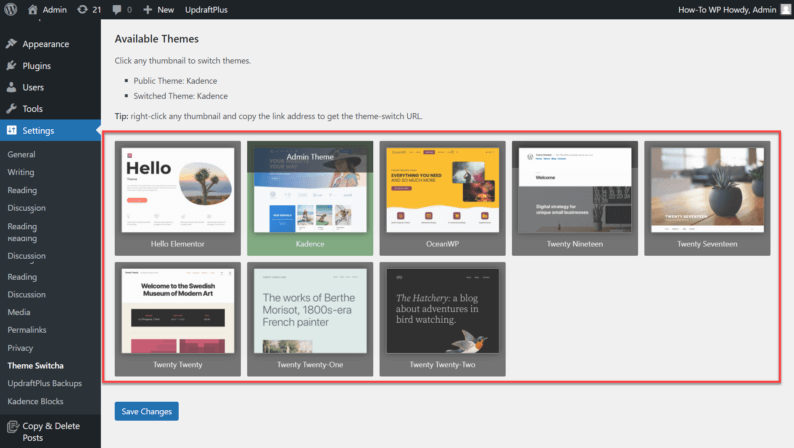
Once you click on any of the themes, a new tab will open, which will show you the website with that theme.
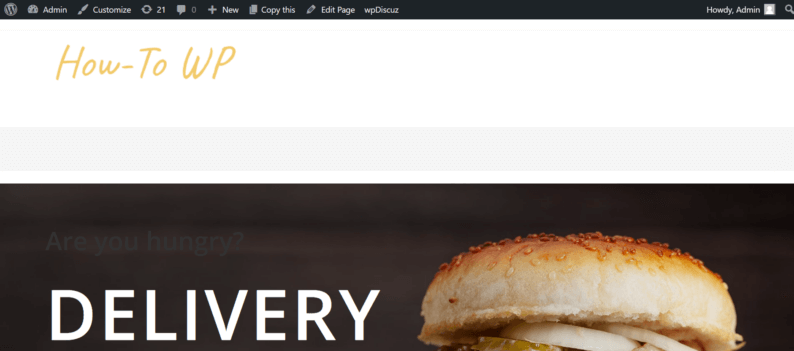
It’s a great way to experiment with the actual theme option you want to implement on your website.
Closing Thoughts
The best way to use a website for experimentation is to set up your development environment on a local machine.
You can then make all the changes you want and see how they look without affecting the live site. If you are using WordPress, there are several ways you can do this.
If you have any further methods that a person can use, please mention them in the comment section below.