How to Create a Table in WordPress [No Plugin Required!]

Tables are essential when organizing and presenting data on your WordPress website. However, many users rely on plugins to create tables, sometimes leading to compatibility issues or slowing down your website.
Crafting tables need not be a tedious affair anymore. Your search ends here for those who desire an elegant, fuss-free approach to building tables in WordPress without the burden of installing extra plugins.
In this article, you will learn
- 4 Methods for creating tables in WordPress without a plugin
- Troubleshooting common table issues
- Tips for optimizing tables for SEO
Following our guide, you can create beautiful, functional tables that suit your website’s needs without relying on third-party plugins.
So if you’re looking for a quick and efficient way to create tables on your WordPress website, keep reading!
Table of Contents
Top 4 Methods To Create Tables in WordPress Without Plugin
When it comes to making tables in WordPress without using plugins, having the right methods can make things much easier for you. There are a lot of guides online that talk about this, which can be confusing.
But don’t worry! I’m here to here to help you out. We’ll focus on the top four ways to create tables in WordPress without plugins. These methods are easy to use and will help you build tables for your website without any hassle.
Let’s explore these techniques and see how they can improve your table-making skills in WordPress.
Method 1: Create a Table in WordPress Using Google Docs
Google Docs is a free, web-based word-processing program that can be used to create tables. The advantage of using Google Docs is that it is user-friendly, and the created table can be easily exported to WordPress.
The following are the steps to create a table in Google Docs:
- Go to the Google Docs homepage and sign in to your Google account. You can sign up for one free if you do not already have an account.
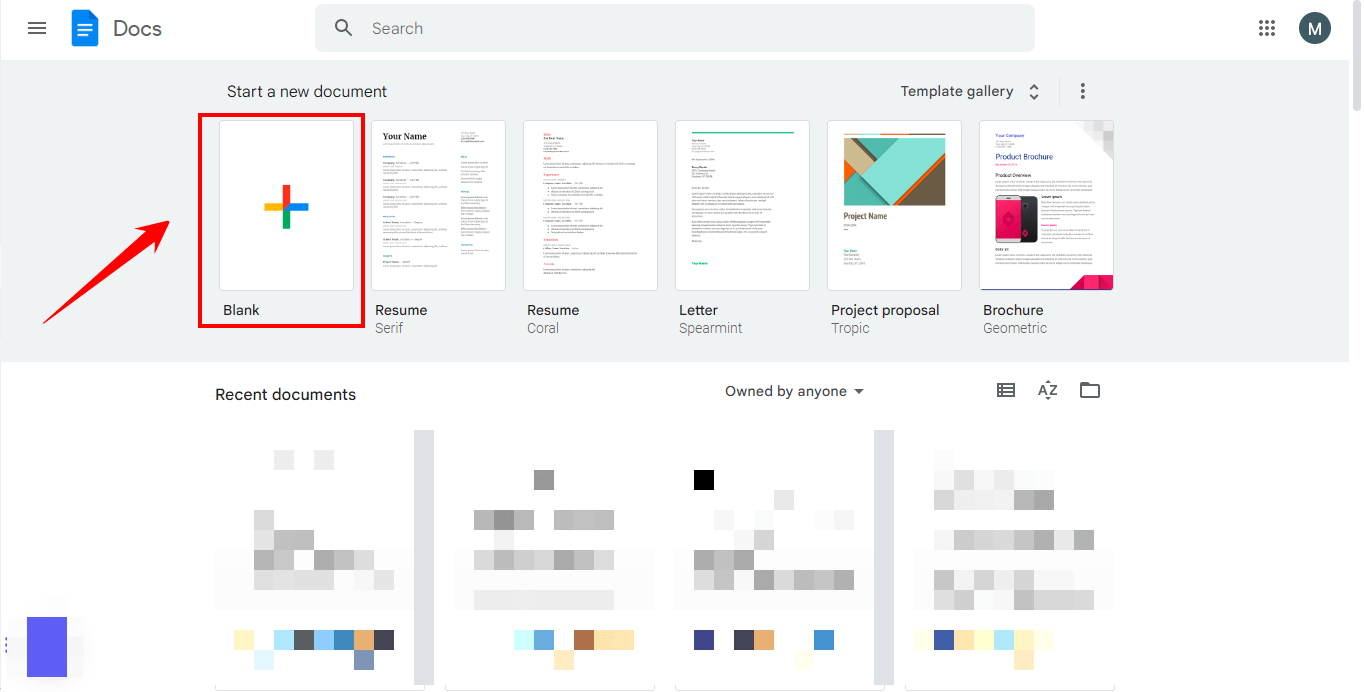
- Once signed in, click on the “Blank” template to begin a new document.
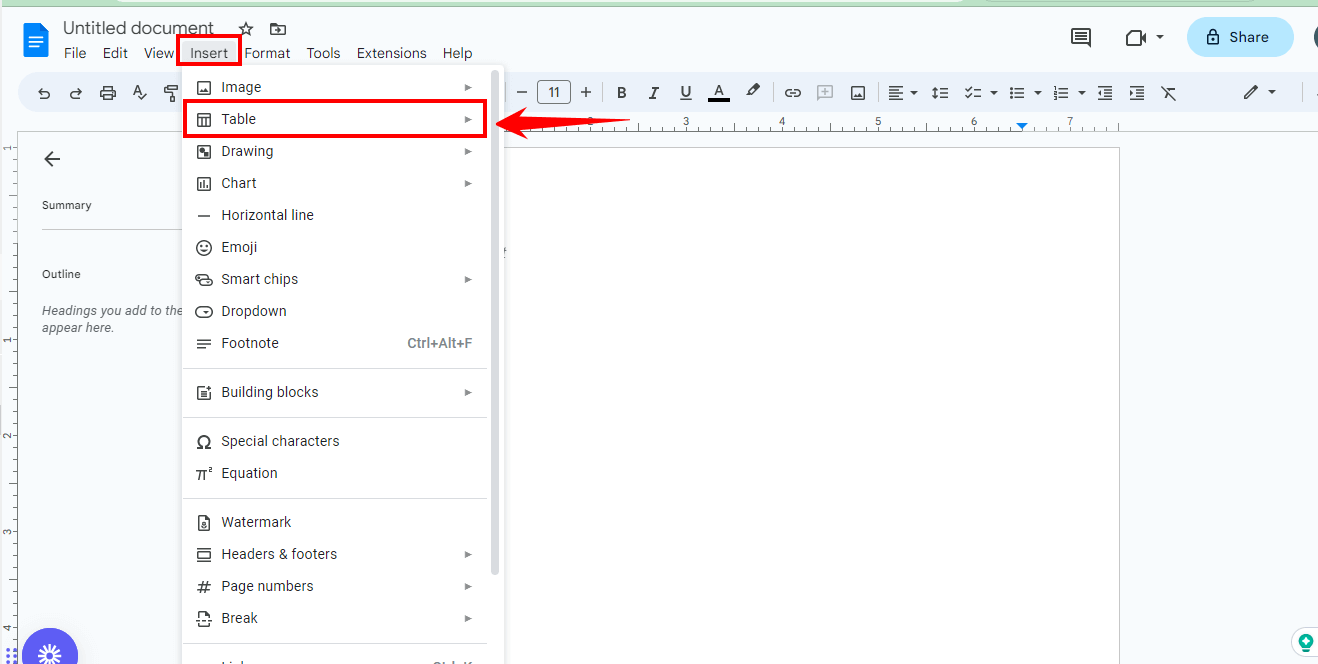
- Next, click the “Insert” tab and select “Table”.
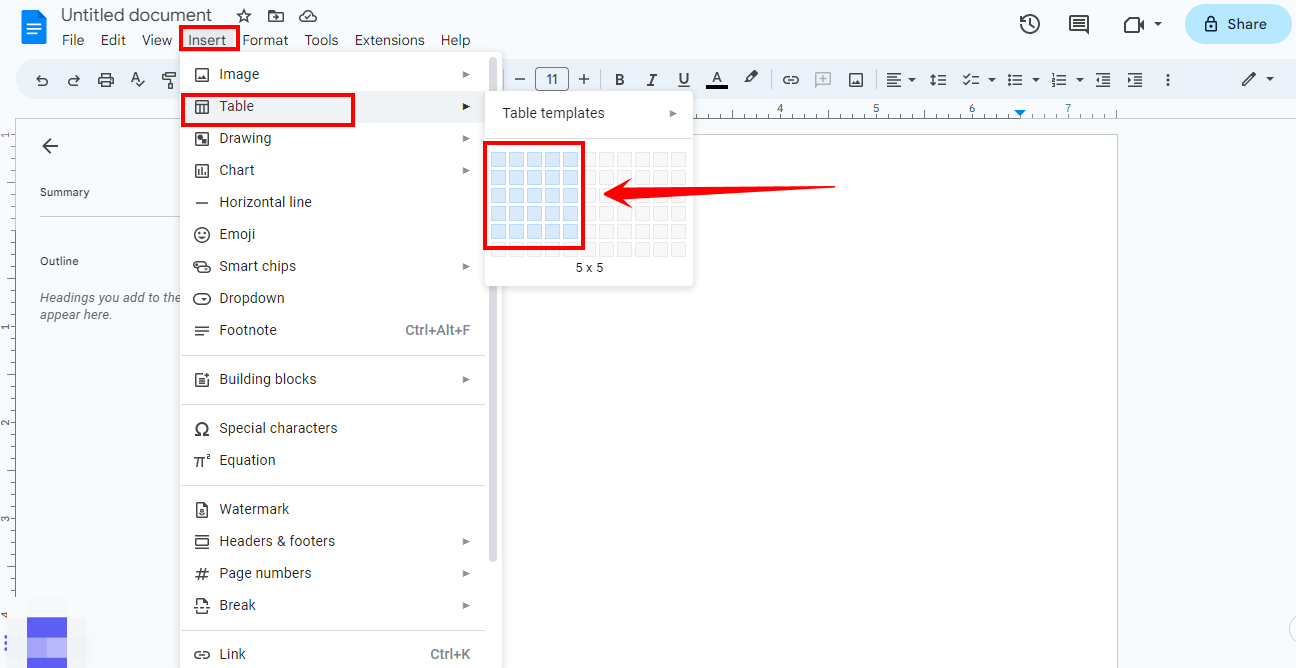
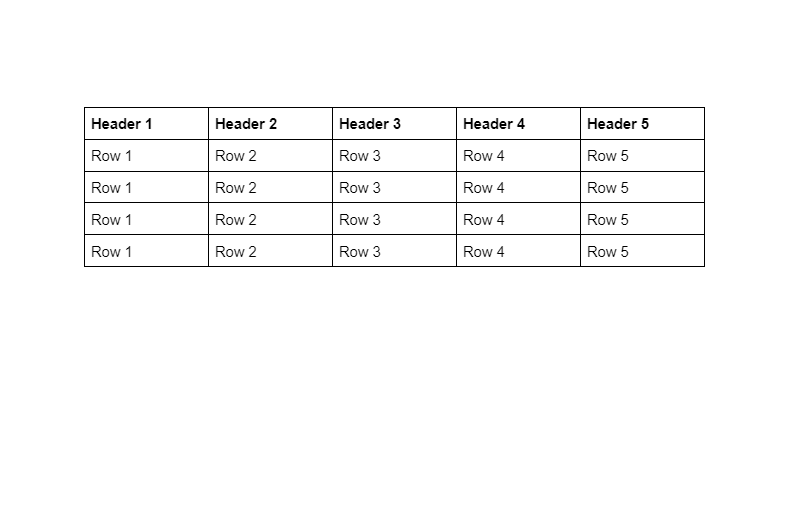
- Choose the table’s number of rows and columns according to your requirements.
- Finally, add your data to the cells and format the table as desired.
- Once you have added your data, select the table and copy it to your clipboard.
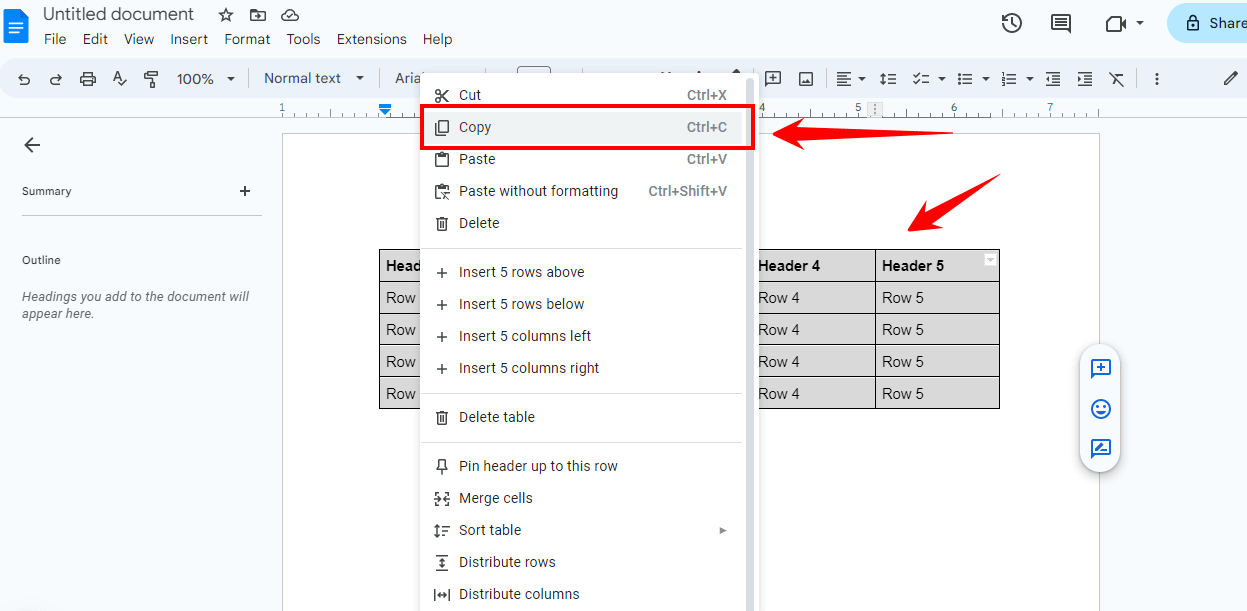
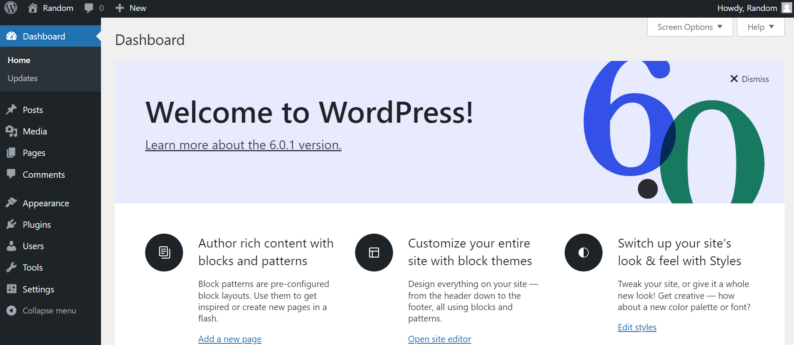
- Log in to your WordPress dashboard and navigate to the page or post where you want to insert the table.
- Paste the table into the editor.
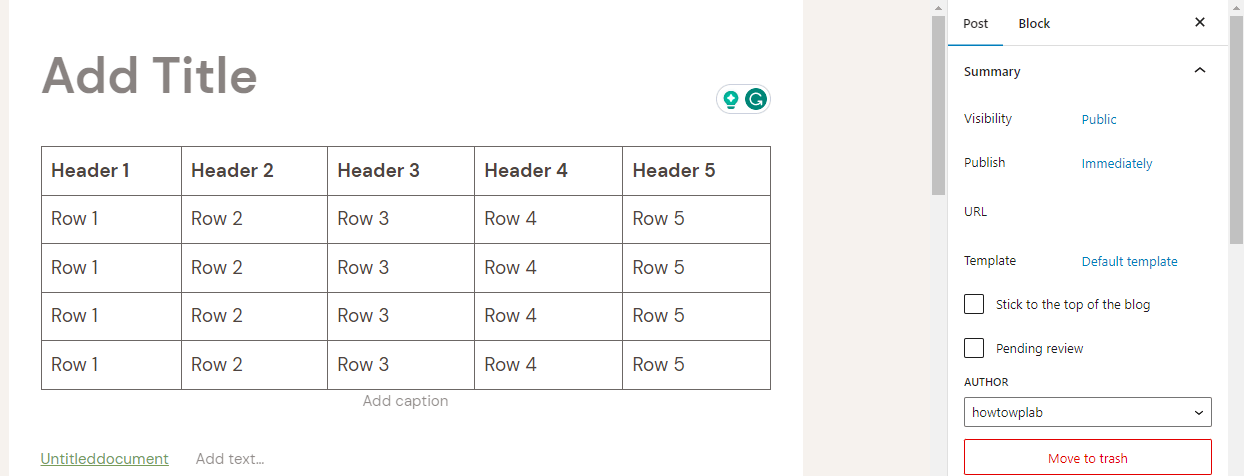
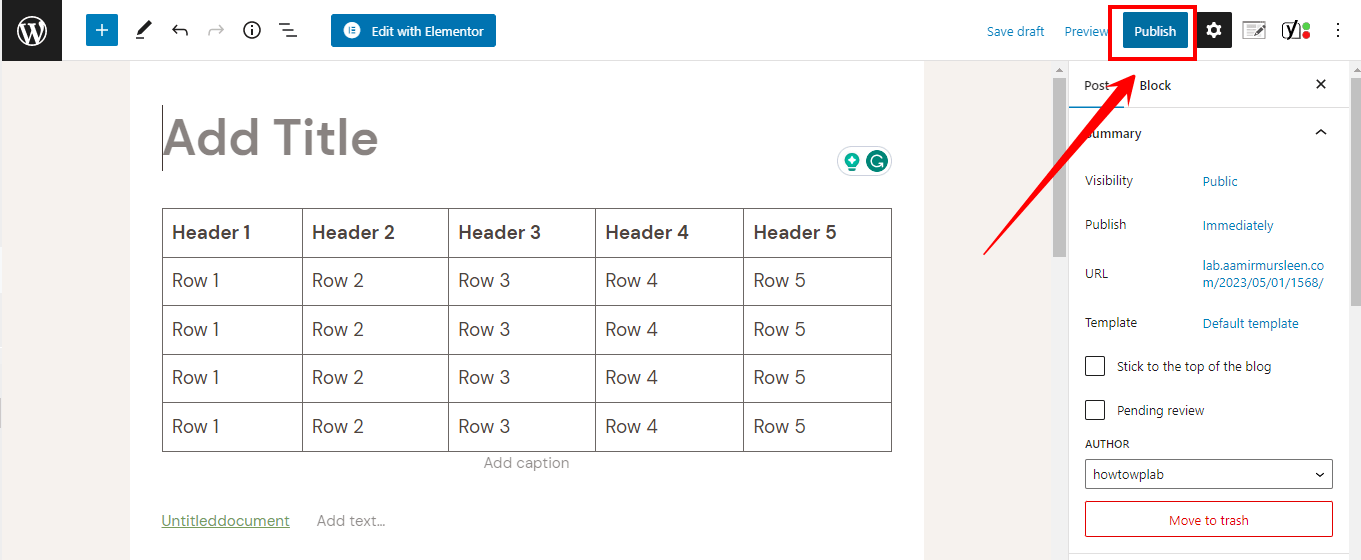
- When you’re finished adding the table, click on the “Publish” or “Update” button to save the changes.
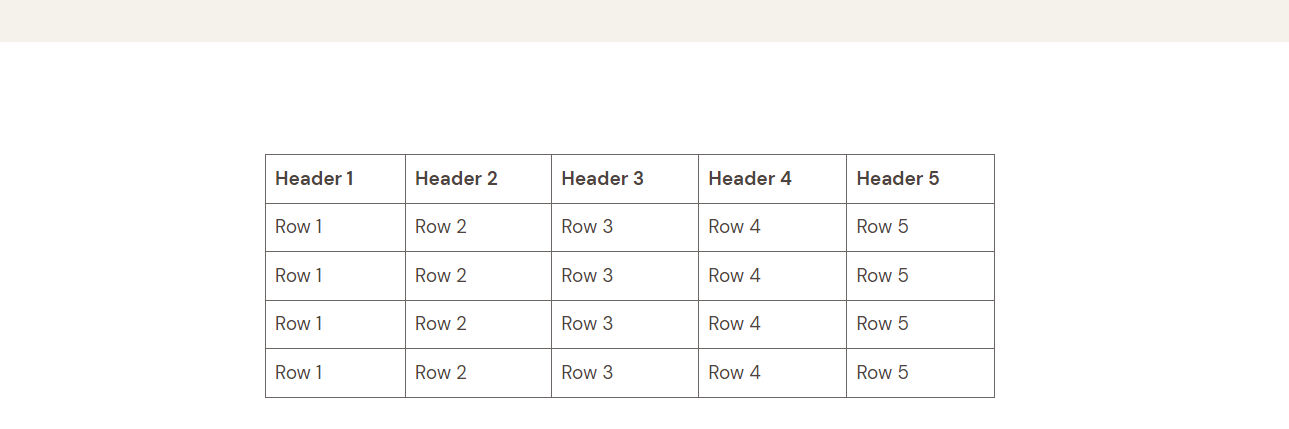
- Preview the page to see the table in its final form on your website.
Using Google Docs to create tables and then exporting them to WordPress can be a valuable tool for web developers and bloggers. Give it a try today and see how it can help you streamline your document creation process.
Pros:
- Easy to use with a user-friendly interface
- Ability to format the table and add data in a familiar word-processing environment
- No knowledge of HTML required
- Can be used for other purposes beyond creating tables in WordPress
- Free and accessible to everyone with a Google account
Cons:
- Limited control over the table’s appearance and functionality compared to other methods
- May not be suitable for more complex tables with a large amount of data.
Method 2: Create a Table Using the WordPress Block Editor
The WordPress block editor, also known as the Gutenberg editor, was introduced in WordPress 5.0 and provided an intuitive way to create tables.
The following are the steps to create a table using the WordPress block editor:
- Log in to your WordPress dashboard and navigate to the page or post where you want to insert the table.
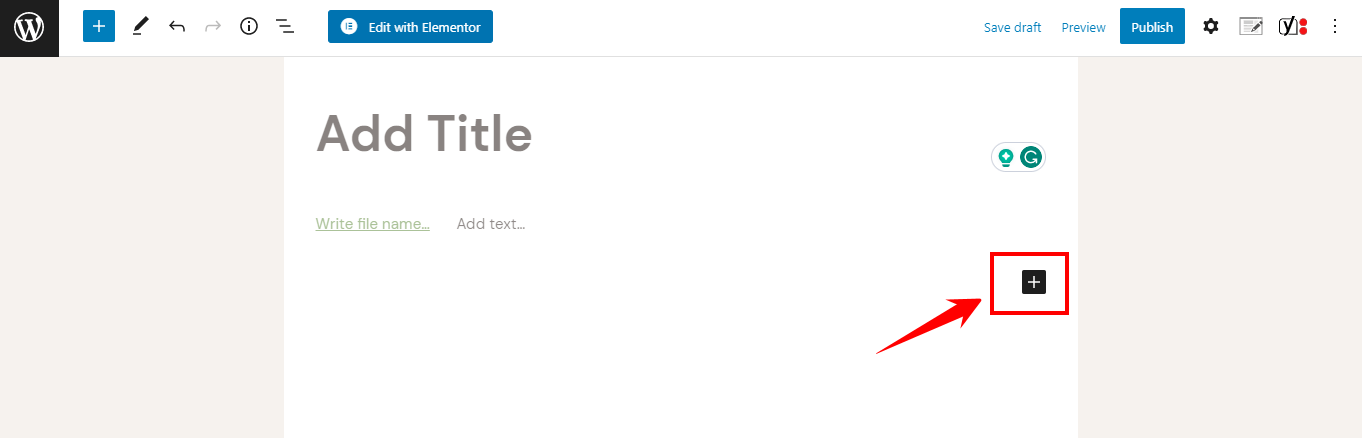
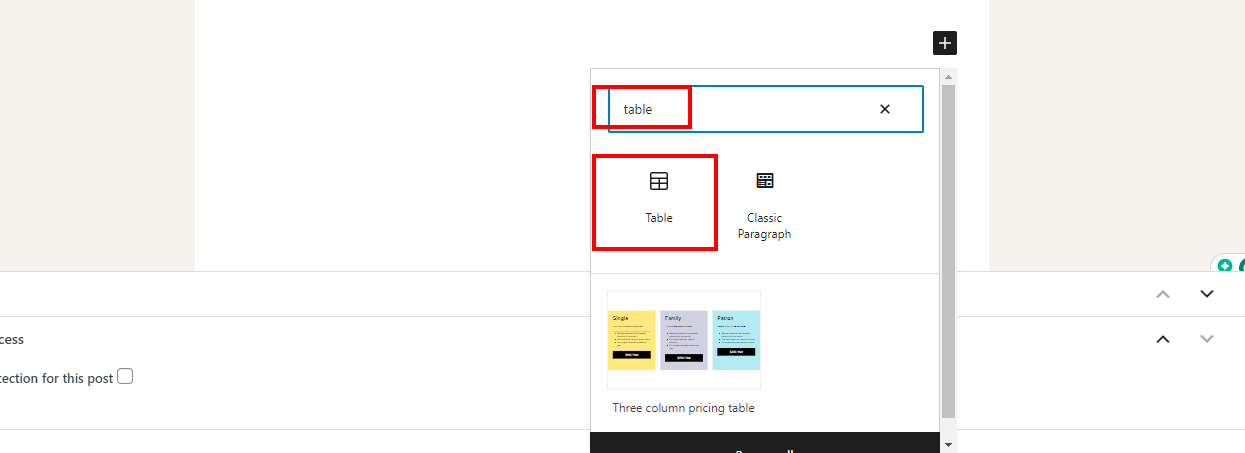
- In the editor, click on the “+” icon to add a new block.
- Type “table” in the search bar and select the “Table” block from the list of available blocks.
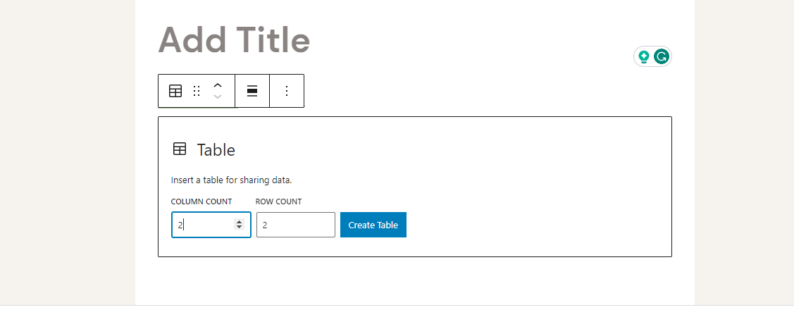
- The table block will be inserted into the editor, and you can start adding data to the cells.
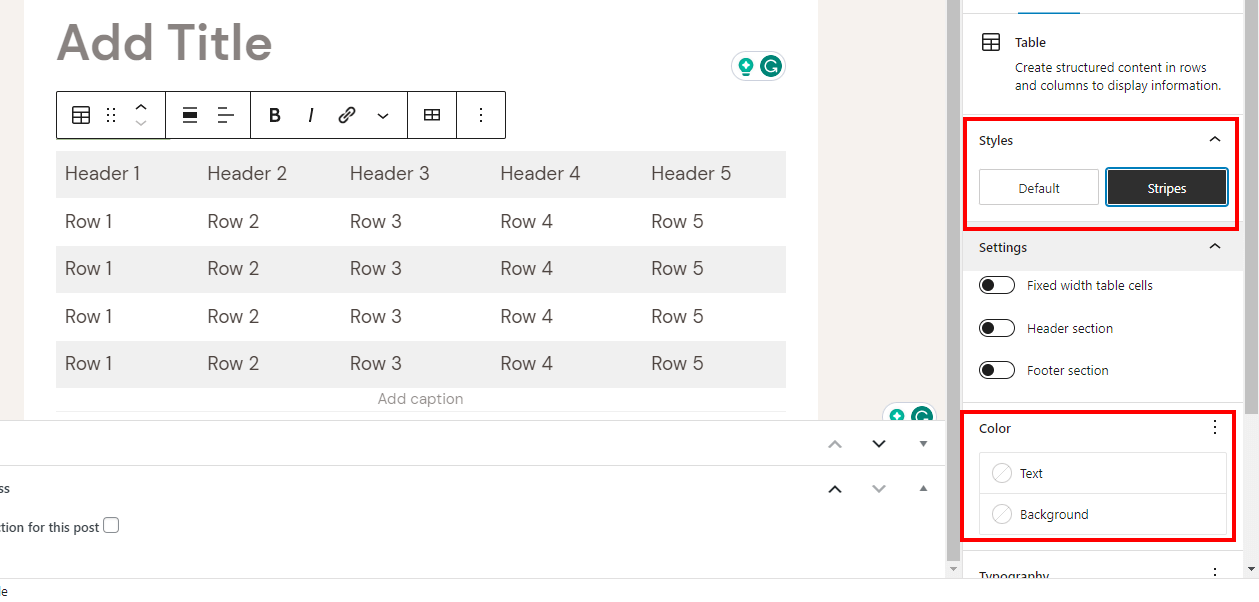
- To add a new row to the table, click on the “Add Row” button. To add a new column, click on the “Add Column” button.
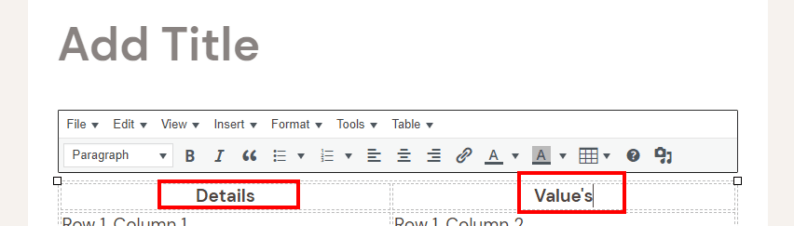
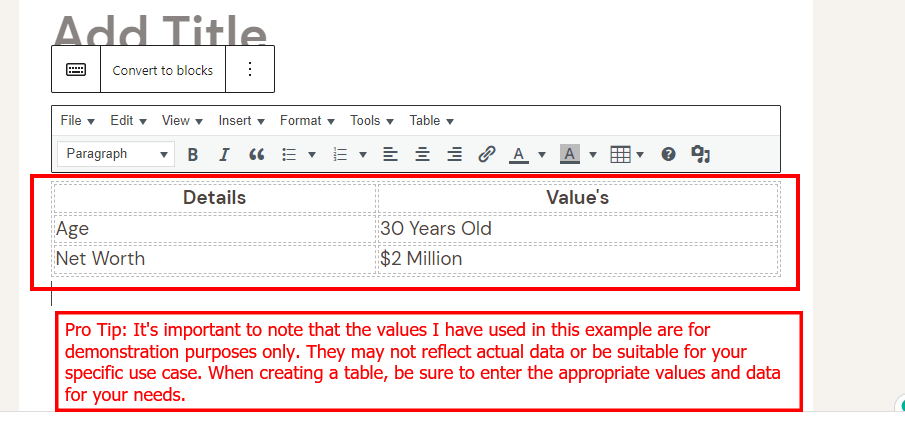
- Enter your data into the table’s cells by simply clicking on the cell and typing in the desired information.

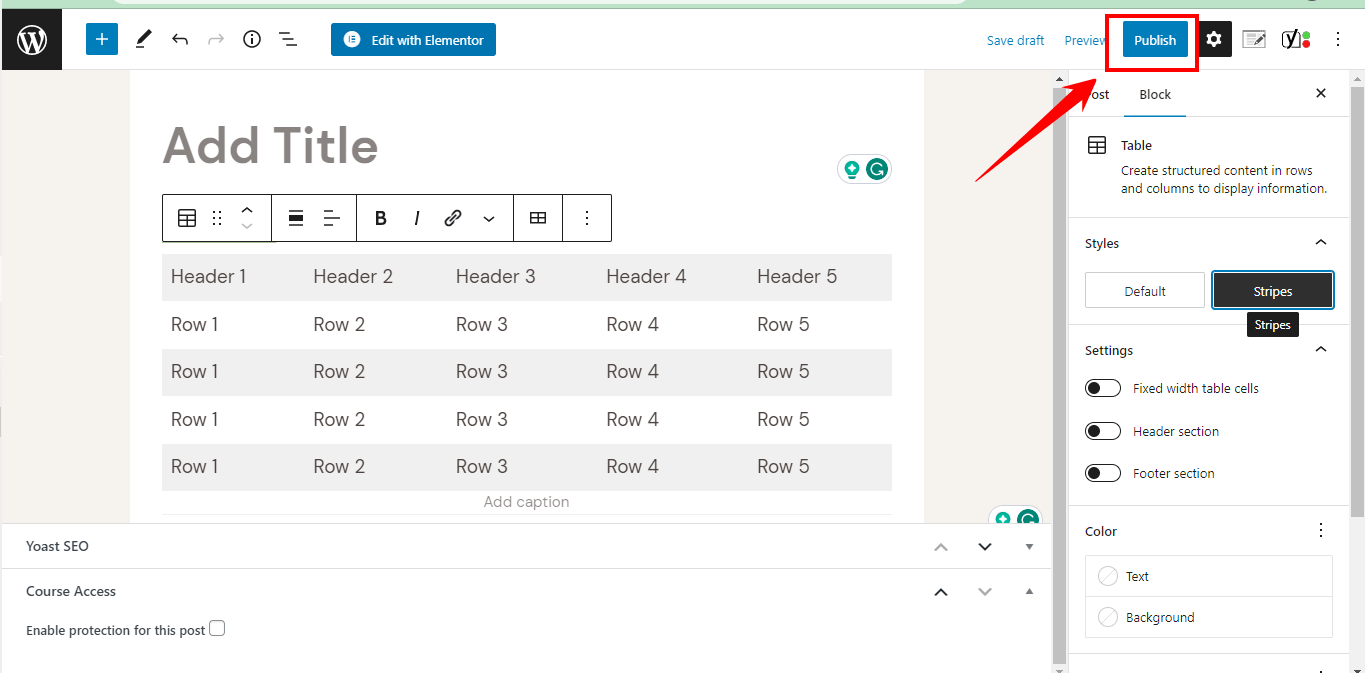
- To format the table, click the “Block” tab in the right-side menu and choose the desired options for background color, borders, and text alignment.
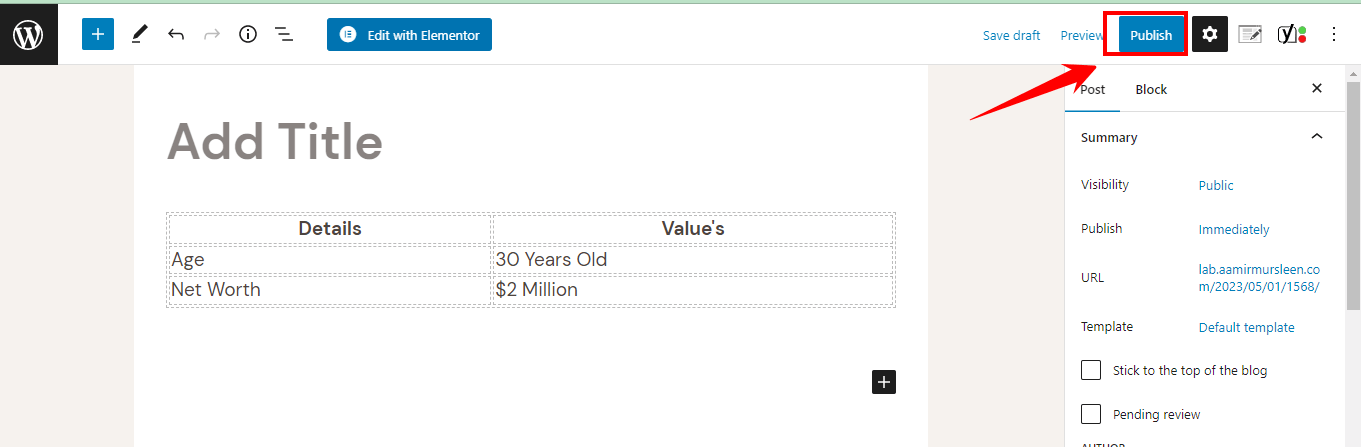
- When you’re finished adding data and formatting the table, click on the “Publish” or “Update” button to save the changes.
- Preview the page to see the table in its final form on your website.
With these steps, you can create a table in WordPress using the block editor quickly and easily. The block editor provides a visual and user-friendly way to create tables, making it an ideal option for those new to WordPress or who prefer a more straightforward approach to table creation.
Pros:
- User-friendly and intuitive interface for creating tables
- Provides a visual representation of the table as it is being created
- Easy to add and format data in the table
- No knowledge of HTML required
- Can be used in the same way as other blocks in the editor
Cons:
- Limited control over the table’s appearance and functionality compared to other methods
- Not suitable for more complex tables with a large amount of data.
Method 3: Create a Table in WordPress Using HTML Code
HTML (Hypertext Markup Language) is the code used to create websites, and in WordPress, you can use HTML code to create tables.
Creating a table in WordPress using HTML code is a more advanced method that provides complete control over the appearance and functionality of the table.
Here are the steps to create a table using HTML code in WordPress:
- Log in to your WordPress dashboard and navigate to the page or post where you want to insert the table.
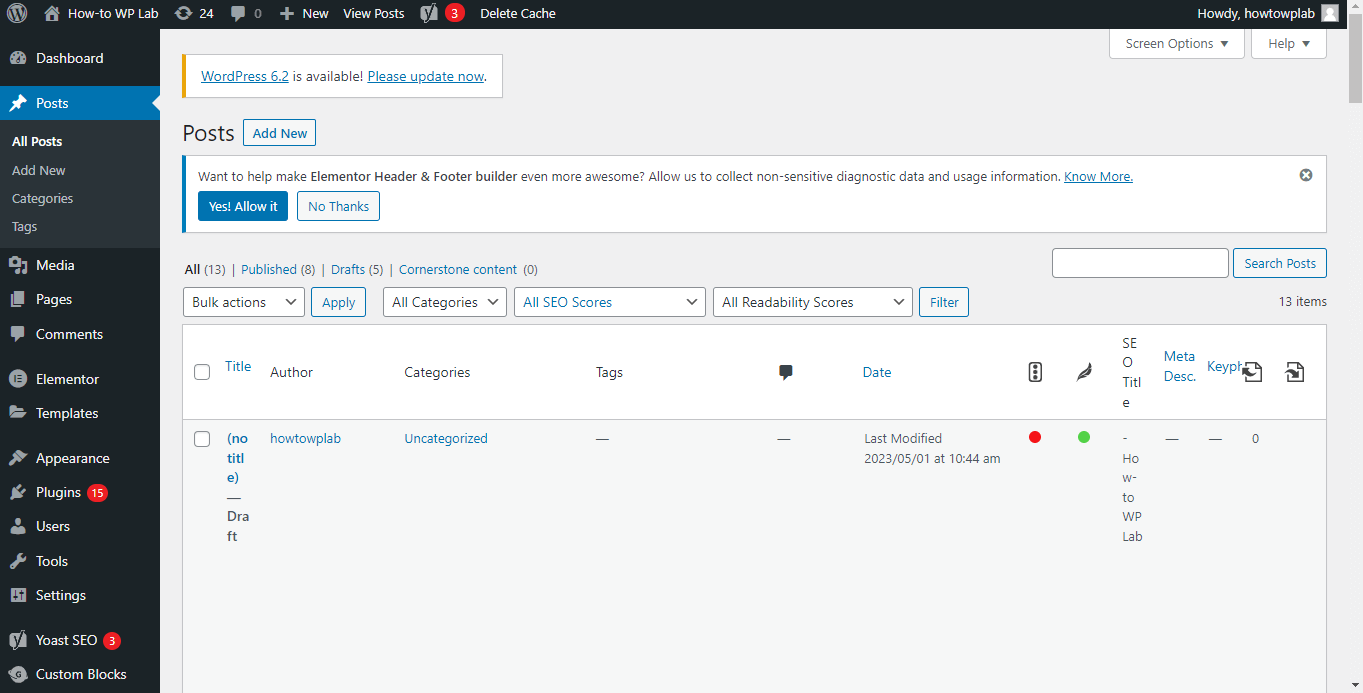
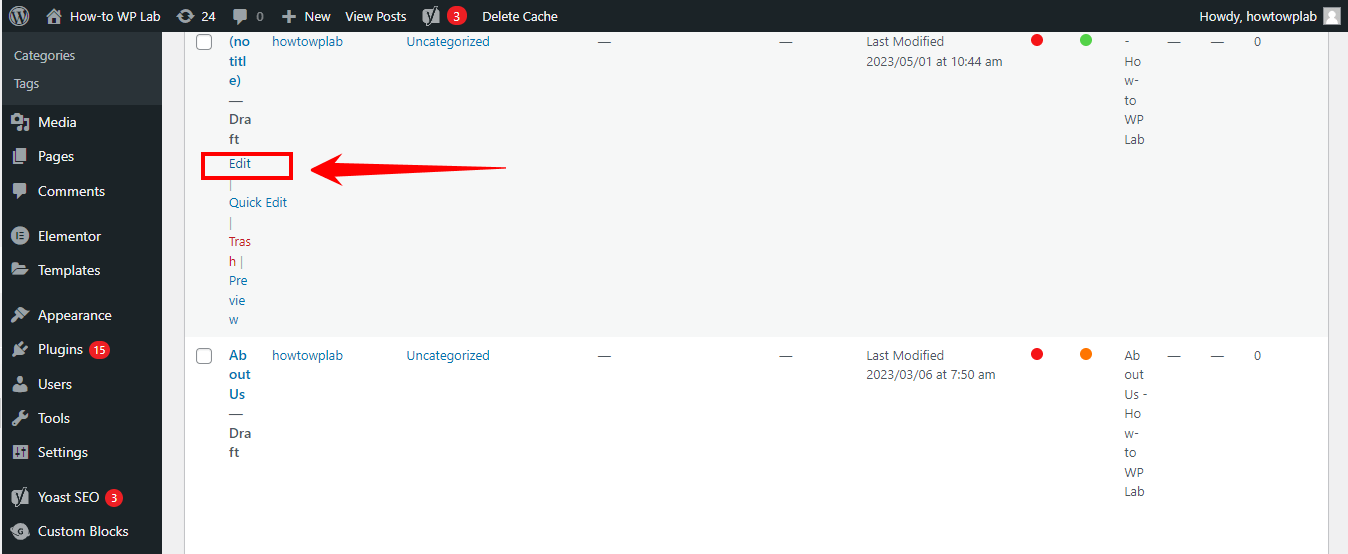
- Click the “Edit” button to enter the editor for the page or post.
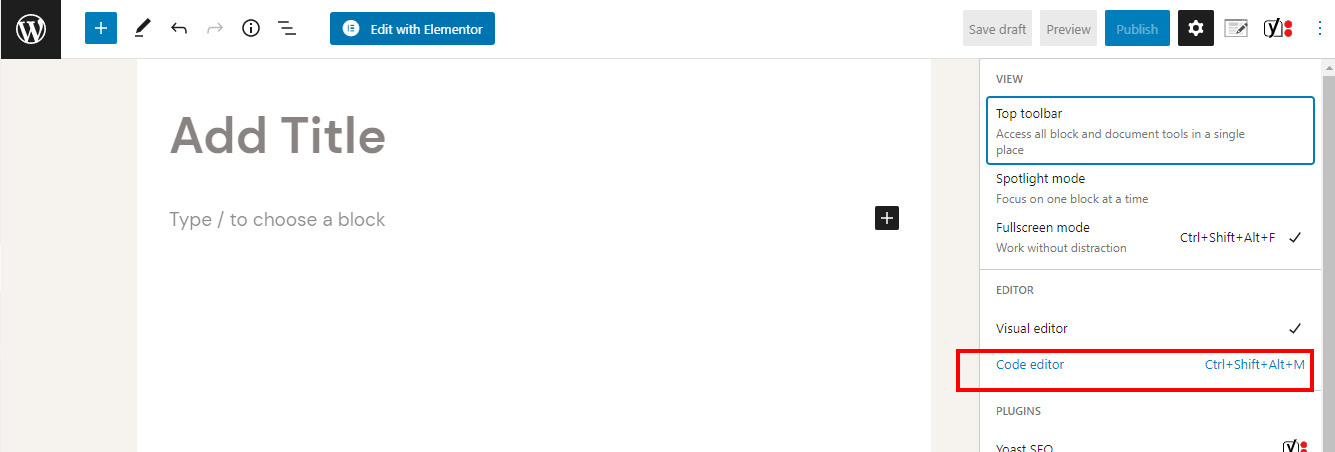
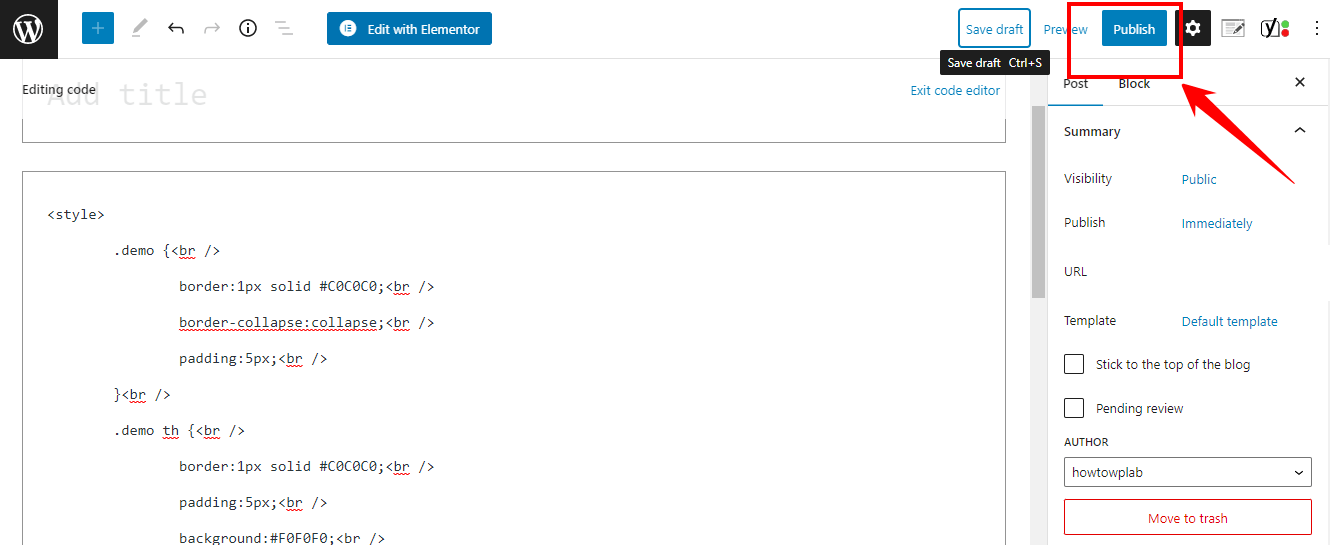
- In the editor, switch to the “Text” tab. This will allow you to view and edit the HTML code for the page or post.
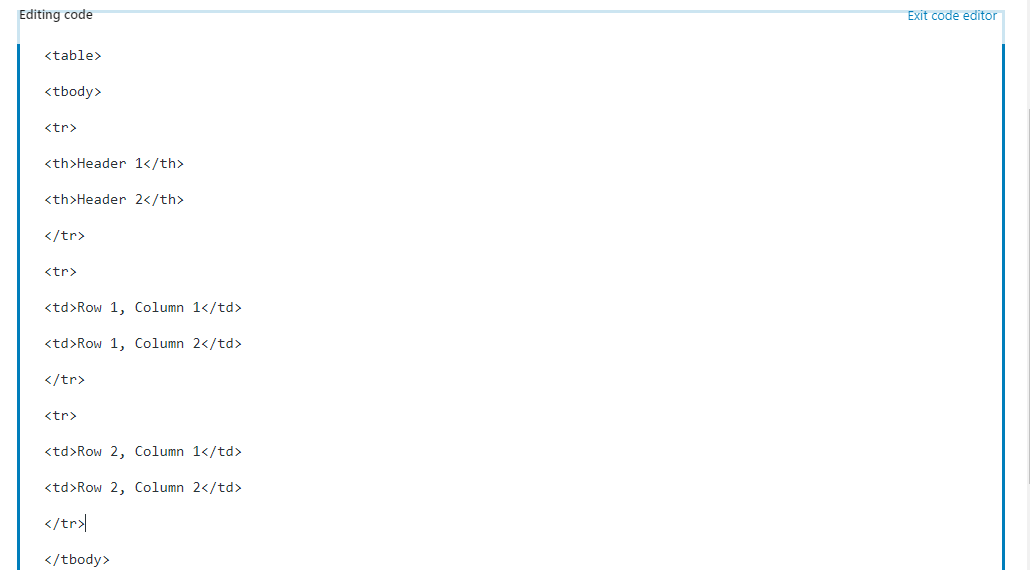
- To create a basic table structure using HTML code, copy and paste the following code into the “Text” tab of the editor:
<table>
  <tr>
    <th>Header 1</th>
    <th>Header 2</th>
  </tr>
  <tr>
    <td>Row 1, Column 1</td>
    <td>Row 1, Column 2</td>
  </tr>
  <tr>
    <td>Row 2, Column 1</td>
    <td>Row 2, Column 2</td>
  </tr>
</table>
- Replace the text “Header 1” and “Header 2” with the actual header names for your table. This will define the column headings for the table.
- Replace the text “Row 1, Column 1” and “Row 1, Column 2” with the actual data for your table. This will define the data that will be displayed in the cells of the table.
- Repeat steps 5 and 6 for each row and column in your table.
Please Note: Using HTML code, you can format the table using various tags and attributes. For example
- The <table> tag is used to define the overall structure of the table.
- The <tr> tag defines a row in the table.
- The <th> tag defines header cells, typically used to label the columns in a table.
- The <td> tag defines a cell in the table.
- The align attribute can specify the horizontal alignment of the content within a cell. For example, <td align=”center”> will center the content within the cell.
- The valign attribute can specify the vertical alignment of the content within a cell. For example, <td valign=”top”> will align the content to the top of the cell.
- The width attribute can specify the width of the table or individual cells. For example, <table width=”100%”> will set the table’s width to 100% of the available space.
- When you’re finished adding the data and formatting the table, click the “Publish” or “Update” button to save the changes.
- Preview the page to see the table in its final form on your website.

Creating a table in WordPress using HTML code provides complete control over the appearance and functionality of the table, but it requires some knowledge of HTML.
Suppose you need to familiarize yourself with HTML or prefer a more user-friendly approach to table creation. In that case, consider using other methods to create WordPress tables, such as the WordPress block editor or an online table generator.
These methods provide a more intuitive and streamlined way to create tables without coding knowledge.
Pros:
- Complete control over the appearance and functionality of the table.
- Ability to use advanced formatting options, such as specifying cell width and alignment.
- Ability to create tables with complex structures and data relationships.
- Improved accessibility, as the table structure is clearly defined in HTML code.
- Compared to using pre-built table templates, there is greater flexibility in terms of table design and functionality.
Cons:
- Requires knowledge of HTML code and table structure.
- Can be time-consuming, as each element of the table must be manually coded.
Method 4: Add a Table in WordPress Using an Online Table Generator
Creating a table in WordPress using an online table generator is a user-friendly and straightforward method that requires no coding knowledge. That’s where the rapid table tool comes in.
Now let me tell you that RapidTables is a free online table generator that provides a simple and user-friendly way to create tables in WordPress. With RapidTables, you can easily create tables by specifying the number of rows and columns, adding data, and adjusting formatting options such as font size and color.
Here are the steps to create a table in WordPress using RapidTables:
- Search for “Online Table Generator” in your preferred search engine to find various tools.

- As mentioned earlier, we will use Rapid Table, so Navigate to the RapidTables website.
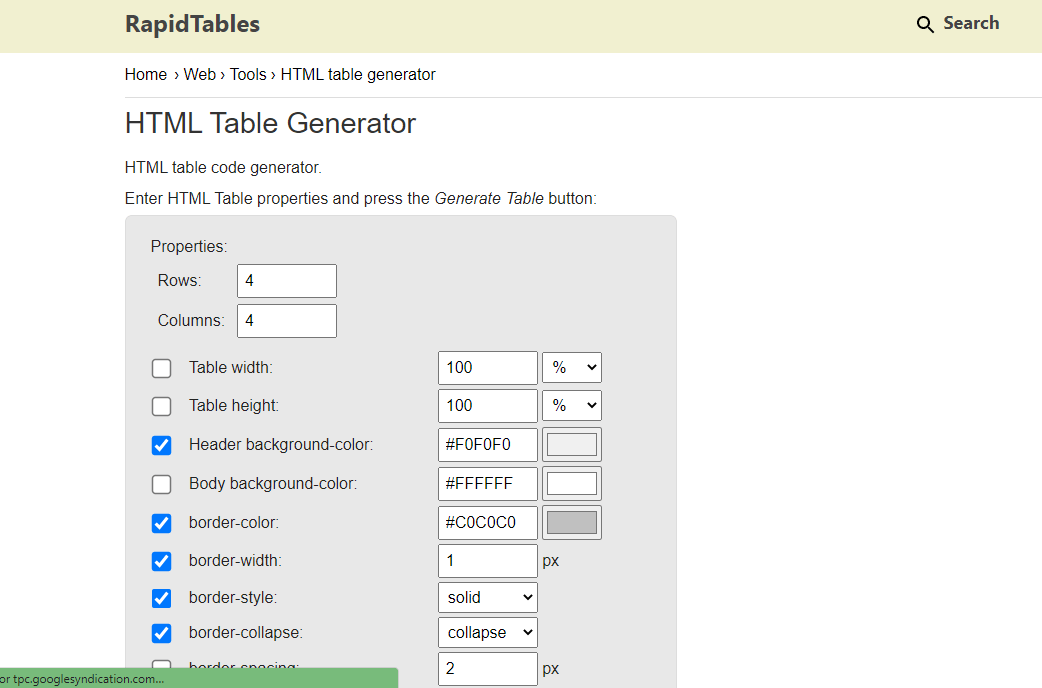
- Use the interface to create your table by specifying the number of rows and columns, adding data, and adjusting formatting options such as font size and color.
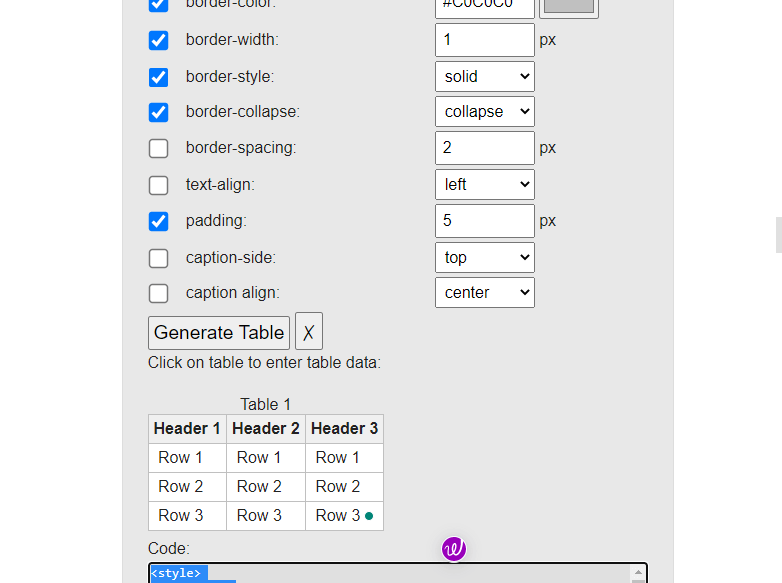
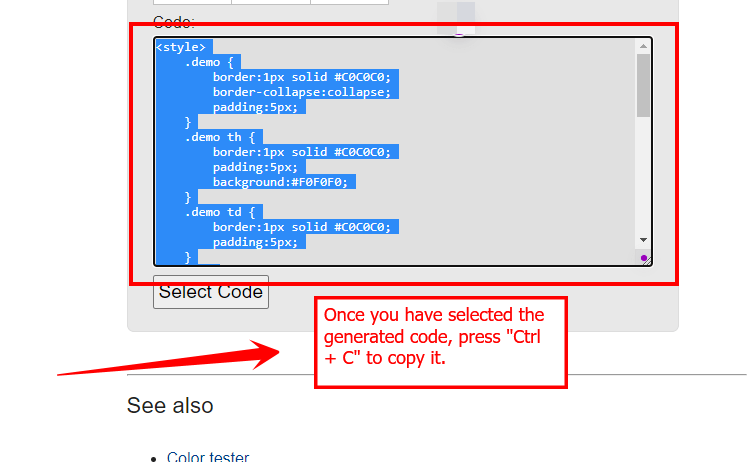
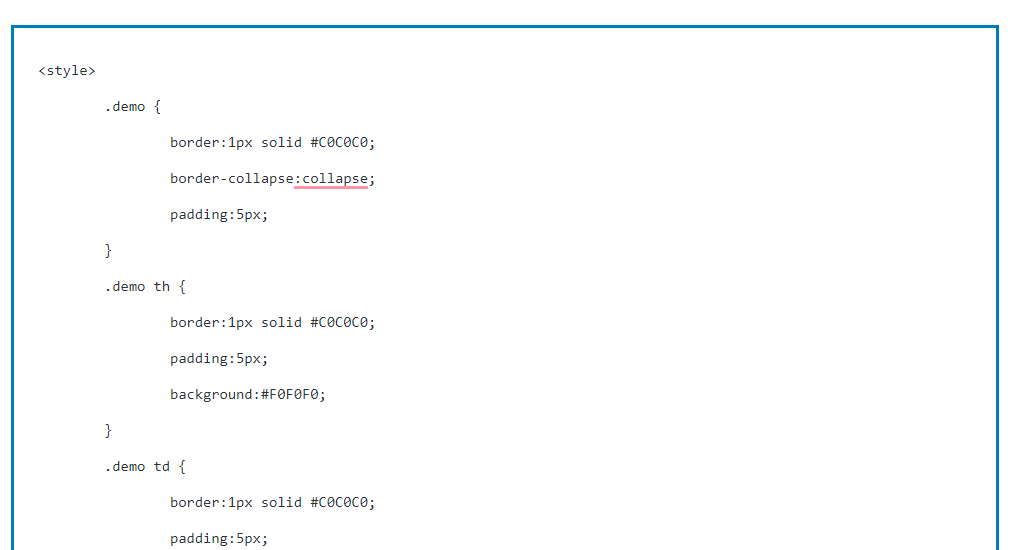
- Once your table is complete, click the “Copy HTML” button to copy the generated HTML code.
- Log in to your WordPress dashboard and navigate to the page or post where you want to insert the table.
- Click on the “Edit” button to enter the editor for the page or post.
- In the editor, switch to the “Text” tab. This will allow you to view and edit the HTML code for the page or post.
- Paste the HTML code for the table into the “Text” tab of the editor.
- When you’re finished adding the code, click on the “Publish” or “Update” button to save the changes.
- Preview the page to see the table in its final form on your website.

Using RapidTables to create a table in WordPress is a simple and user-friendly method that requires no coding knowledge. With RapidTables, you can quickly develop tables with various formatting options and then easily add the generated HTML code to your WordPress website.
Pros:
- Easy to use and user-friendly interface.
- No coding knowledge is required.
- Ability to quickly create tables with a variety of formatting options.
- Free and accessible online tool.
- Ability to copy and paste the generated HTML code into WordPress for seamless integration.
Cons:
- Limited control over the appearance and functionality of the table, compared to using HTML code.
- Dependent on the features and functionality offered by the specific online table generator being used.
Troubleshooting Common Table Issues
While creating tables in WordPress, you may encounter some common issues. Here are some tips on how to troubleshoot them:
- Table not displaying correctly: If your table is not displaying correctly, check if you have added any extra or missing tags or if there is any conflicting CSS code. You can also preview the table in different browsers to see if the issue is browser-specific.
- Alignment issues: To fix alignment issues, use the “align” attribute in the table tag to align the table to the left, right, or center of the page. You can also add CSS code to adjust the alignment.
- Overlapping content: If the content in your table is overlapping, try increasing the table’s width or reducing the font size. You can also adjust the padding or margins of the table cells.
- Slow loading times: Large tables with many rows and columns can slow down your website’s loading times. To speed up the loading times, consider reducing the number of rows and columns or using pagination to split the table into smaller sections.
- Mobile responsiveness: Tables may not display correctly on mobile devices. To optimize tables for mobile, use responsive CSS code or consider using a WordPress plugin that provides mobile responsiveness.
Tips for Optimizing Tables for SEO
Optimizing your tables for SEO can improve your website’s search engine rankings. Here are some tips:
- Use descriptive titles: Use descriptive and relevant titles for your tables that accurately describe the content. This helps search engines understand your table and rank it accordingly.
- Use header tags: Use header tags (h1-h6) to structure the table’s content. This makes it easier for search engines to understand the hierarchy and importance of the content.
- Use alt tags: Use alt tags for images and videos included in the table to describe the content for visually impaired users and improve search engine rankings.
- Use relevant keywords: Include relevant keywords in the table content and titles, but avoid keyword stuffing. Keyword stuffing can result in a penalty from search engines.
- Use structured data: Use structured data markup to provide additional information about the table’s content, such as its structure, columns, and rows. This helps search engines better understand the table’s content and improves its visibility in search results.
Wrapping Up Thoughts
Creating tables in WordPress without using a plugin is not only possible but also quite simple. You can design and style tables tailored to your specific needs using HTML and CSS without additional plugins or tools.
Following the step-by-step guide, you can create tables with various functionalities to display data effectively, ensure content organization, and enhance your website’s overall user experience.
Though there is a learning curve involved in mastering HTML and CSS, it is an essential skill set for anyone looking to have more control over their WordPress site.
Moreover, creating tables without plugins can lead to faster load times and a more streamlined website, which is essential for SEO and user satisfaction.
In the long run, understanding the basics of table creation without relying on plugins can give you more control, flexibility, and a better grasp of your website’s inner workings, setting you up for future success.
Frequently Asked Questions
How do I create a simple table in WordPress?
You can create a simple WordPress table using the Gutenberg editor’s built-in Table block. Here’s how:
Log in to your WordPress dashboard.
Create or edit a post or page.
Click the “+” icon to add a new block.
Search for “Table” and select the Table block.
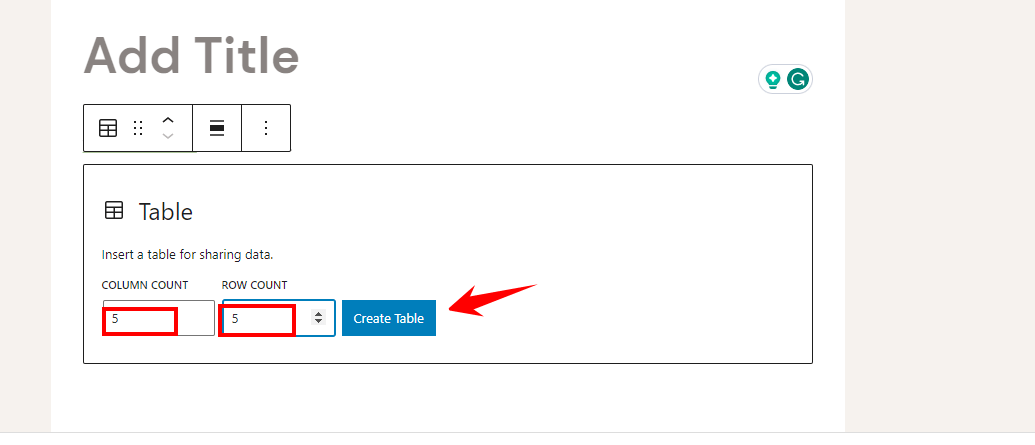
Choose the number of columns and rows for your table.
Add content to the table cells by clicking and typing.
You can customize the table appearance using the block settings on the right-hand side.
Publish or update your post or page to see the table on your site.
How do I create a responsive table in WordPress without plugins?
To create a responsive table without plugins, you can use CSS. Add the following CSS code to your theme’s custom CSS field or style.css file:
table {
width: 100%;
border-collapse: collapse;
}
table, th, td {
border: 1px solid #ccc;
}
th, td {
padding: 8px;
text-align: left;
}
@media screen and (max-width: 600px) {
table, thead, tbody, th, td, tr {
display: block;
}
thead tr {
position: absolute;
top: -9999px;
left: -9999px;
}
td {
border: none;
border-bottom: 1px solid #ccc;
position: relative;
padding-left: 50%;
}
td:before {
content: attr(data-label);
position: absolute;
left: 0;
top: 50%;
transform: translateY(-50%);
width: 50%;
padding-right: 10px;
font-weight: bold;
}
}
Then, add the ‘data-label’ attribute to each table cell (td) in the Gutenberg Table block’s HTML view:
<tr> <td data-label=”Column 1″>Content</td> <td data-label=”Column 2″>Content</td> </tr>
Can I create a form in WordPress without a plugin?
You can create a form in WordPress without a plugin by using HTML and PHP. Here are the steps to complete a simple form:
Log in to your WordPress dashboard and navigate to the page or post where you want to add the form.
Click on the “+” icon to add a new block.
Select the “Custom HTML” block from the block options.
In the Custom HTML block, add the HTML code for the form. You can customize the form fields according to your needs. For example, include fields for name, email, message, and a submit button.
You’ll need to add some PHP code to process the form data and send it via email. You can add the code to the same page, post, or create a custom page template. The PHP code should retrieve the data submitted by the form, format it, and send it via email. Once the PHP code is added, it will run automatically whenever someone offers the form.
Publish or update the page or post to see the form on your site.
Please Note: If you need to become more familiar with HTML and PHP, using a plugin to create and manage your forms may be easier. There are many plugins available that offer a range of form-building features and customization options.
How do I create a content table in WordPress?
To create a table of contents, also known as a content table or TOC, in WordPress, you can use a plugin such as Table of Contents Plus or Easy Table of Contents. These plugins automatically generate a table of contents based on the headings in your content.
Here are the general steps to create a table of contents using the Table of Contents Plus plugin:
Install and activate the Table of Contents Plus plugin in your WordPress dashboard.
Go to the plugin settings by clicking “TOC+” in the left-hand menu.
Customize the settings according to your preferences. For example, you can choose which headings to include in the table of contents, where to place the table of contents on your page or post, and what styling options to use.
Save the settings and go to the page or post where you want to add the table of contents.
Place your cursor where you want the table of contents to appear and click on the “+” icon to add a new block.
Search for the “Table of Contents Plus” block and select it.
The table of contents will automatically be generated based on the headings in your content. You can customize the appearance of the table of contents using the plugin settings.
Publish or update the page or post to see the table of contents on your site.
Alternatively, you can manually create a table of contents by adding anchor links to your headings and linking them to a list at the top of your page or post. However, this method can be time-consuming and requires some knowledge of HTML and CSS.