How to Add Image in WordPress Footer [A Visual Guide]

Are you tired of a plain and boring footer on your WordPress website? Adding an image to your footer can enhance the overall look of your site and make it more visually appealing.
It can also help convey your brand’s message, showcase your products or services, or promote your social media presence. But for those who are new to WordPress, the process of adding an image to the footer can seem intimidating. Fear not, as we have got you covered!
In this article, you will learn:
- Essential requirements for adding an image to your WordPress footer
- Top 4 methods to add an image in footer WordPress
- Troubleshooting common issues when adding images to the footer
Table of Contents
Adding images to the footer area of your WordPress website can make it more appealing to visitors. There are different ways to do this, and they can help you show your brand and make your site more attractive.
With interesting pictures in the footer, you can catch people’s attention, leave a good impression, and make your website more enjoyable. Let’s start with the first method.
Method 1: Adding Image Using Theme Customizer
The Theme Customizer is a built-in feature in WordPress that allows you to make changes to your website’s appearance and preview them before publishing. This method is quick and easy and does not require any coding knowledge.
Here’s a step-by-step guide to adding an image to your WordPress footer using the Theme Customizer:
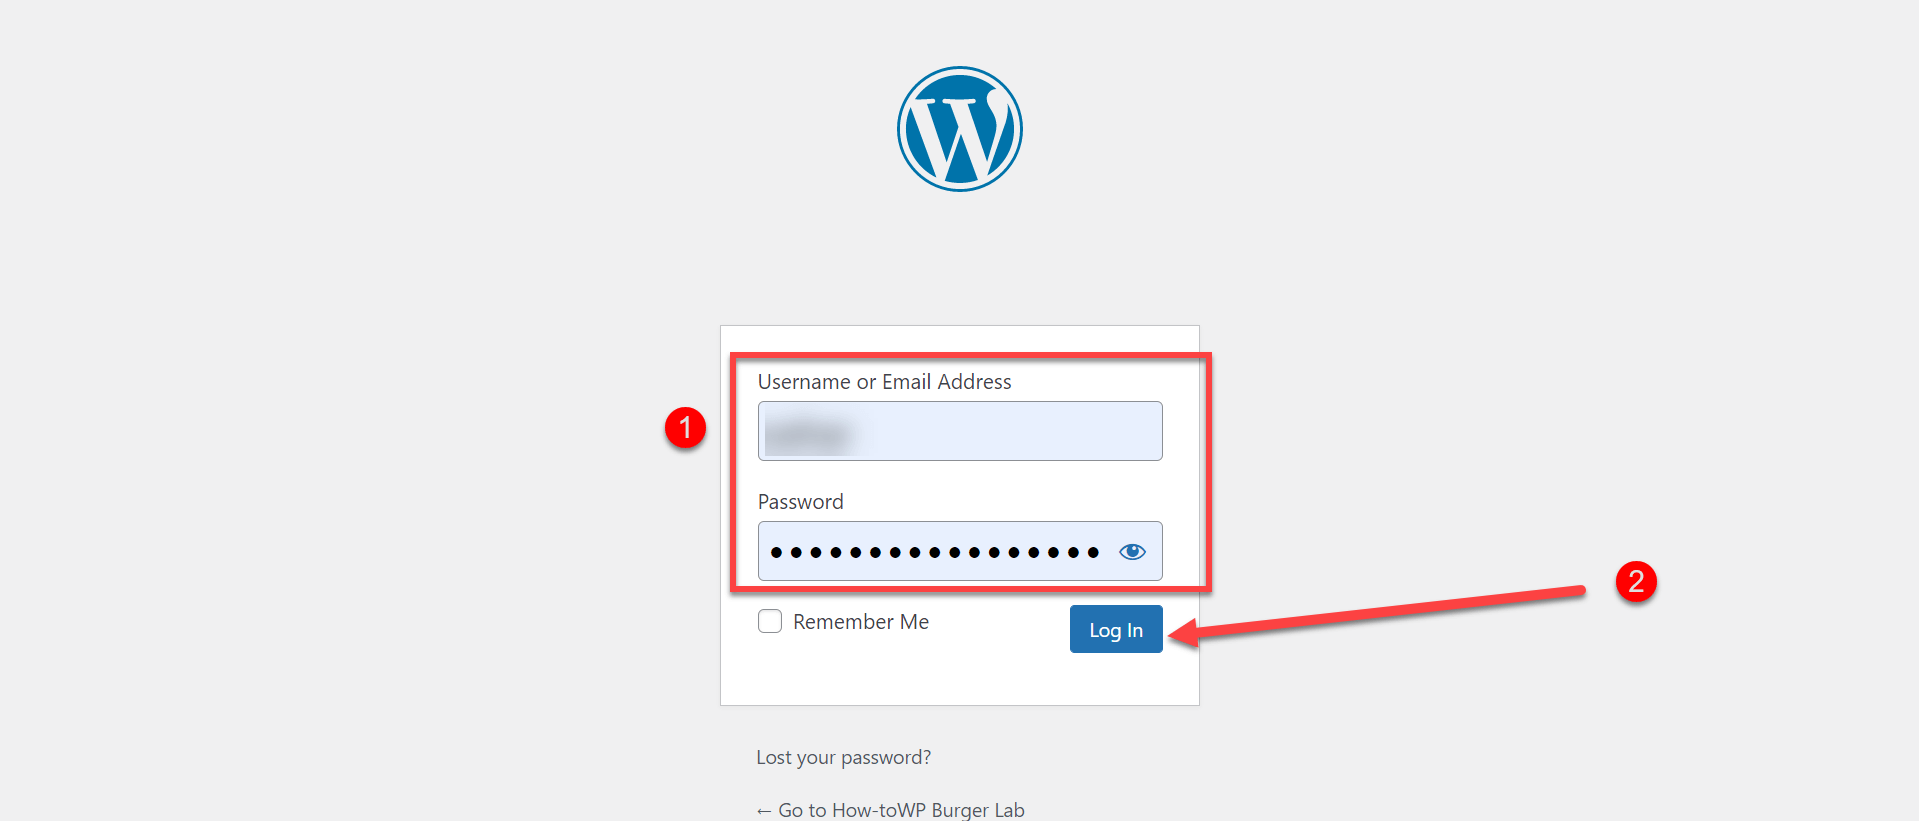
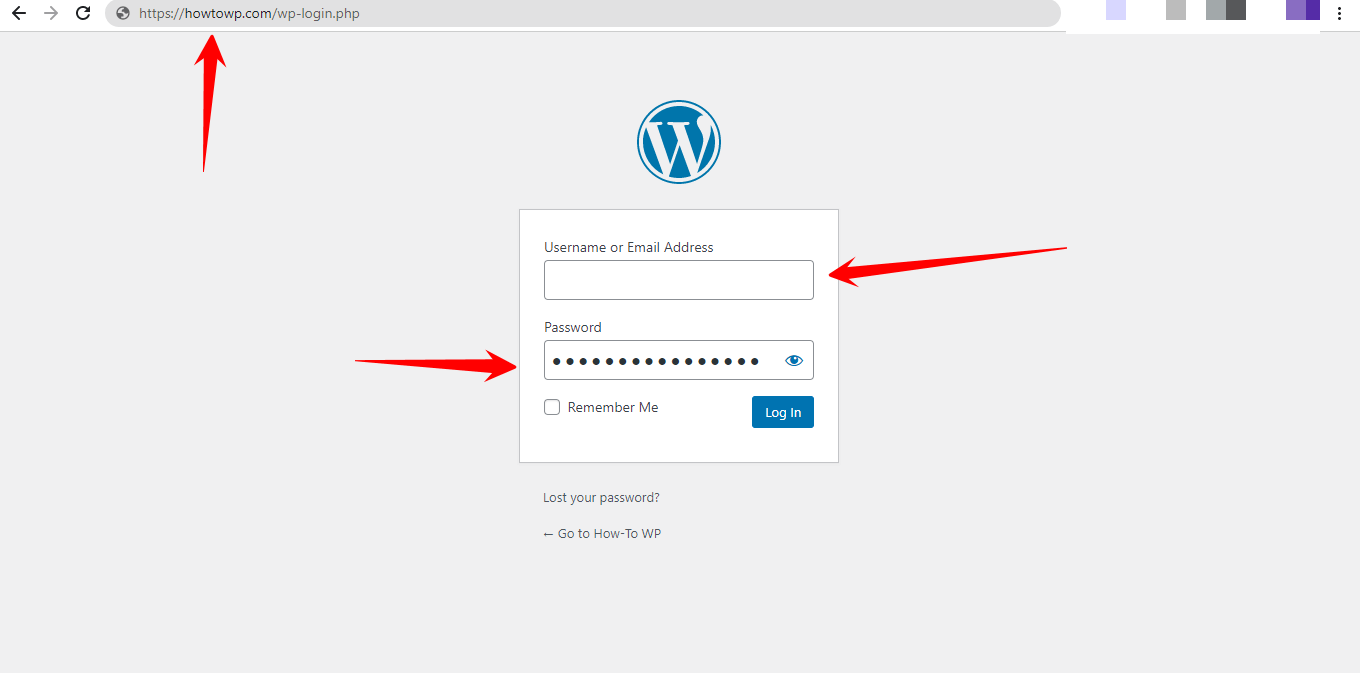
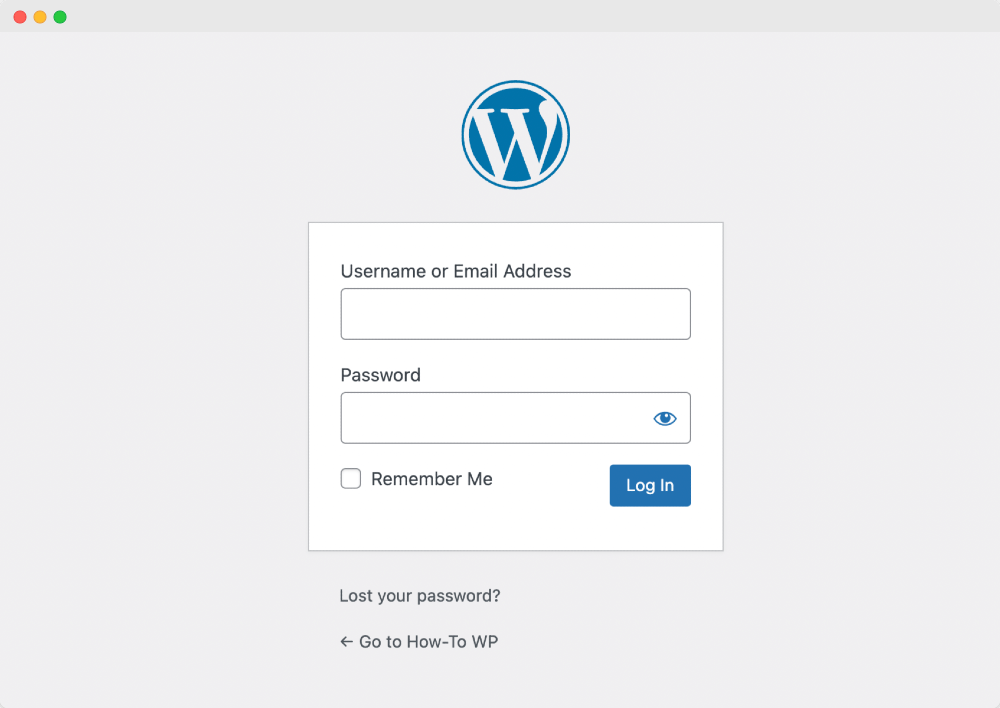
- Navigate to your WordPress dashboard by entering your login credentials.
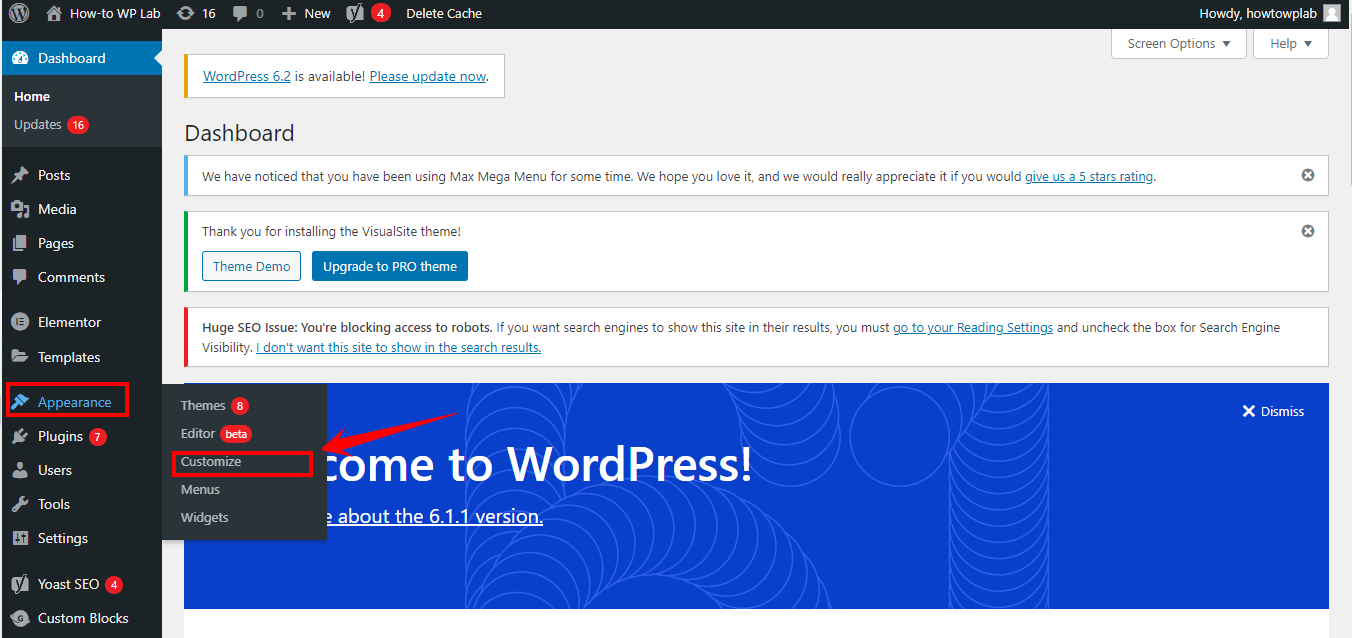
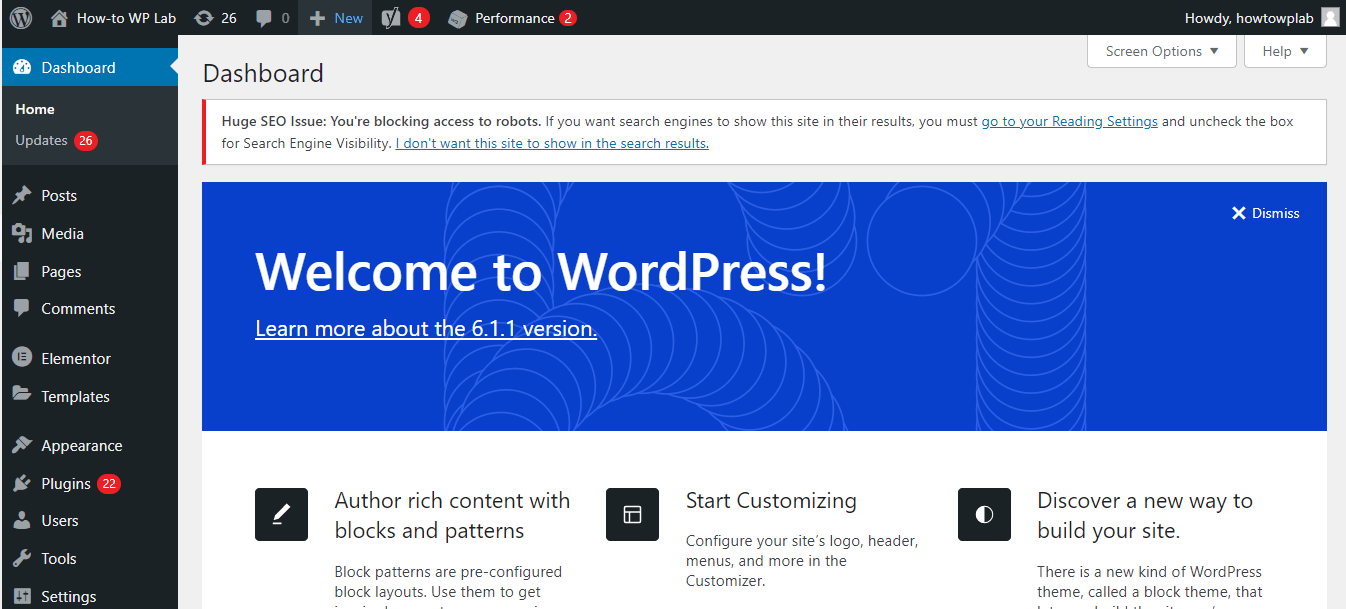
- Once you are logged in, locate the “Appearance” menu on the left-hand side of the Dashboard. Click on “Appearance” and then click on “Customize” to open the Theme Customizer.
- Depending on your active theme, you’ll find different customization options in the Theme Customizer. Look for a section called “Footer”, “Footer Widgets”, “Footer Settings”, or something similar. If you cannot find any footer-related sections, your theme may not support footer customization out of the box.
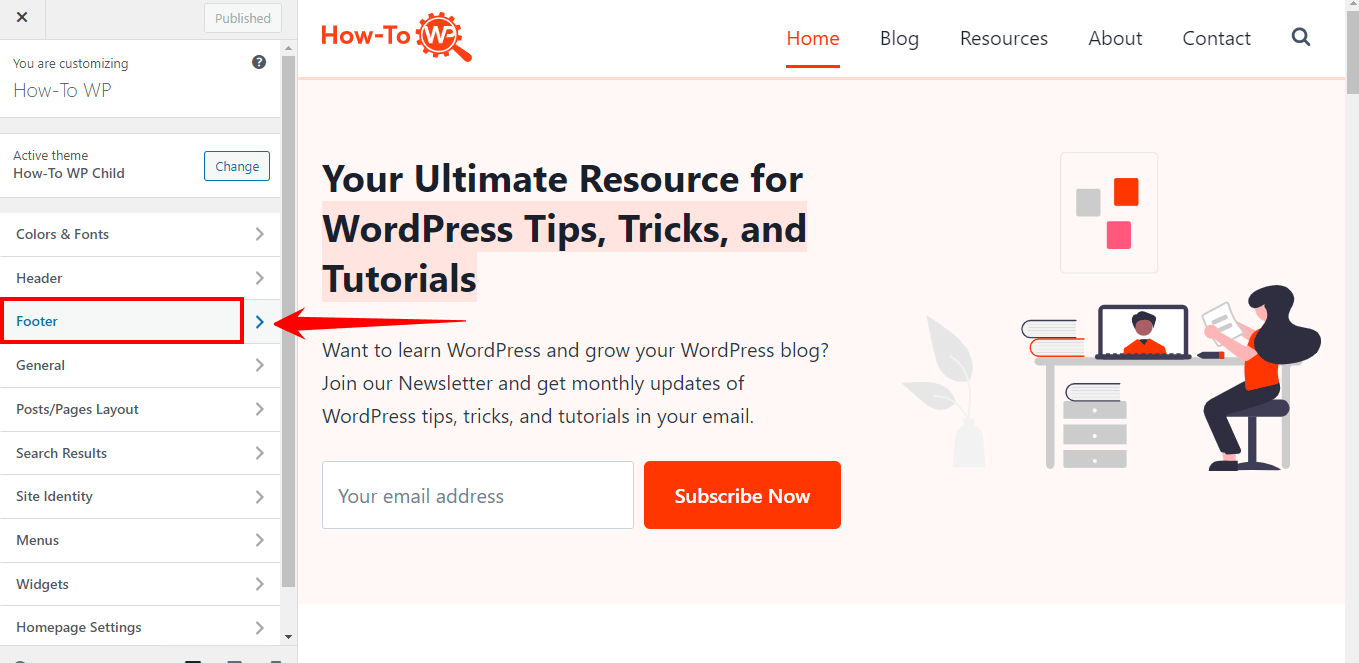
- Click on the footer section you located in the previous step. If your theme has multiple footer widget areas, select the one where you want to add the image.
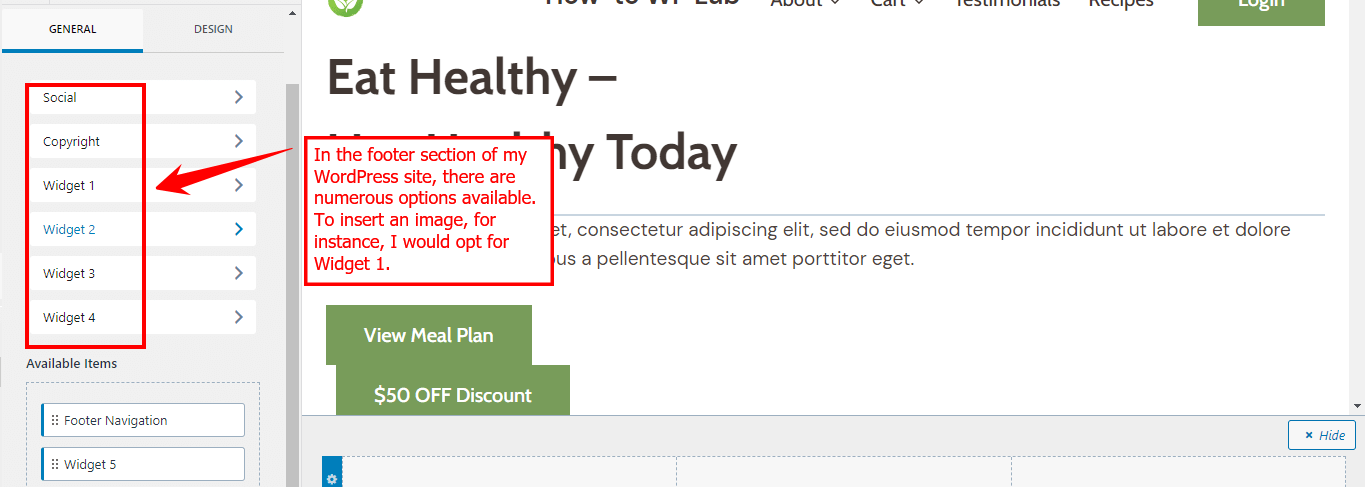
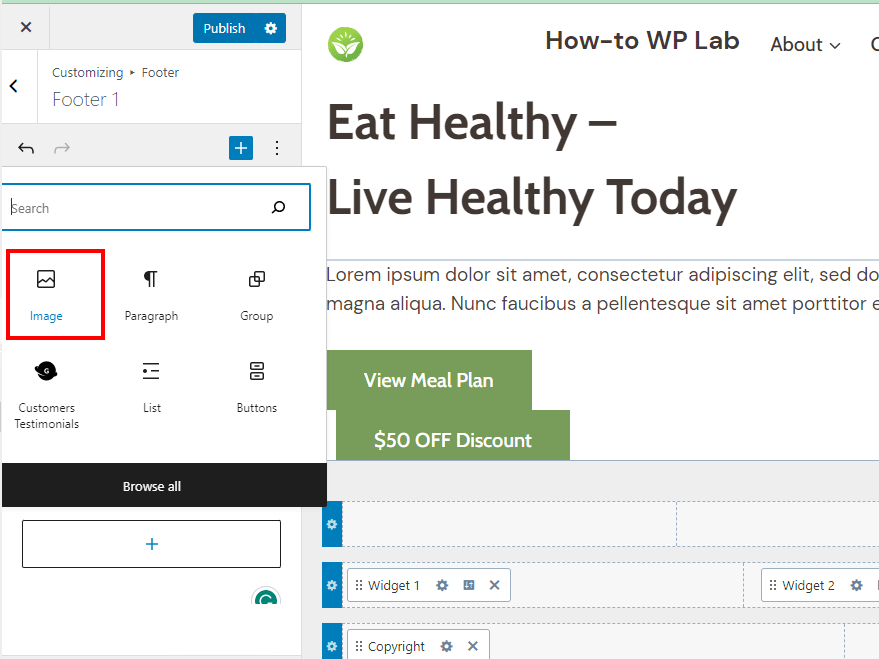
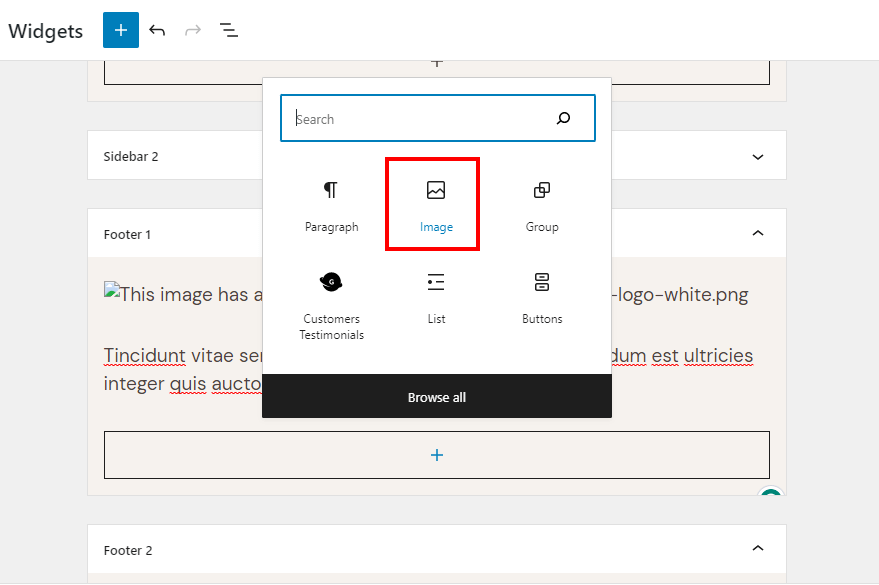
- Click “Add a Widget” and search for the “Image” widget in the available list. Click the “Image” widget to add it to the selected footer widget area.
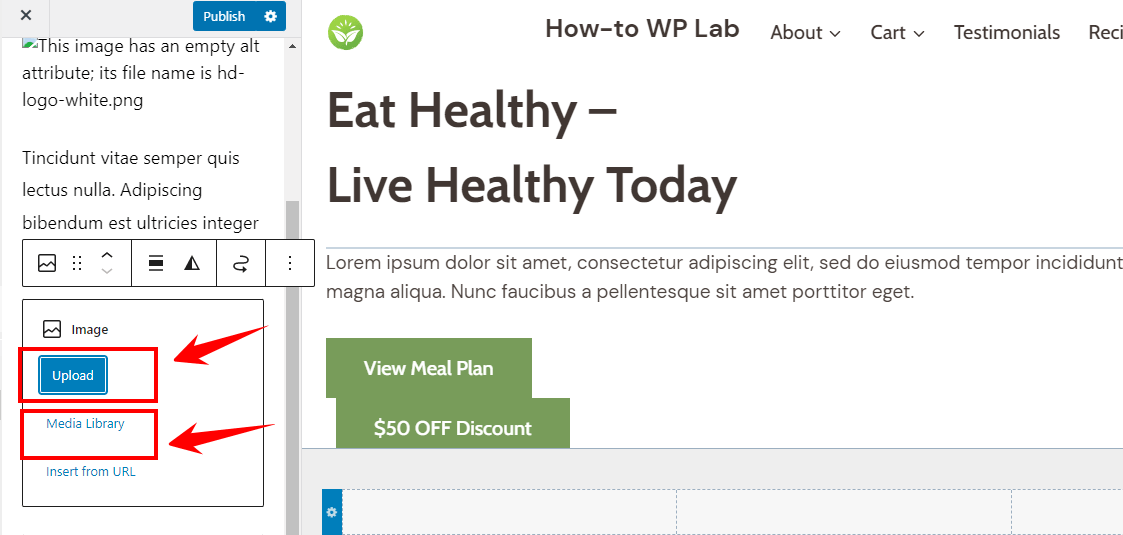
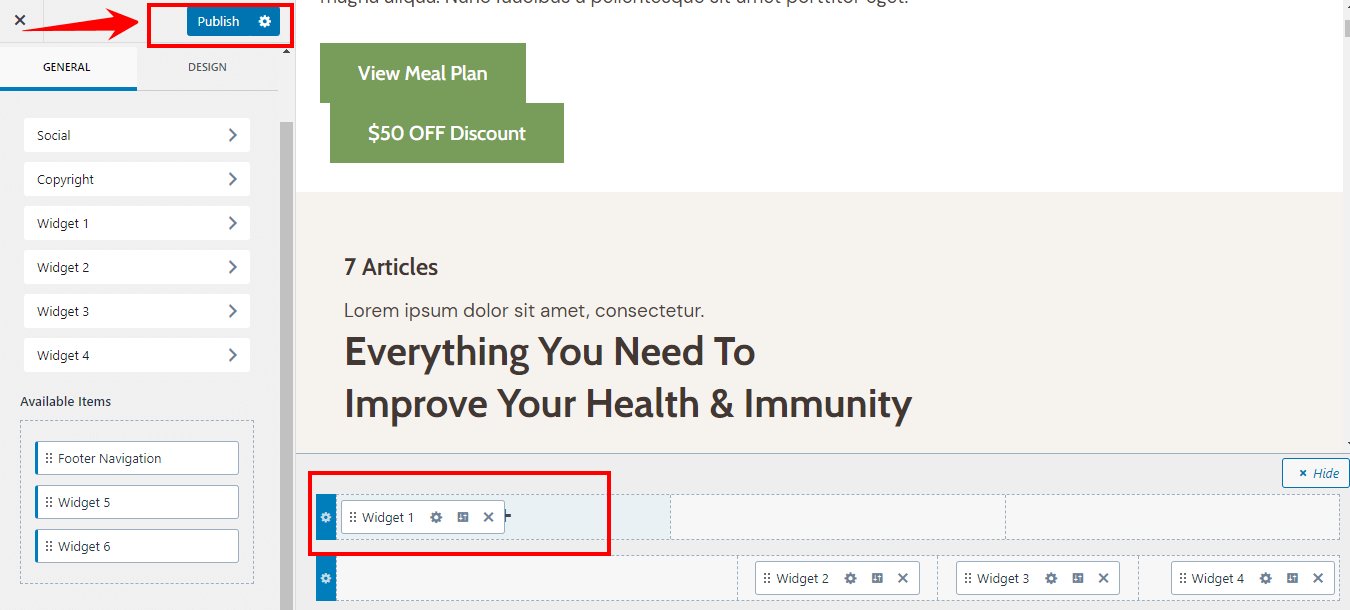
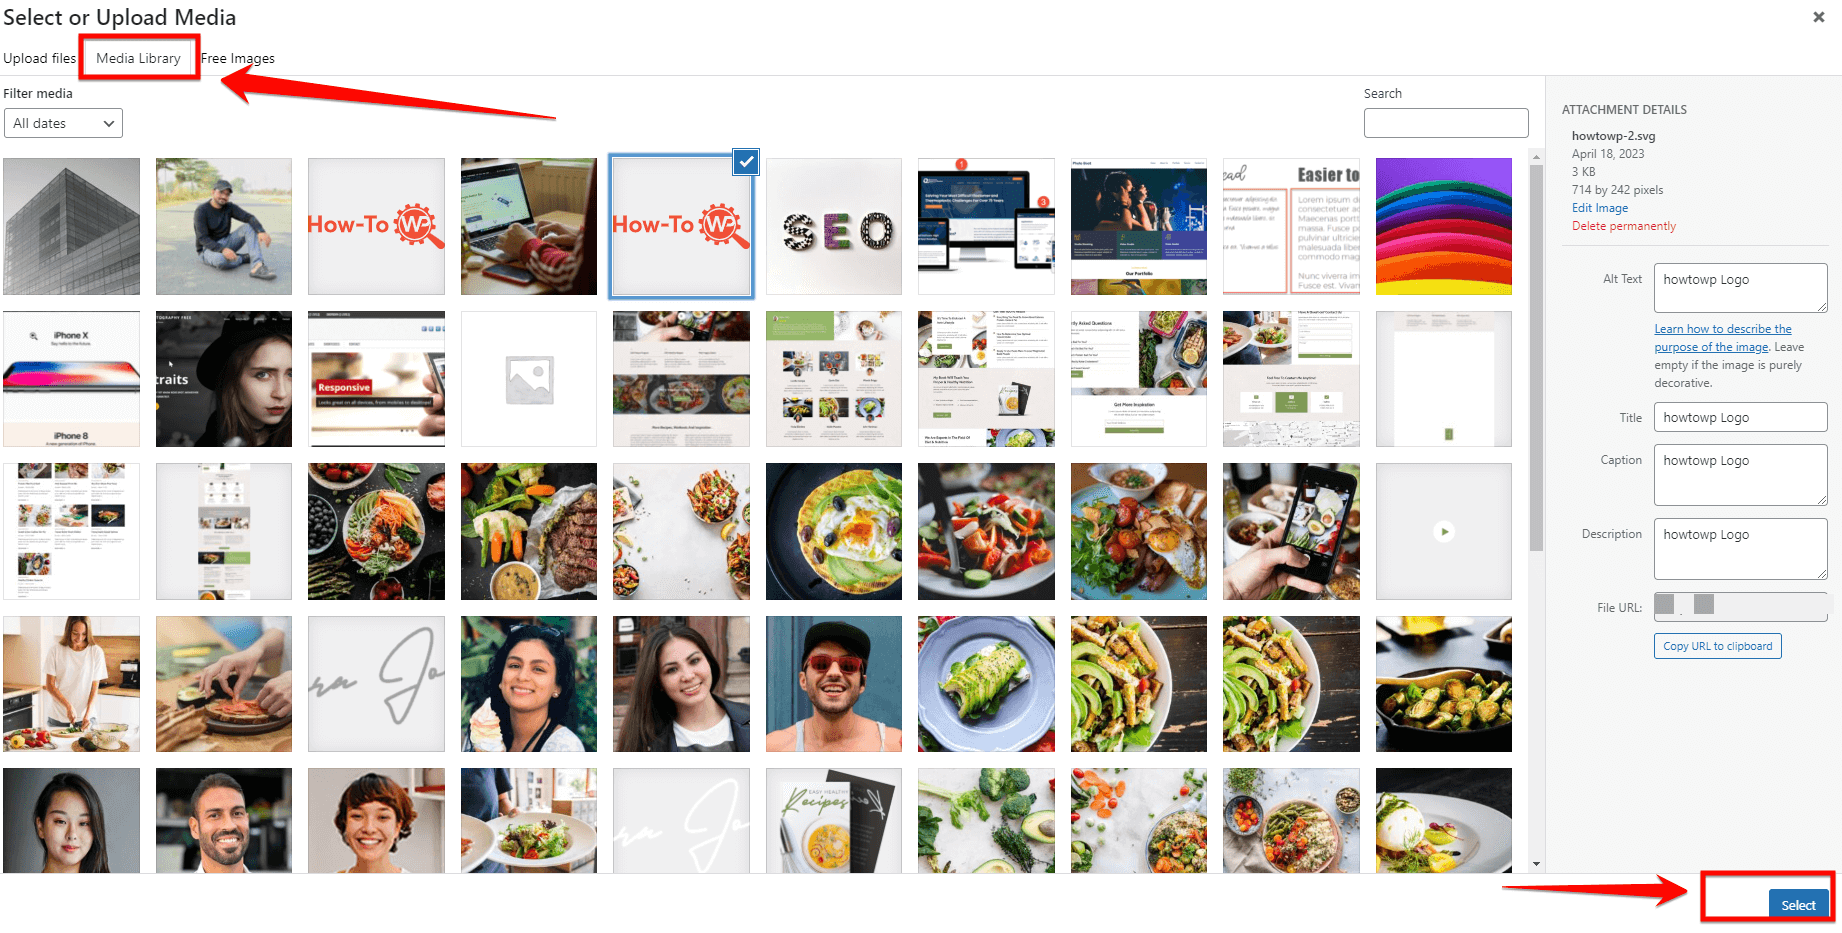
- After adding the Image widget, you will see the widget settings on the left side of the Theme Customizer. Click on “Add Image” to open the WordPress Media Library. You can either upload a new image or choose an existing one from your library.
- Choose the image to display in your WordPress site’s footer section.
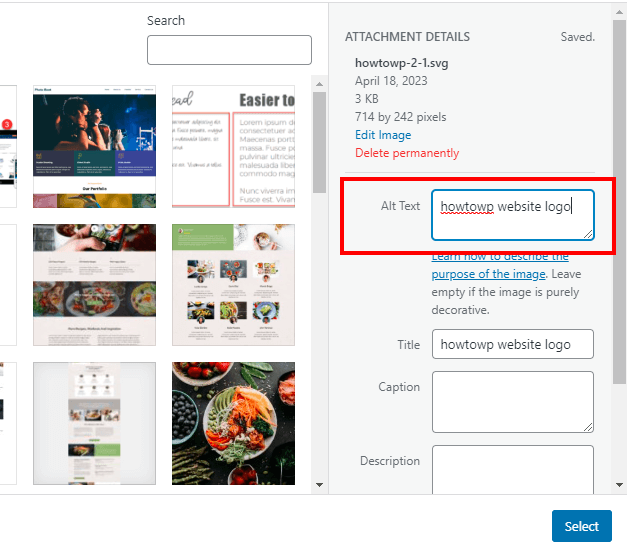
- For accessibility and SEO purposes, you can add a title and alt text to your image. In the Image widget settings, enter the desired text in the “Title” and “Alt Text” fields.
- Once you have finished adding and customizing your image, click the “Publish” button at the top of the Theme Customizer to save your changes.
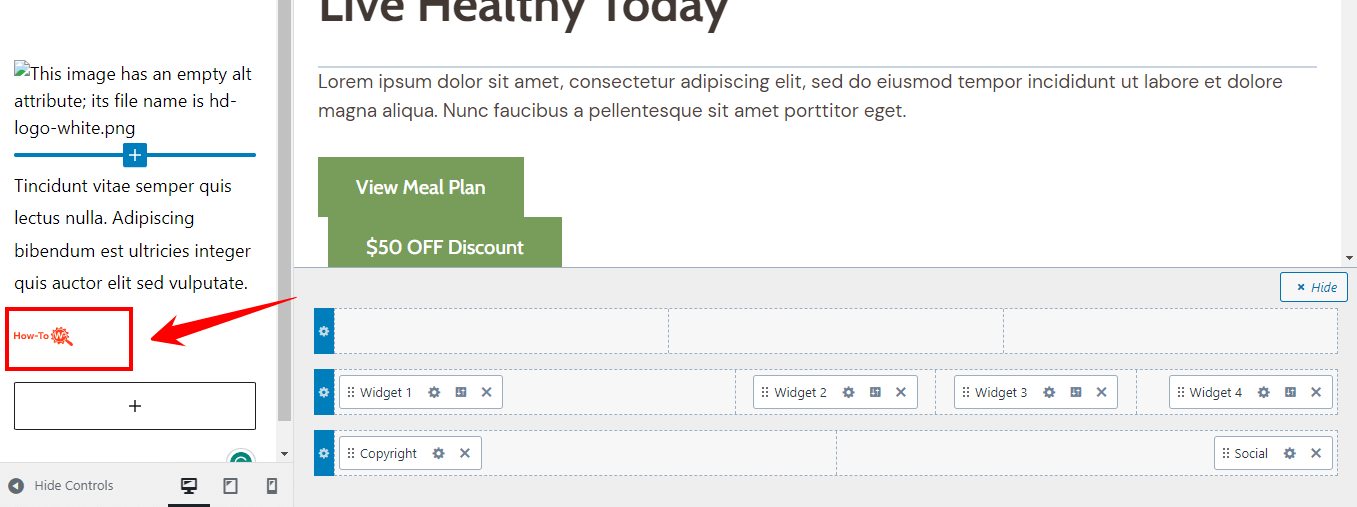
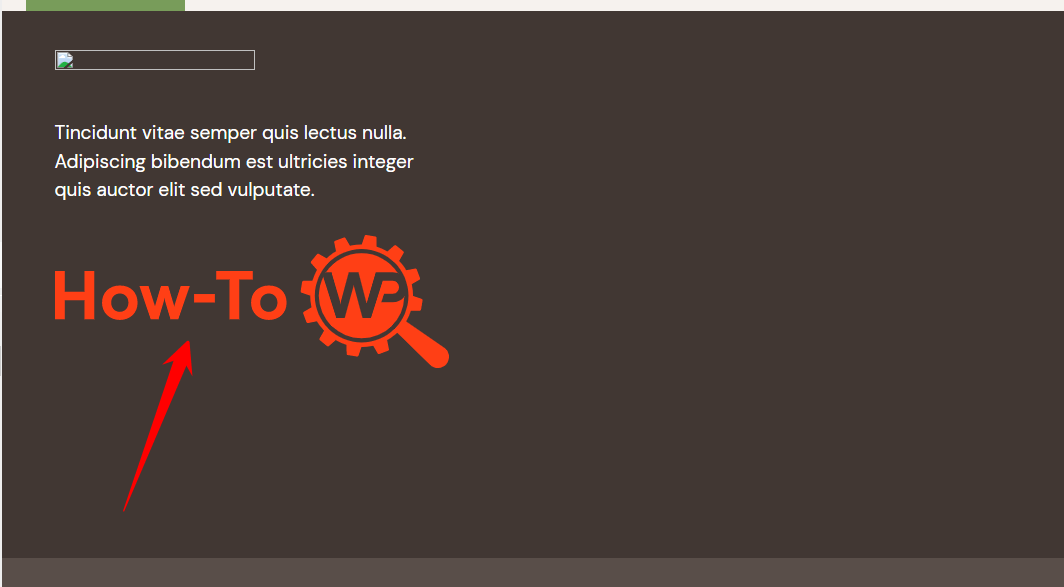
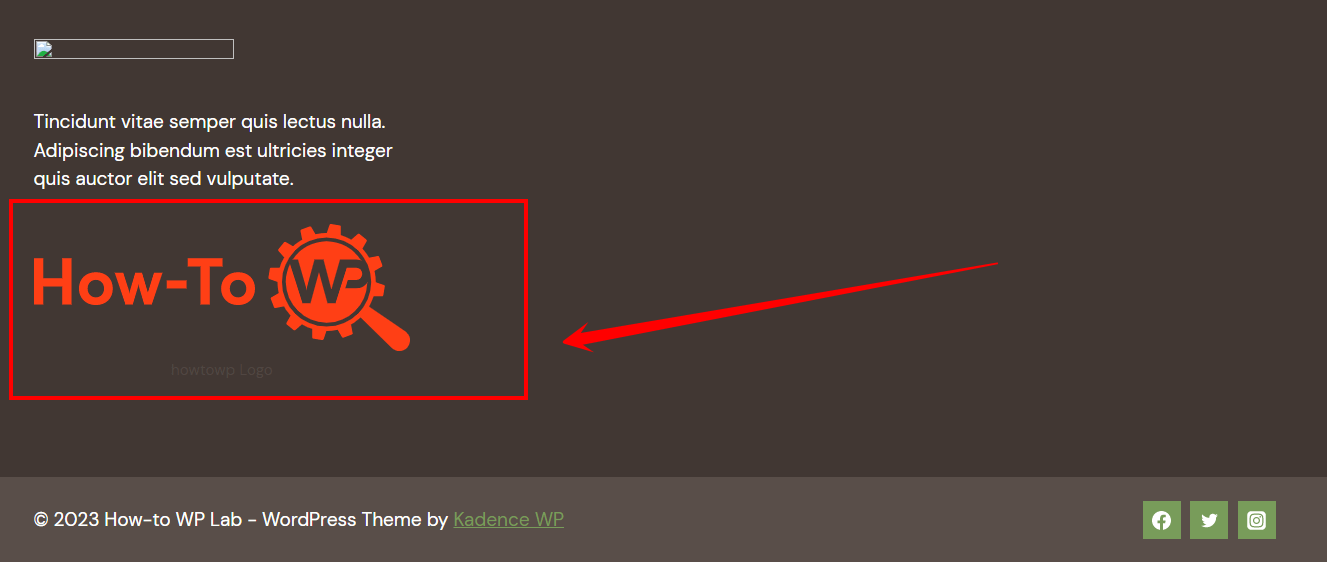
- Go to your website’s homepage and scroll down to the footer area. You should see the image you just added. Clear your browser cache and refresh the page if it’s not visible.
A Pro Tip: Before publishing any alterations to your website, preview them within the Customizer’s preview pane. This will allow you to verify that the uploaded image appears as intended within the footer.
Pros:
- User-friendly and easy to use
- No technical knowledge is required
- A live preview of the changes is available
Cons:
- Limited customization options compared to using CSS or plugins
- Slower to make changes compared to using CSS
- Log into your “WordPress dashboard” for complete control of your website.

- From the dashboard, locate and hover over the “Appearance” tab on the left-hand menu. A sublist will appear; select “Widgets” from this list to open the Widgets management page.
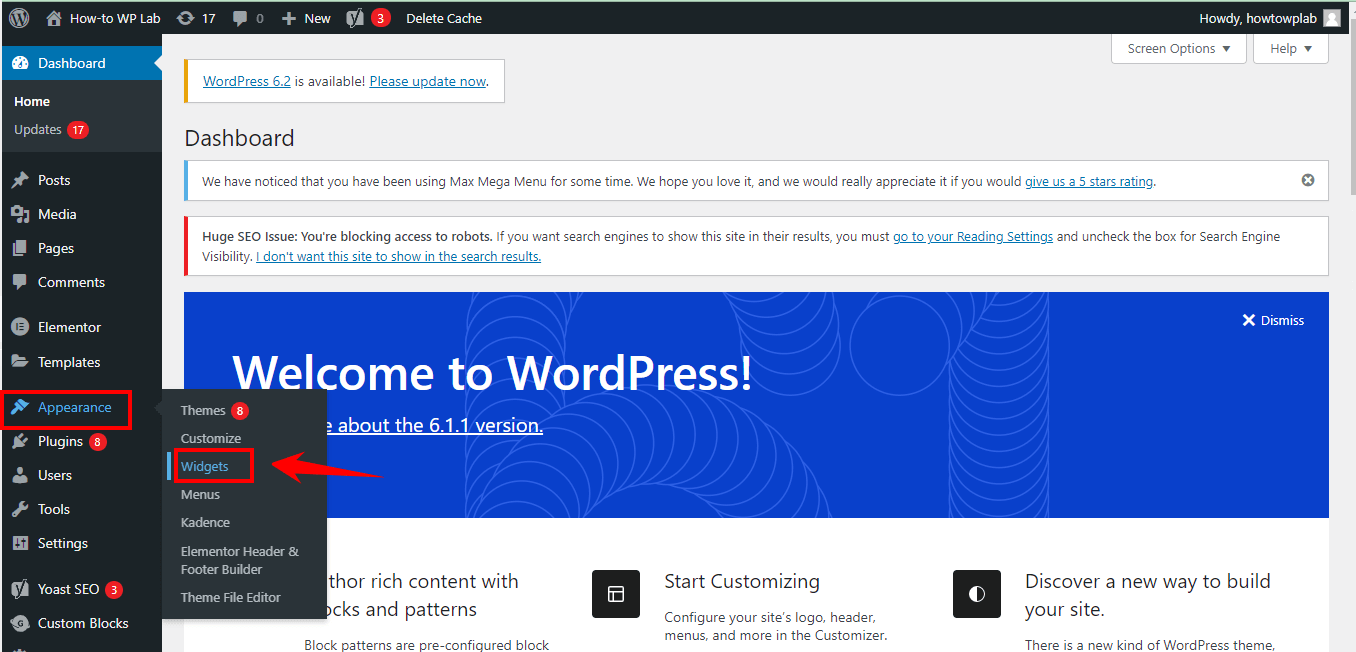
Note: Widgets are essential elements that can be incorporated into designated areas of your website, such as sidebars, headers, and footers. The Widgets management page displays a list of available widgets on the left, while the right side showcases the designated widget areas associated with your theme.
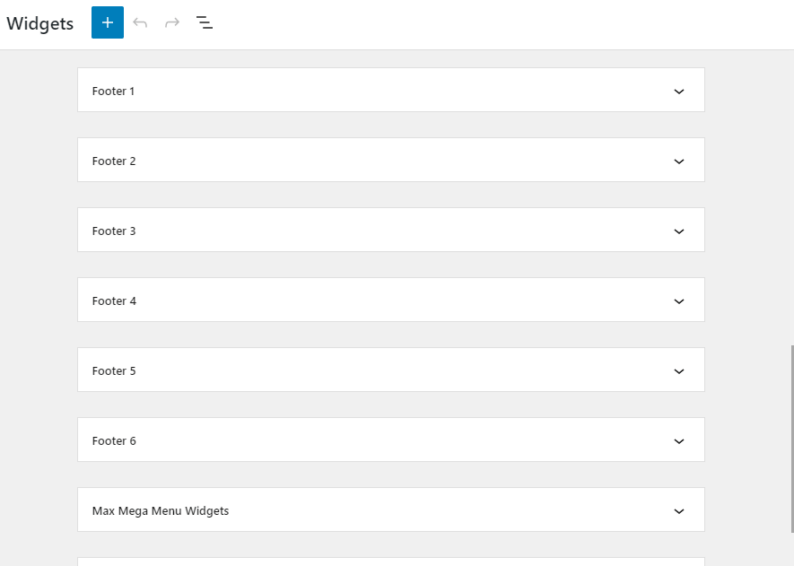
- Identify the Footer area among the widget areas on the right side of the screen. This area might be labeled “Footer,” “Footer Widget Area,” or a similar name, depending on your specific theme. Click on the arrow icon next to the title to expand the footer area options.
- To upload an image file, click the “Add Image” button and navigate to the desired image file on your computer. Alternatively, choose from an existing image in your site’s media library.
A Pro Tip: It is crucial to note that accessibility should be considered when configuring footer images. Providing alternative text within the “Alt Text” field ensures that visually impaired users utilizing screen readers can access information conveyed through the image.

- Preview the changes to ensure the image is displayed correctly and save the changes.
Pros:
- More control over the image’s display (size, placement, multiple images)
- More customization options compared to using the Theme Customizer
- Ability to add multiple images to the footer
- Provides a more advanced level of customization for experienced users
Cons:
- It may not be as user-friendly as the Theme Customizer
- Requires a basic understanding of footer widgets, which can be challenging for some users.
If you have some coding knowledge, add an image to your WordPress footer using the footer PHP code. This method is more advanced but provides more control over the image’s display.
Here’s how to do it:
If you have some coding knowledge, add an image to your WordPress footer using the footer PHP code. This method is more advanced but provides more control over the image’s display.
Here’s how to do it:
- Log in to the WordPress dashboard for the website you want to modify. Visit the website’s login page and enter your credentials to access the dashboard.
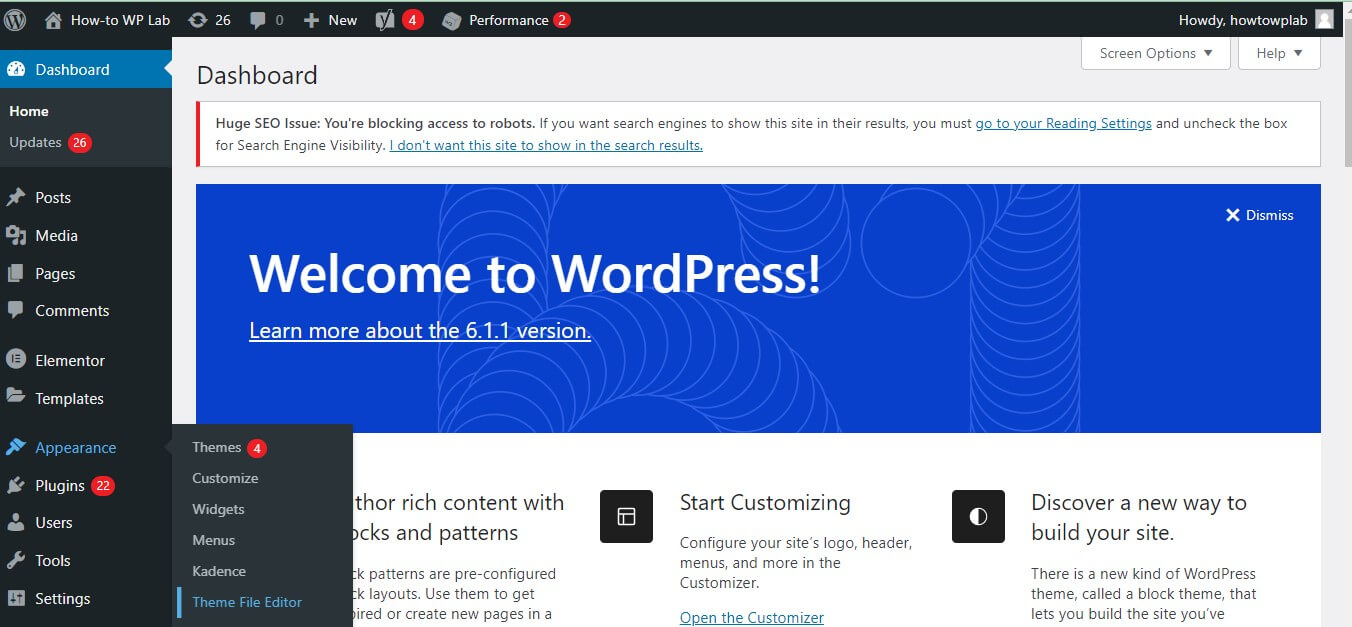
- Click on the “Appearance” tab in the left-hand menu. You will then be presented with a list of the site’s appearance options.
- Click on “Theme Editor” This will open the theme editor, which allows you to modify the code for the site’s current theme.
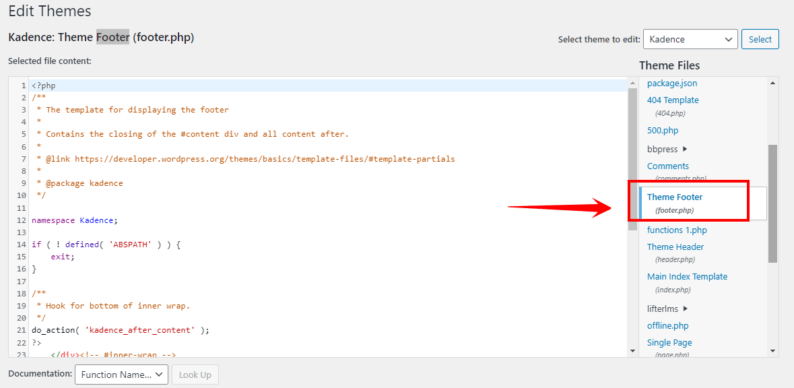
- Locate the footer.php file in the right-hand column and click on it to open it.
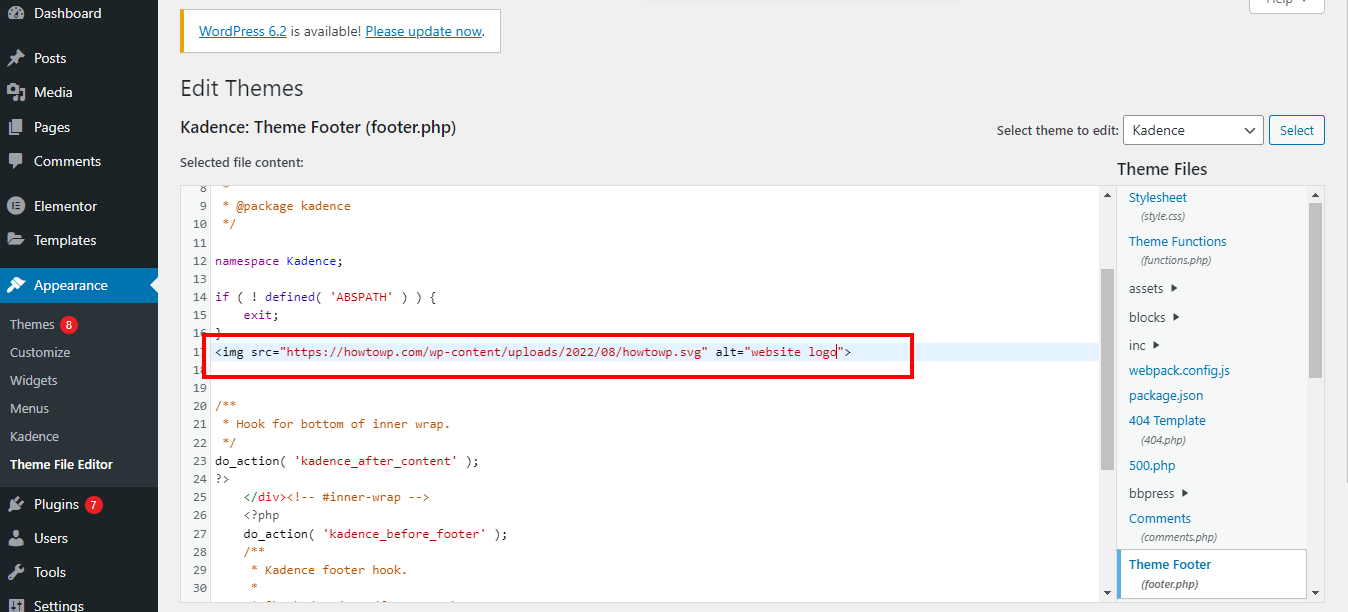
- Add the following code to the footer.php file where you want the image to appear:
<img src="your-image-url" alt="your-image-description">
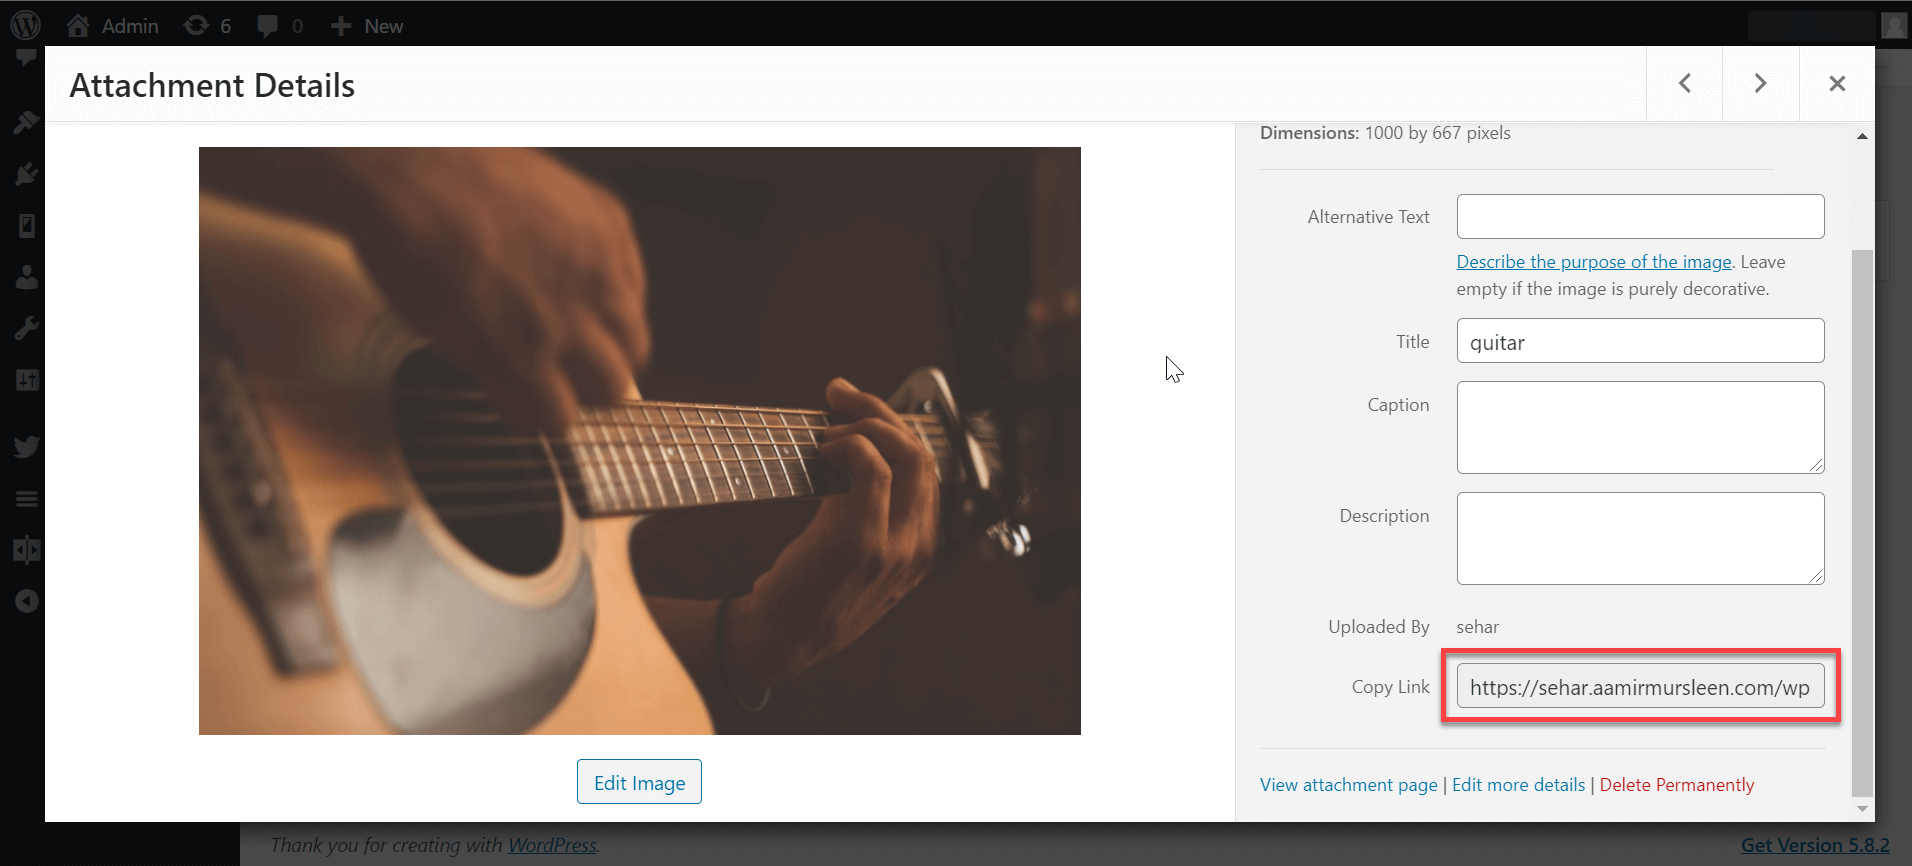
- Replace “your-image-url” with the URL of the image you want to add and “your-image-description” with a brief image description.
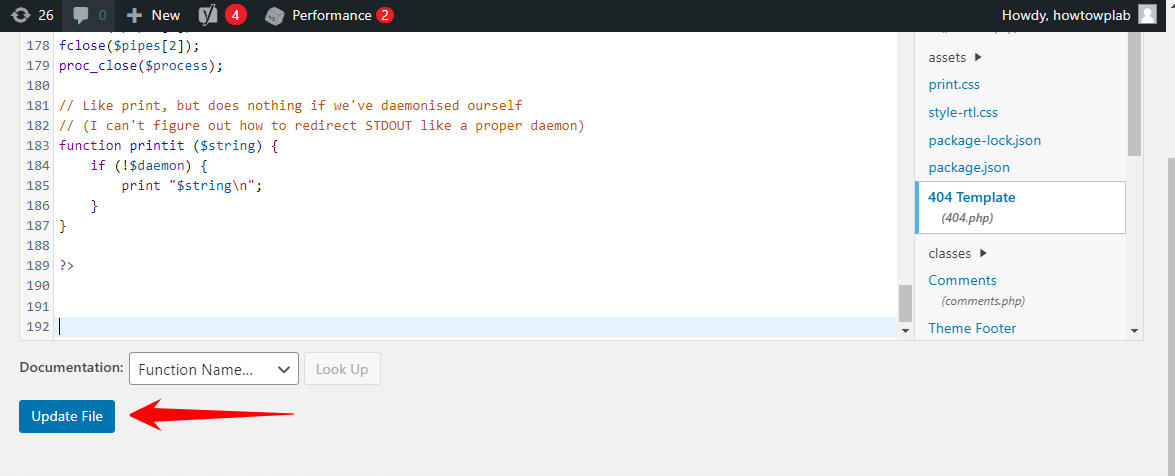
- Click on “Update file” to save changes in the footer.php file.
- You should see an image in your WordPress footer if everything is okay.
Pros:
- Complete control over the image’s display (size, placement, behavior, custom CSS styles)
- Advanced level of customization
- Ability to add custom CSS styles to enhance an image’s appearance
- Provides a more flexible solution for experienced users
- Ideal for users with coding knowledge
Cons:
- Requires some coding knowledge and understanding of PHP
- Risk of breaking the website if the code is not entered correctly
- It can be challenging for users unfamiliar with PHP and coding.
Method 4: Adding Image Using a Plugin
The final method for adding an image to your WordPress footer is by using a plugin. This method is quick and easy and does not require any coding knowledge. Here’s how to do it:
- Log in to the “WordPress dashboard” for the site you want to modify. You can access the dashboard by accessing the website’s login page and entering your login credentials.
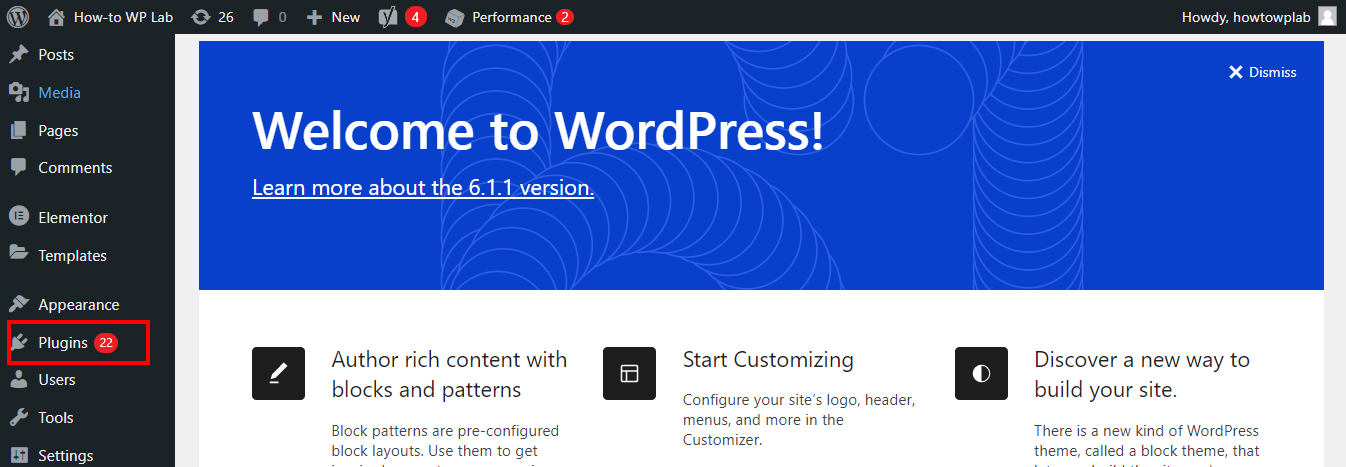
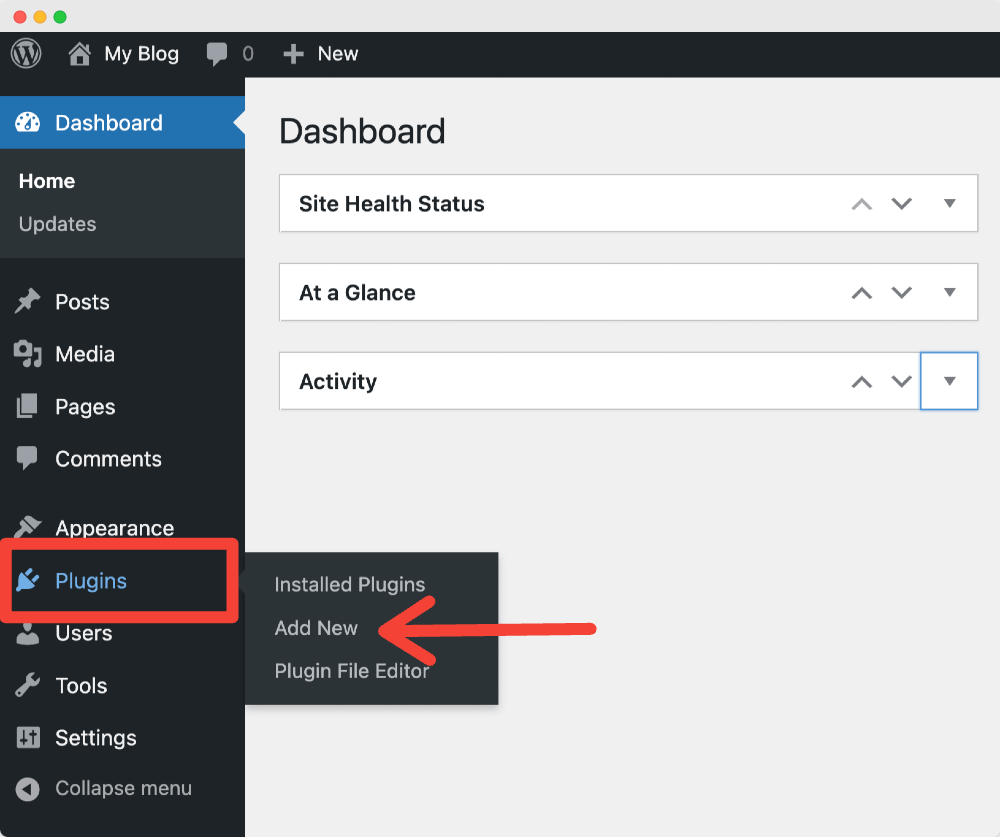
- Go to the “Plugins” section in the left-hand menu. On this page, you can see a list of all the plugins that are installed on the website at the moment.
- Click the “Add New” button to search for a new plugin. You will be redirected to a page where you can search for new plugins to install.
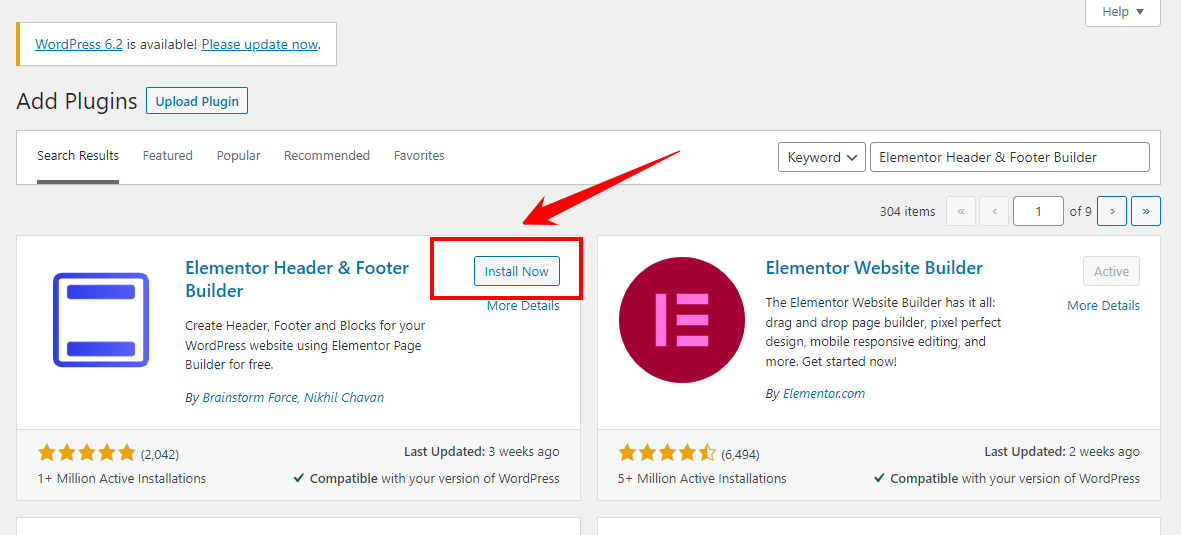
- Search for a suitable footer image plugin. Some popular options include “Simple Footer Logo” and “Elementor Header & Footer Builder”.
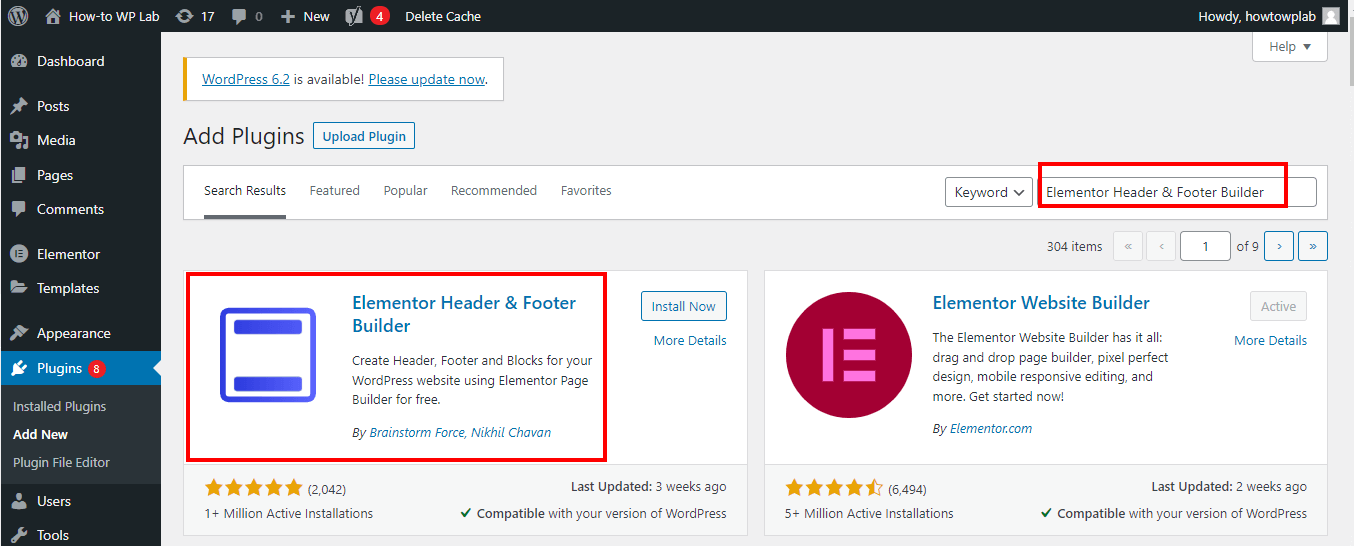
- Once you have found a plugin, then click the “Install Now” button to install the plugin. Let’s say I take an example of the “Elementor Header & Footer Builder” plugin to understand how this process work.
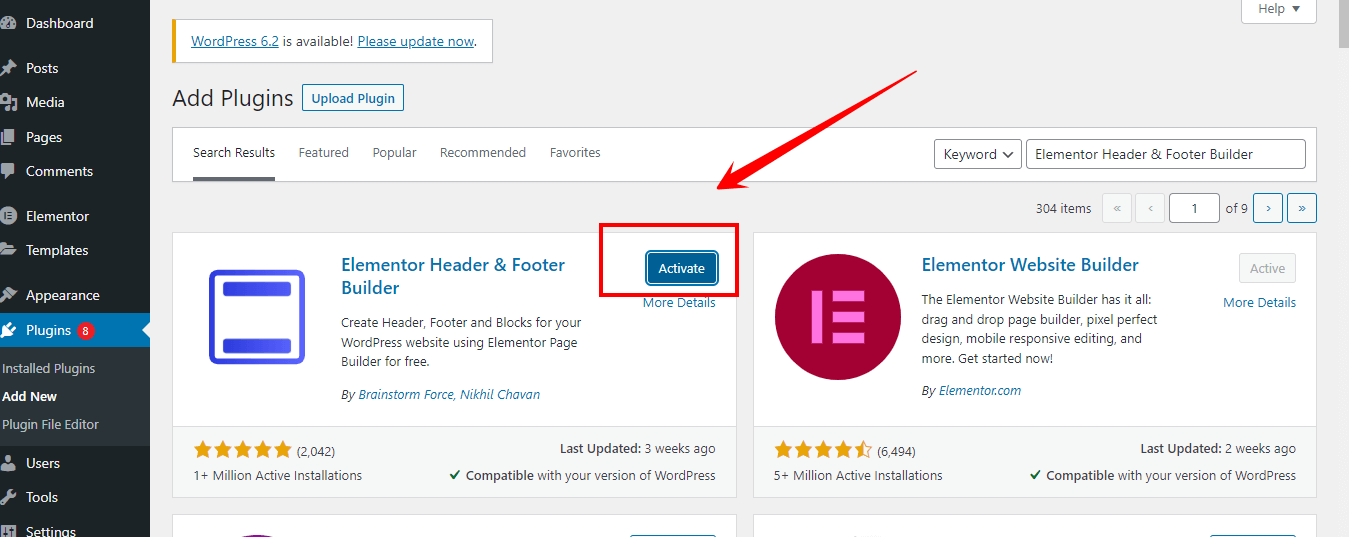
- After installing the plugin, click on activate.
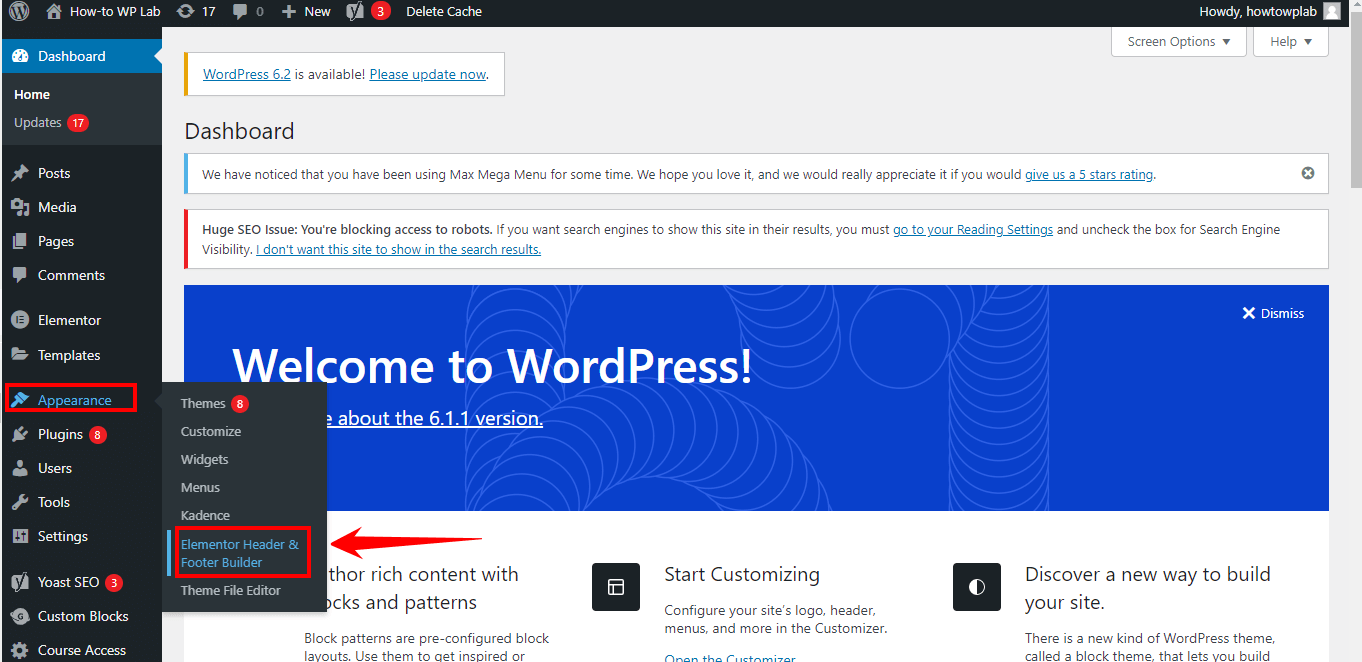
- Once activated the plugin, Find the plugin’s settings in the WordPress dashboard, usually under the “Settings” or “Appearance” tab.
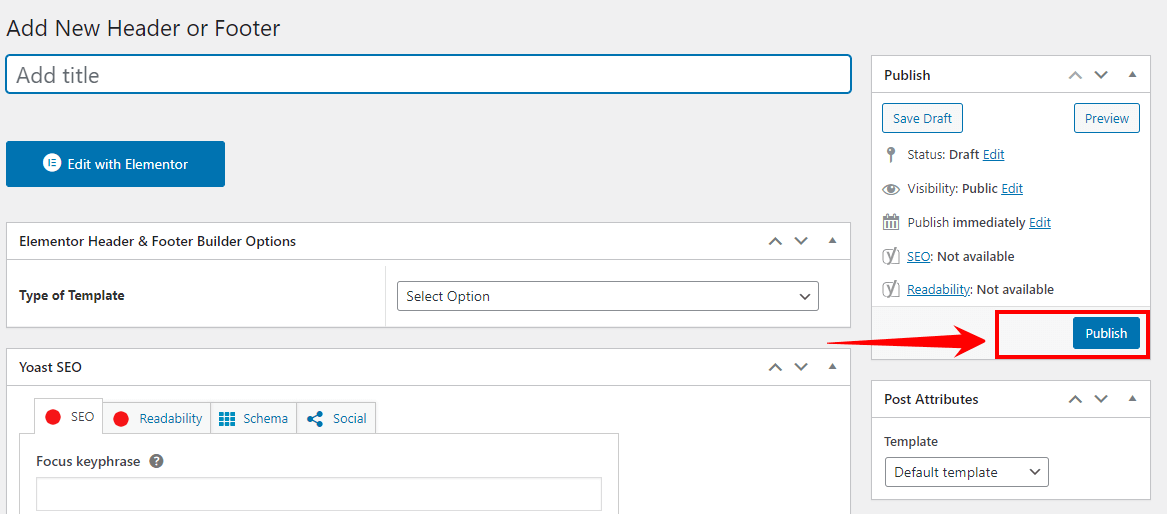
A Pro Tip: Use the plugin’s settings to upload and add the image to your footer. Verify that the image is displayed correctly in the footer before saving the changes.
- Once satisfied with the preview, click ” Publish ” to apply the changes to your live website.
Pros:
- Quick and easy to use
- No coding knowledge required
- A wide range of customization options is available
- User-friendly interface
- No risk of breaking the website
Cons:
- It may require a paid plugin
- It can slow down the website if the plugin is not optimized
Before you start the process of adding an image to your footer, you need to have a few essential requirements in place.
This section will review these requirements in detail to ensure you have everything you need to complete the process successfully.
- WordPress account and admin access: To access your website’s backend, you must “log in to your WordPress account” and have admin access. This will give you the necessary permissions to change your website’s footer.

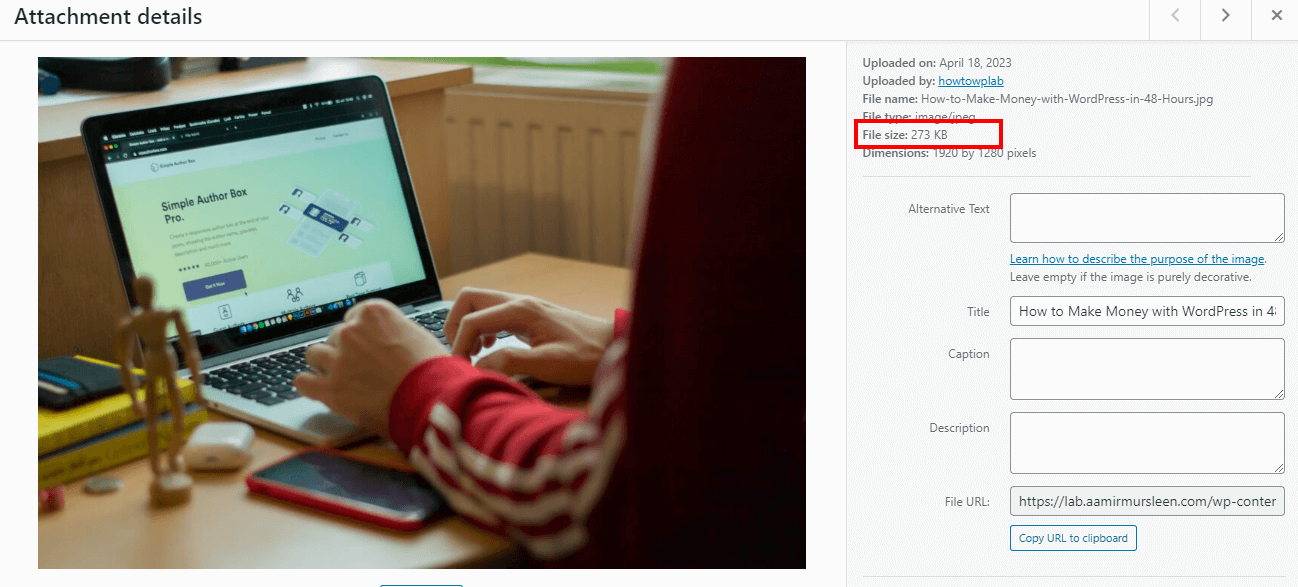
- Image: The image you want to add to your footer should be high quality and relevant to your website’s content. The recommended size for a footer image is 1200 x 600 pixels. This size will ensure the image is manageable and displays correctly in the footer.
- Image URL: If you use footer PHP code to add the image to your footer, you must have the image URL. This can be obtained by uploading the image to your website or to a hosting service such as Imgur or Dropbox.
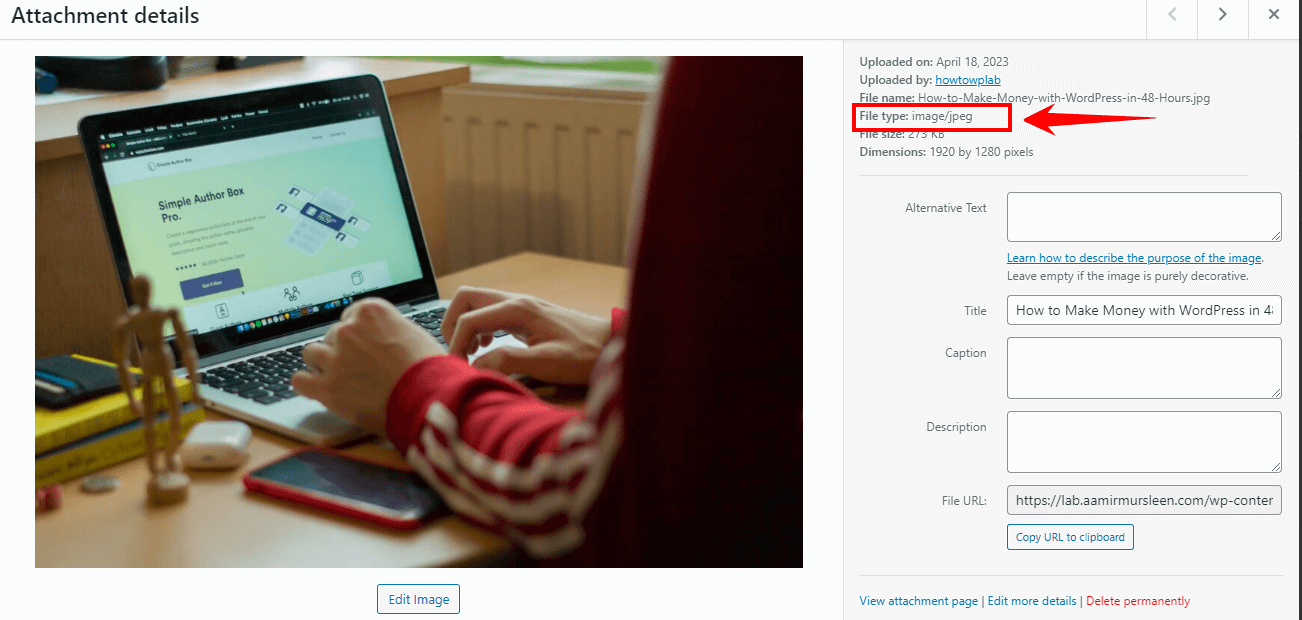
- Image file type: The image you want to add to your footer should be in a format compatible with the web, such as JPEG, PNG, or GIF.

With these requirements in place, you can add an image to your WordPress footer quickly and easily without any issues. Now that you have all the necessary components in place, it is time to take the next step and add an image to your footer in a practical and hands-on way.
Whether you choose to use the Theme Customizer, footer widgets, footer PHP code, or a plugin, the steps involved in adding an image to your footer are straightforward. So let’s get started and see how you can enhance the look and feel of your website with a custom footer image!
Several common issues can occur when adding images to a footer, and these can include the following:
- Image Size: If the image is too large, it can cause the footer to become distorted or difficult to read. Ensure the image is the correct size and dimensions for your footer.
- Image Format: Web browsers do not support some image formats, so ensuring the image is compatible is essential. Standard formats that are supported include JPEG, PNG, and GIF.
- Image Quality: If the image is poor quality, it may appear blurry or pixelated in the footer. Try to use high-resolution images for the best results.
- Linking Issues: If the image is not properly linked, it may not display correctly in the footer. Make sure that the image is linked correctly and that the link is not broken.
- CSS Issues: If you use CSS to style the footer, there may be issues with the CSS code that prevent the image from displaying correctly. Check the CSS code to ensure that it is correct, and that there are no errors.
FAQ’s
To edit headers and footers in WordPress, you need to access the theme editor in your WordPress dashboard. Here are the steps:
1. Log in to your WordPress dashboard
2. Go to Appearance > Theme Editor
3. In the Theme Editor, select the header.php or footer.php file from the right-side list of templates
4. Make the desired changes to the header or footer code
Click the “Update File” button to save your changes
Note: Before making any changes to the header or footer, creating a backup of your theme files is recommended.
To edit a custom footer in WordPress, you can either modify the existing footer.php file in your theme or create a new custom footer using a plugin.
Here are the steps to create a custom footer using a plugin:
1. Log in to your WordPress dashboard
2. Go to Plugins > Add New
3. Search for a plugin such as “Custom Footer and Header” or “Elementor Page Builder”
4. Install and activate the plugin
5. Go to Appearance > Custom Footer or Custom Header (depending on the plugin)
6. Make the desired changes to the footer or header
7. Save the changes
To change the text in your WordPress footer, you can follow these steps:
1. Log in to your WordPress dashboard
2. Go to Appearance > Theme Editor
3. In the Theme Editor, select the footer.php file from the right-side list of templates
4. Locate the text you want to change in the footer code
5. Edit the text to your desired content
6. Click the “Update File” button to save your changes
There could be several reasons why you can’t edit the header or footer in WordPress:
Lack of permissions: Ensure you have the correct user role with the necessary licenses to access the theme editor.
Theme restrictions: Some themes may restrict editing the header and footer, in which case you need to use a child theme or a plugin.
Plugin conflicts: If you have installed a plugin affecting the header or footer, try deactivating the plugin to see if that resolves the issue.
Incorrect file selected: Ensure you edit the correct file (header.php or footer.php) in the theme editor.